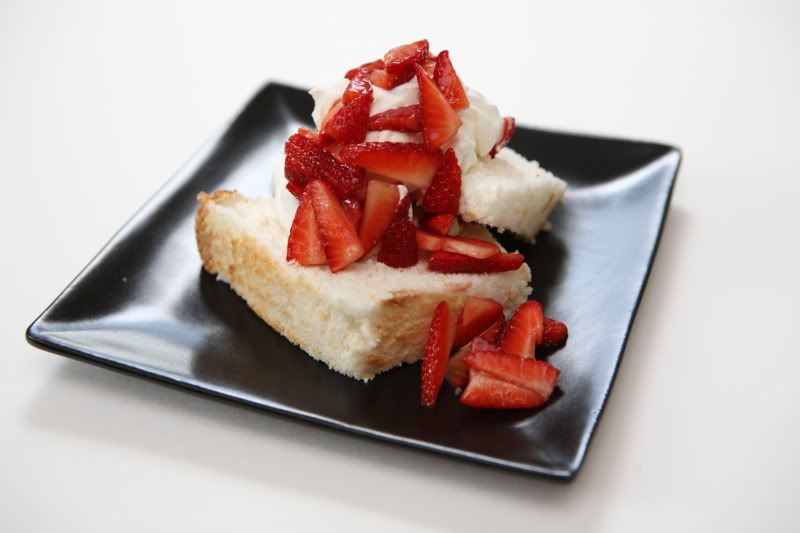
There are several schools of thought on the proper base for strawberry shortcake. Some people like it served with sweetened biscuits. Some like it with sponge cake. Some like it with pound cake. Those are all good, but my favorite way to serve strawberry shortcake is with angel food cake.
This particular angel food cake recipe comes from Betty Crocker, circa the 1960’s. Yeah, the cookbook is a little outdated, but this recipe is a keeper...unlike some of the other ones in the book. There are a bunch of angel food cake variations on the same page, and they all require gelatin and something called “dessert topping mix” Fortunately this recipe steers clear of all of that. It is a standard angel food cake recipe, tried-and-true, and I’ve made this exact cake for many birthdays, a few graduation parties, and on many, many other occasions over the years.
If you don’t have an angel food cake pan and are planning to buy one, you should select your pan carefully.
- An angel food cake pan should NOT be nonstick. (Angel food cake keeps itself risen by climbing up and sticking to the sides of the pan, and a nonstick pan prevents this from happening. The cake won’t have the proper height and the texture will suffer if the pan is nonstick.)
- For almost all of my baking, I prefer light-colored pans because it keeps the food from over-browning. Angel food cake is no exception: try to find a light-colored pan.
- The pan doesn’t need to be insulated or have any other fancy technology.
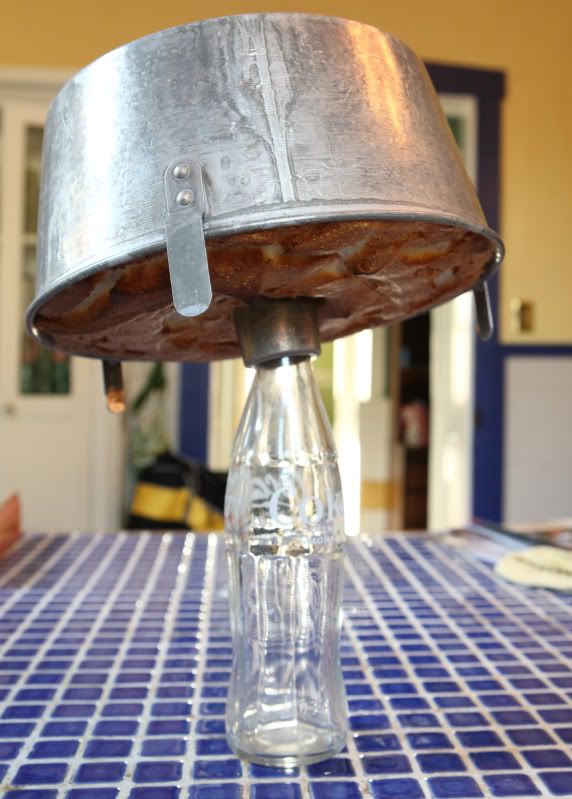
- It does, however, need to have a way to stand upside down during the cooling process. My angel food cake pan has a tall central tube and little aluminum feet sticking off the top of the pan, which hold the cake off the countertop when the pan is inverted. This will cool the cake properly, but for even better air circulation, I stick a coke bottle in the central tube and turn the pan over balanced on the bottle (you’ll see pictures below). So, you’ll need either a pan that has feet, or you’ll need to come up with a way to invert it without smashing the cake. A wine bottle works too.
- The best pans are two-part pans. Angel food cake needs to be cut out of its pan, and its basically impossible to do that with a one-piece pan. (That’s why they started making the one-piece pans nonstick, but we already went over why nonstick is a bad idea…) The one-piece pans work well for other things (pound cake!) but not well for angel food cake.
Angel Food Cake
Makes one cake 10” in diameter and 4” tall
1 cup cake flour
3/4 cup plus 2 Tbsp granulated sugar
12 egg whites (about 1-1/2 cups)
1-1/2 tsp cream of tartar
1/4 tsp salt
3/4 cup granulated sugar
1-1/2 tsp vanilla
1 tsp almond extract
Preheat your oven to 375 degrees F.
In a medium mixing bowl, whisk together the flour and 3/4 cup plus 2 Tbsp granulated sugar. Set the mixture aside.
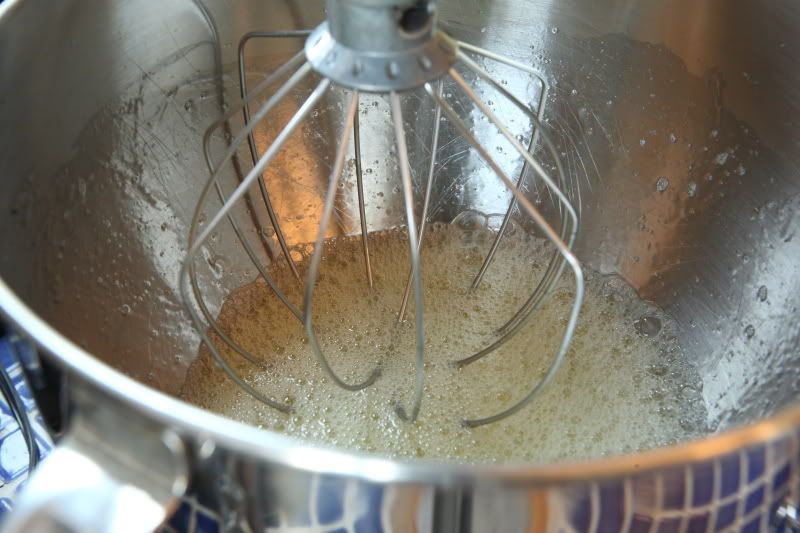
In a large mixer bowl, use the wire whip attachment to beat together the egg whites, cream of tartar, and salt until foamy.
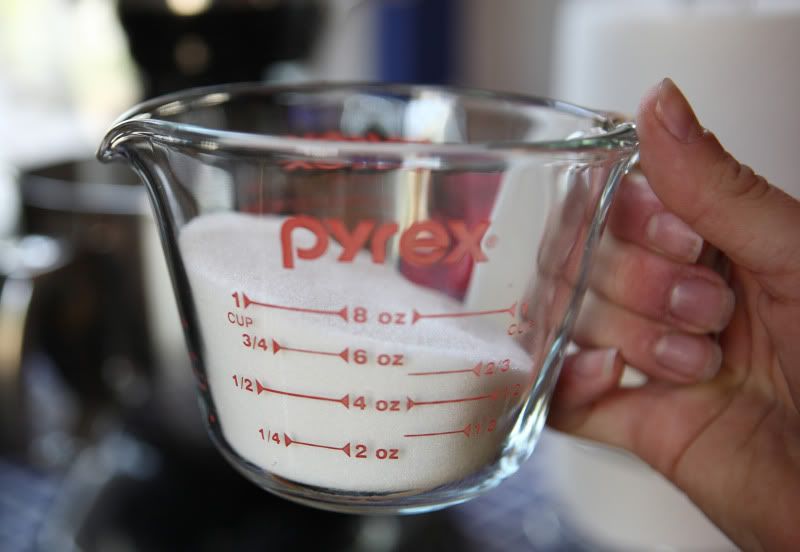
While this is happening, measure 3/4 cup granulated sugar into a spouted cup similar to this one:
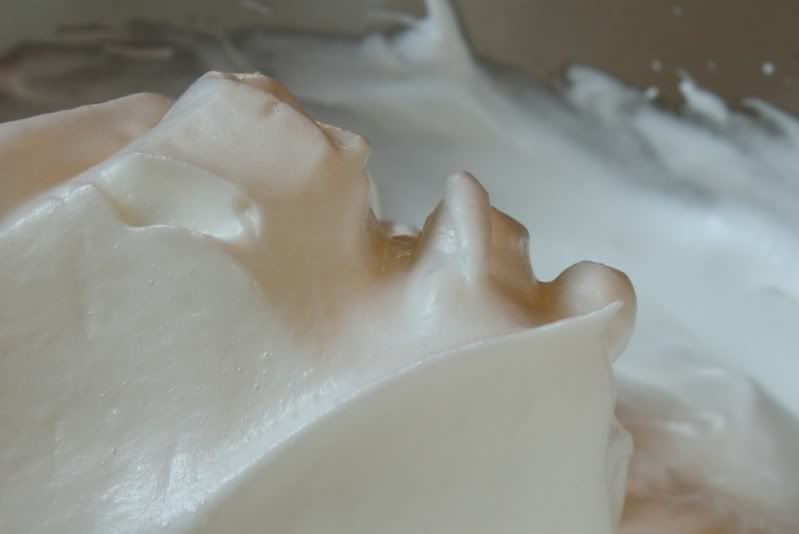
With the mixer on the highest speed, slowly shake in a very small stream of granulated sugar into the egg white mixture. Continue to add the sugar very slowly as the mixer is whipping the whites. Do not dump in large quantities of sugar at once. As the whites whip up, they will increase in volume. The goal is to shake all of the sugar into the egg whites in about the same amount of time it takes for the whites to be beaten to the “stiff peak” stage. You’ll know the whites are “stiff peaks” when you lift the beater out of the bowl and the whites hold shape and don’t slump back down into the mixture. But, use caution to avoid over whipping the whites – they’ll become chunky and that’s not what we’re looking for either.
Properly whipped egg whites are smooth and stand up like this:
Once you’ve finished beating the egg whites, take the bowl off of the mixer. The rest of the steps must be mixed by hand or you’ll deflate the batter. I like to use a large flat rubber spatula, but before I owned that particular piece of kitchen equipment, I used to use a flat wooden spoon with nearly-as-good results. Whatever you use, you’ll need to have something with a fairly long handle because in case you haven't noticed, there’s a lot of volume in that bowl now.
Add the vanilla and almond extracts. Use your rubber spatula or flat spoon to gently fold them into the egg whites. Don’t stir the batter or you’ll deflate it. Fold it. (I wish I had a video camera – I’d demonstrate it…sorry.) To fold, cut the spatula down the center of the egg whites, then run it along the bottom of the bowl, up the side, and down into the center again. Rotate the bowl and repeat the motion.
Sprinkle approximately 1/4 of the flour mixture over the surface of the flour. Fold it gently into the egg white mixture just until the flour mixture disappears into the batter. Add another fourth of the flour mixture and repeat the folding-and-adding process until you’ve folded all of the flour mixture into the egg whites.
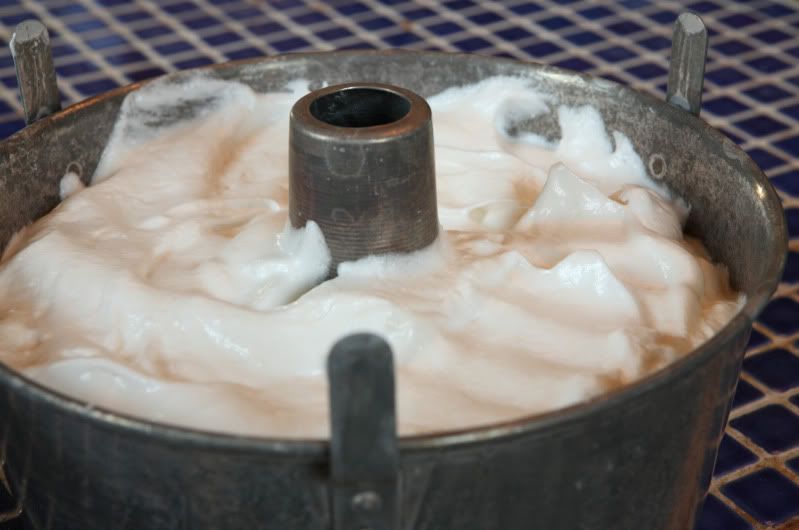
Spoon the batter into an ungreased angel food cake pan, 10” x 4.” Tap your rubber spatula straight down through the batter to help remove any air bubbles from the cake.
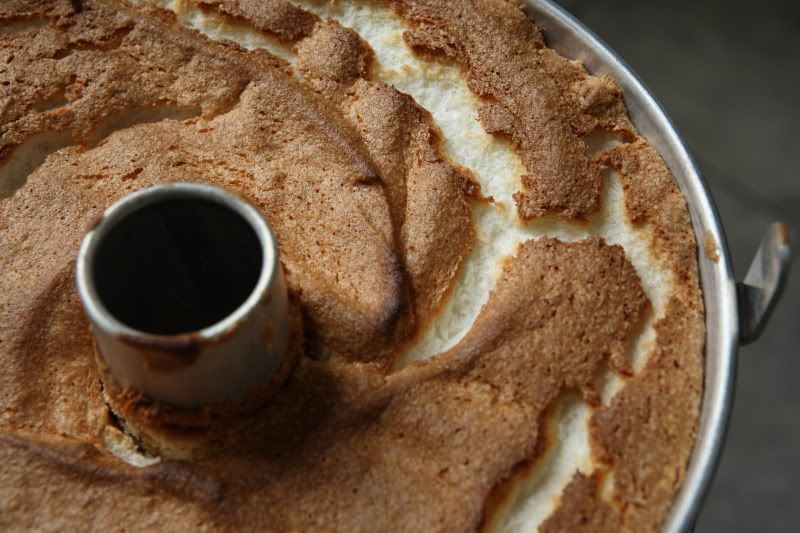
Bake the cake approximately 30-35 minutes. How can you tell when angel food cake is done baking? The top should be lightly browned. “Betty" tells you it should “spring back when touched lightly with a finger,” whatever that means. Here’s how I tell: as the cake bakes, the top surface cracks, exposing lighter-colored cake interior. When that lighter colored section of the cake is dry and no longer sticky, the cake is properly baked. I use the point of a knife or my fingernail to scrape just a tiny bit of crumb out of one of the lighter areas and see if it is still moist and sticky or if it is dry. If it’s still sticky, give it another 3 to 5 minutes in the oven. The top will be nicely browned and any peaked areas will be an even deeper, nearly-toasty brown.
As soon as the cake comes out of the oven, the pan must be inverted or the cake will sink. As I mentioned above, I use the coke bottle cooling method, but if your pan has feet, you can simply turn it upside down. The cake must be entirely cooled before it is removed from the pan. If you come back to your cake in fifteen minutes and find it has fallen out all over the countertop, you under baked it and didn’t give it enough time in the oven. Take notes for next time and try again. I promise, if it’s completely baked, and if you used the proper pan, it won’t fall out despite the fact that it's sitting upside down.
A side story… Once, earlier in my baking days, I decided I wanted to make lots of angel food cake for a party. I baked a whole bunch of these cakes in sort of an assembly line, one cake after another. I was running out of countertop space in my kitchen and had nowhere to cool the cakes. So I looked around my small apartment for somewhere else to balance my coke-bottle-cake-pan setup for an hour or so, and saw the flat surface of my bedroom dresser. Unfortunately I was in such a rush to get these cakes baked, I slightly under baked the cake – but I was new enough to baking that I didn’t realize it at the time. After I thought the cake had a sufficient amount of time to cool, I went back to my bedroom to bring it back to the kitchen…and found cake EVERYWHERE. (Since it was under baked, it fell out of the pan.) What a mess! Cake all over the top-of-the-dresser knick-knacks! Cake all over my clothes! Cake on the carpet! Cake all over the cat (who was very interested in it). And because it was under baked, it was sticky and sugary and very messy to clean up - and the last thing I wanted to do while running around making last-minute preparations for a party. Lesson learned: be sure the cake is completely baked. Don’t get in a hurry to get it out of the oven!
While the cake is cooling, you can prepare the strawberries for the shortcake:
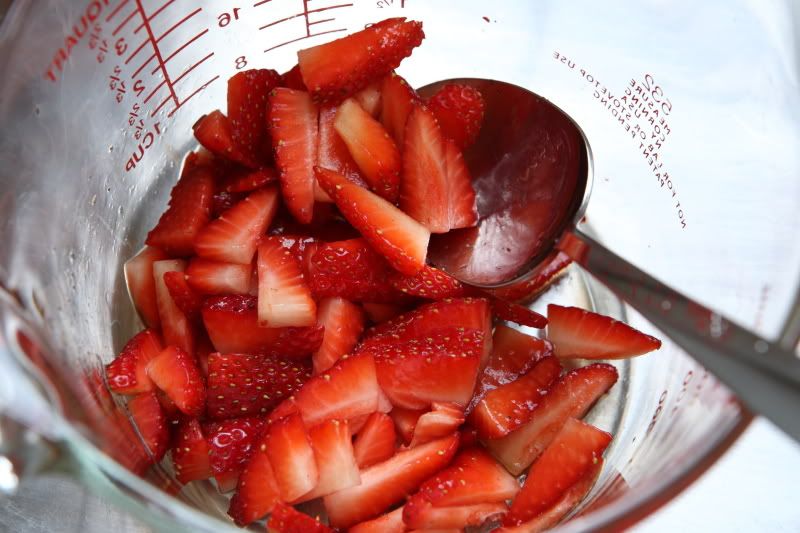
Macerated Strawberries
16 ounces strawberries, tops discarded, fruit sliced
2 to 3 Tbsp of granulated sugar
1 to 2 tsp best-quality balsamic vinegar
The measurements above are somewhat approximate because the amount of sugar necessary will depend on how sweet your strawberries are. I recommend mixing the smaller quantity of sugar and vinegar in with the berries first. Let it all sit for about 20 minutes, then taste it and adjust the flavoring as necessary. (You can always add more sugar and vinegar, but you cannot take it out!) I like them on the tart side, but you might like them sweeter than even what I’ve written above.
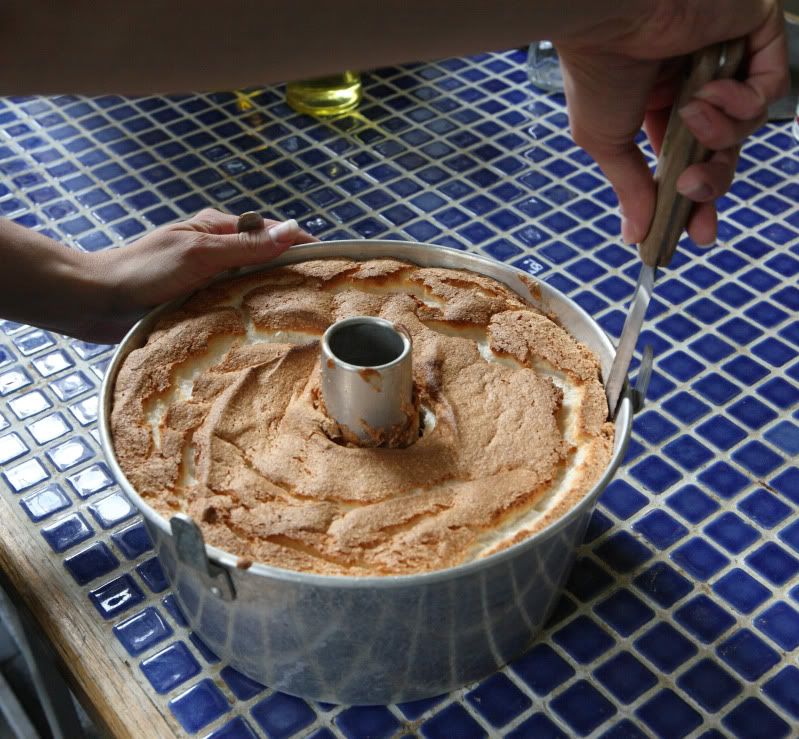
After the cake has cooled completely, the cake will need to be cut out of the pan. You’ll need a long serrated knife. First, holding the knife vertically, cut around the outside edge of the cake. Use a sawing motion with the knife. Then cut around the center tube in the pan. If you miss a spot, the cake will rip when you try to remove the pan, so be sure you are thorough in your cutting.
As long as you haven’t missed any spots, if you lift up on the center tube, you should be able to ease the side of the pan away from the cake.
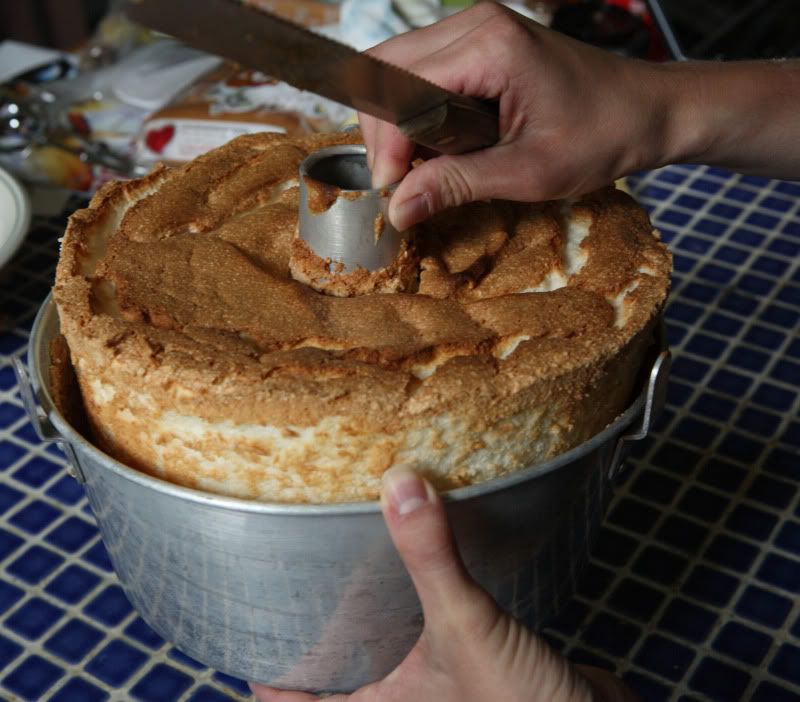
Hold the cake pan by the center tube. Place the knife horizontally and cut between the bottom of the cake and the base of the pan. Rotate the pan as you work so you get all areas of the pan. Double check to be sure your center tube is thoroughly cut free.
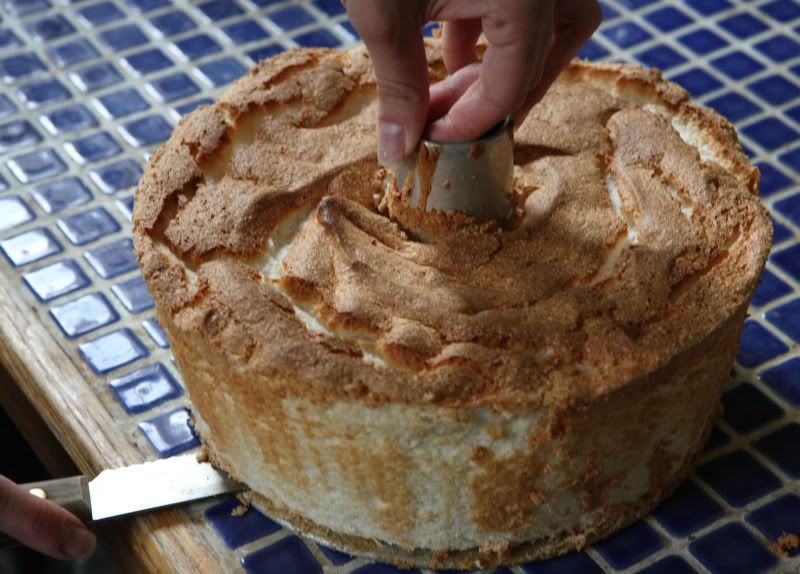
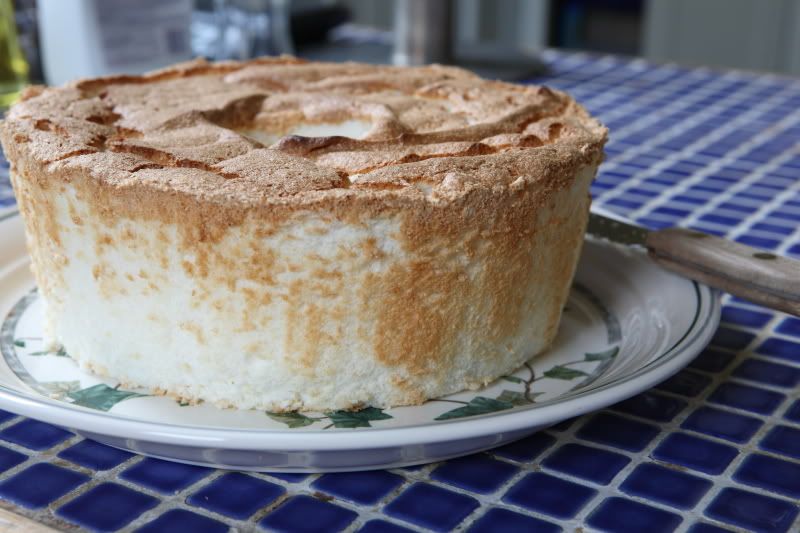
Once everything has been cut away from the pan, invert the cake onto a plate or a wire rack – the center piece should come right out.

(I turned mine out onto a rack, then flipped it over onto a plate because I thought the crackly top was prettier than the squared off bottom was.)
Immediately prior to serving, whip the cream
1 cup heavy whipping cream, more or less
1 Tbsp granulated sugar
Place the cream and sugar in a small bowl - one large enough to accommodate a hand mixer. Use a hand mixer to beat the cream on high speed until soft peaks form.
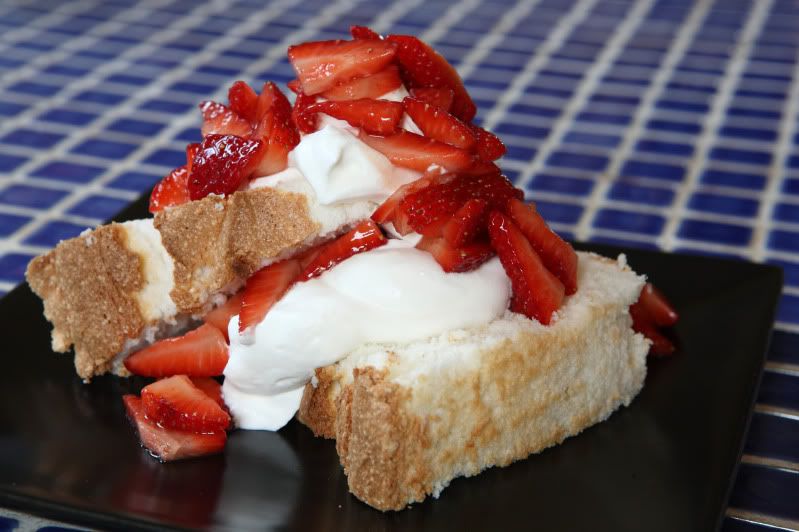
Assemble the strawberry shortcake from the angel food cake, berries, and whipping cream. Yum!
A note: Angel food cake tastes best when it's served the same day it's baked. If you must store it for another day, loosely cover it or put it under a cake dome. Since the cake is mostly sugar and egg whites, it breaks down quickly if it gets moist, so it won't last too long, especially in a humid environment. It doesn't last too long in my household anyway because it tastes pretty good...
Printable PDF file (with pictures)
Printable PDF file (recipe text only)
That looks definitely like an angel made it! Just heavenly. Thanks for the pan tip too!
ReplyDeleteYUMMMM! There is nothing like angel food cake, real whipped cream and strawberres - perfection!
ReplyDelete