Showing posts with label breakfast. Show all posts

Sunday, September 20, 2009

Cornmeal and Jelly Muffins


I love Saturday mornings. I don’t usually sleep in – I have learned that keeping a consistent daily schedule makes it easier to get up on weekday mornings. Not everyone else in my house has the same theory though, so I usually have a few hours to myself before anyone else wakes up. I occupy my time in the early morning by going for a nice long bike ride, or by making something special for breakfast, or sometimes both!

Depending on what I have in my kitchen, I’ll often make pancakes, waffles, French toast, or something similar, especially if I have weekend house guests. If it’s just me eating breakfast, I’ll often make a quick veggie omelet or chop up some fresh fruit. Sometimes I’ll make up some biscuits and jam, and recently I made some boysenberry jam-filled cornmeal muffins.

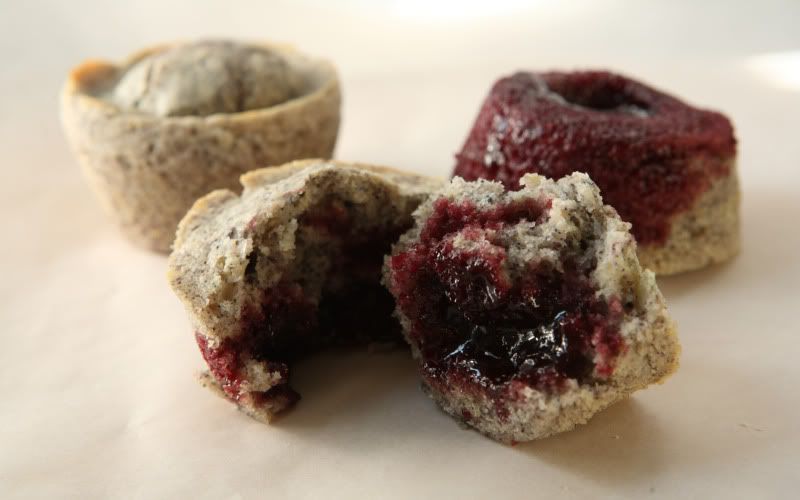
These muffins can be made with any color of cornmeal. I used blue cornmeal, but if you don’t have blue cornmeal, just use the more common yellow variety. They taste the same. You can fill the muffins with your favorite kind of jam. I used storebought jam because it’s what I had in my fridge, but it would be delicious with a homemade pan jam (let it cool before you use it!).

Cornmeal Jelly Muffins
Makes 12 muffins

1 1/4 cup flour
3/4 cup cornmeal (I used a blue variety)
1/4 cup sugar
2 tsp baking powder
1/2 tsp salt
1 cup milk
1/4 cup vegetable oil
1 egg, beaten
Approximately 3/4 cup jelly or jam, your choice of flavor

Preheat your oven to 400 degrees F. Grease 12 muffin cups, or line the tins with paper.

In a medium mixing bowl, combine the flour, cornmeal, sugar, baking powder, and salt. Set aside.

In a 2-cup liquid measure, add the milk and vegetable oil. Drop in the egg, and whisk it together with a fork to combine the ingredients. Pour the mixture into the dry ingredients and mix only until the dry ingredients are all moistened. Fill the muffin tins 2/3 of the way full.

Spoon approximately 1 Tbsp of jelly or jam on top of each unbaked muffin. (The jelly will sink in during the baking process.)
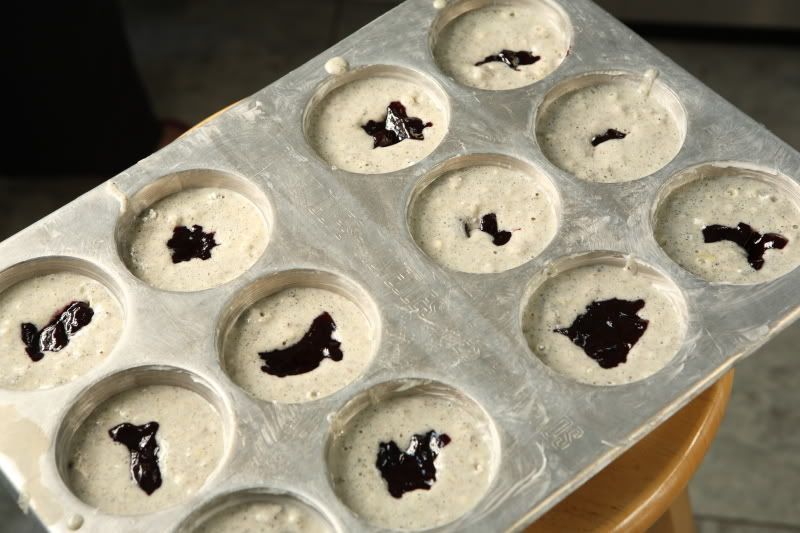


Bake 15-20 minutes, or until they are golden brown. They may take a few minutes longer than you are used to due to the jelly centers. You can use a toothpick to test the muffin – no raw batter should cling to the toothpick when they are done. The jelly will be soft and liquidy.

When the muffins are done, turn them out to cool. Caution, the jelly is very hot. Don’t attempt to eat the muffins until they have cooled, or you risk burning your mouth.
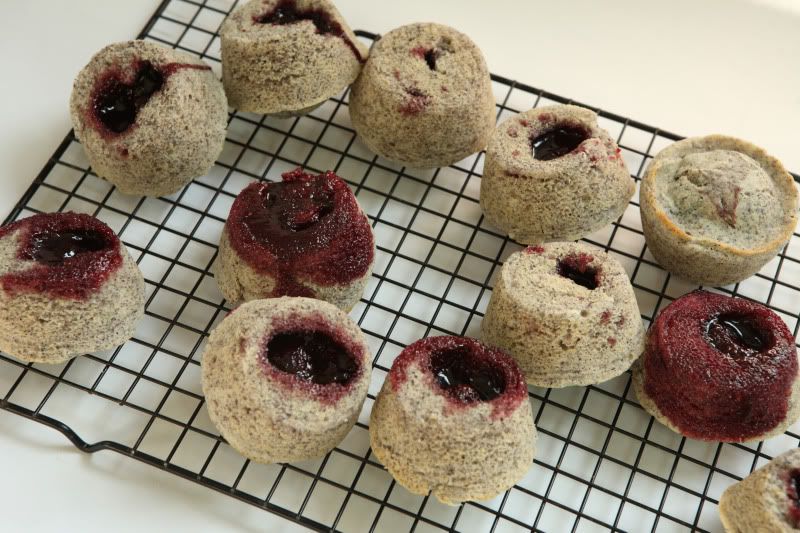


If you want the muffins to be less messy than what’s shown in the pictures here, bake them inside muffin papers or use slightly less jam.

Sunday, August 16, 2009

Better Than Church Lady Banana Bread

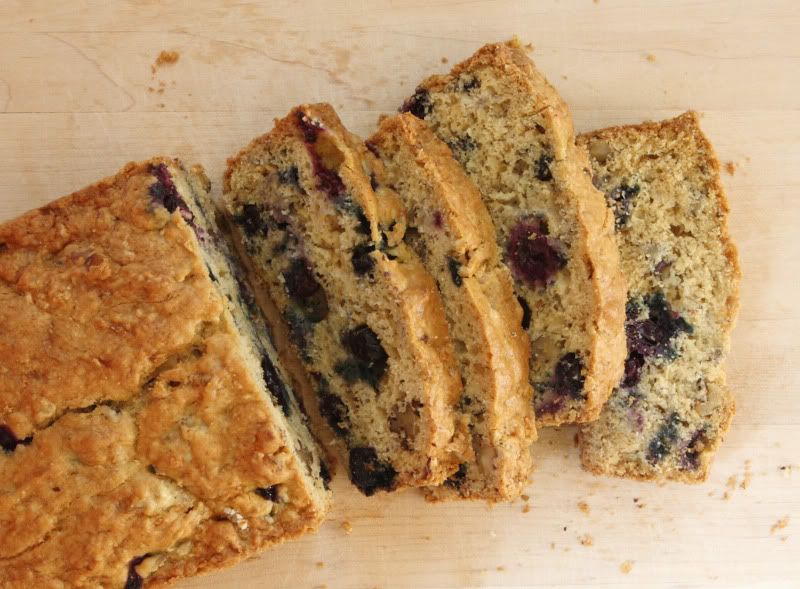
I had a banana left over from July’s Daring Cooks challenge…and what do you do when you have one leftover banana?

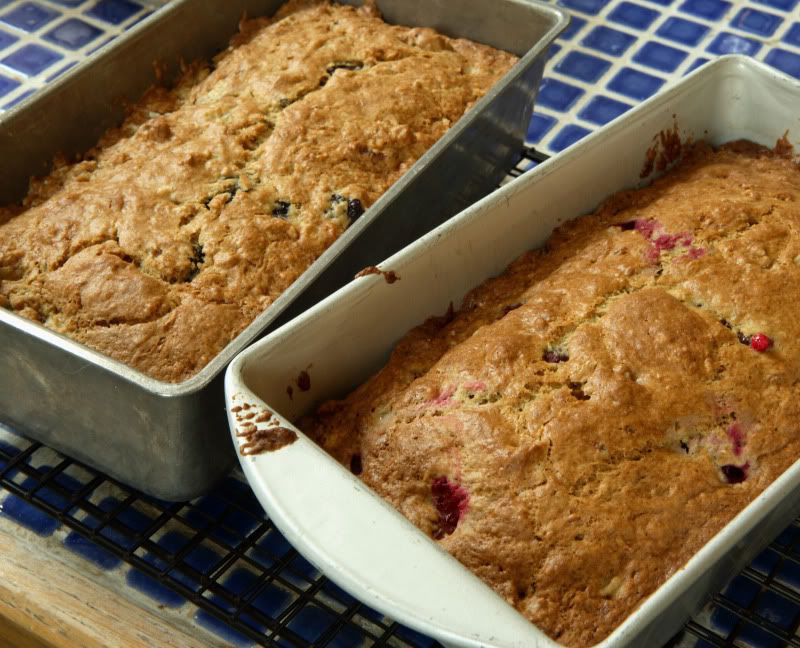
Make blueberry banana bread, of course!


And, actually, you don’t need to have a mushy, old, brown, yucky banana sitting around to make delicious banana bread. If you are short an old banana, but happen to have a fully-ripe (all-yellow, no-green) banana on hand, toss it in your mini food processor and whirl it into banana mush. Although the taste and texture of the bread is slightly better if you use an older, hand-mashed banana, this substitute works perfectly well in a pinch, and chances are no one will even notice the difference unless they have a chance to taste it side-by-side. So don’t let the lack of an overripe banana stop you from making banana bread.

After looking through a few of my cookbooks, I decided to modify a recipe from one of those church-lady compilation fundraising cookbooks. You know, those cookbooks where the ladies of a church submit their favorite tried-and-true recipe to a committee, who organizes them all, types them up, and sends the finished product in to some small publishing company for printing and binding. This particular cookbook is probably at least 25 years old – and before the days of computers, these cookbooks were a pretty big production!

Sometimes these types of cookbooks are hit-or-miss – I guess it depends on how much the parishioners like to cook. This book was from a small, rural community, was printed at a time when made-from-scratch cooking was the norm, and as it turns out, the cookbook has a few goodies in it. I’ll admit, I might be biased – my mom helped out with the production of this particular cookbook and most of the recipes I make from it are ones she submitted herself.

However, this particular recipe wasn’t one of hers – it was simply a standard banana bread recipe, which I picked specifically because it only called for one banana - that’s all I had on hand! As usual, I made a few changes to the recipe: I added berries, reduced the nuts, and rewrote it to make it easier to follow and more logical.

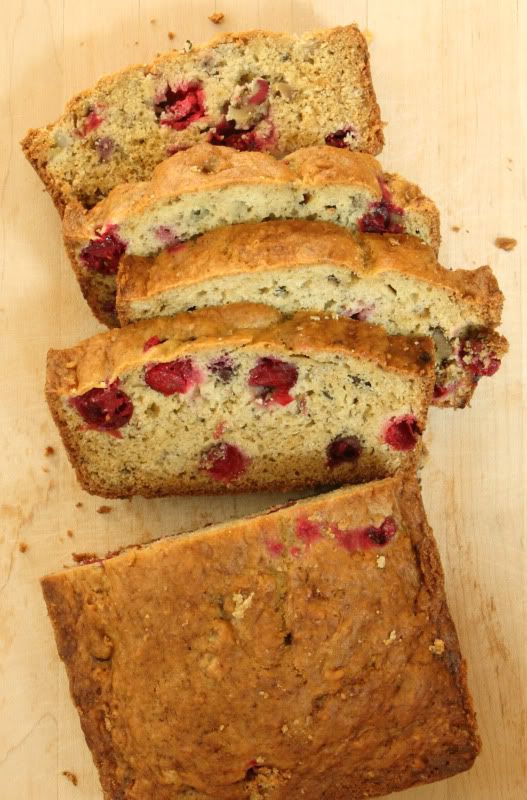
I like blueberry banana nut bread the best, but you can also make cranberry banana nut bread. You could probably substitute just about any moist fruit for the blueberries...raspberries, diced oranges, strawberries...

Better Than Church Lady Banana Bread
Makes one 8.5” loaf

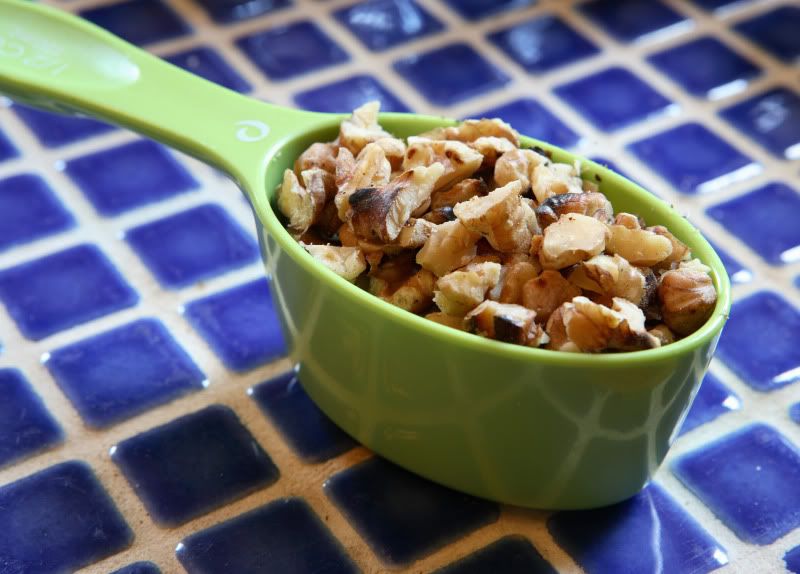
1/2 cup coarsely chopped walnuts
1 3/4 sifted cake flour (I used White Lily brand All-Purpose flour and it worked fine)
1 3/4 tsp baking powder
3/4 tsp salt
1/2 tsp baking soda
1 c blueberries (or cranberries)
1 Tbsp all purpose flour
1 Tbsp granulated sugar (ONLY if you use cranberries…if you use blueberries, omit this)
1/3 cup butter
1/2 cup brown sugar
2 eggs
1 roughly mashed-up, slightly overripe banana

Preheat the oven to 350 degrees. Grease an 8.5x4.5x3” loaf pan. I think the crust tastes best when the bread is baked in a light-colored pan, not a dark nonstick pan.

In a small skillet, toast the walnuts over medium-high heat until they begin to brown, stirring occasionally. Remove them from the pan; set them aside to cool. Chop any of the larger pieces (the nuts shouldn’t be any bigger than a small blueberry).


In a medium bowl, whisk together the cake flour, baking powder, salt, and baking soda. Set aside.

In a small bowl, toss the blueberries or cranberries together with the 1 Tbsp all-purpose flour (and the 1 Tbsp granulated sugar, if you are using cranberries) until the berries are evenly coated. Set the berries aside.

Cream the butter and sugar until fluffy and well-combined. Beat in the two eggs. Stir in the mashed banana. (It’s not necessary to totally mash the banana into mush – leave some chunks in the batter!)

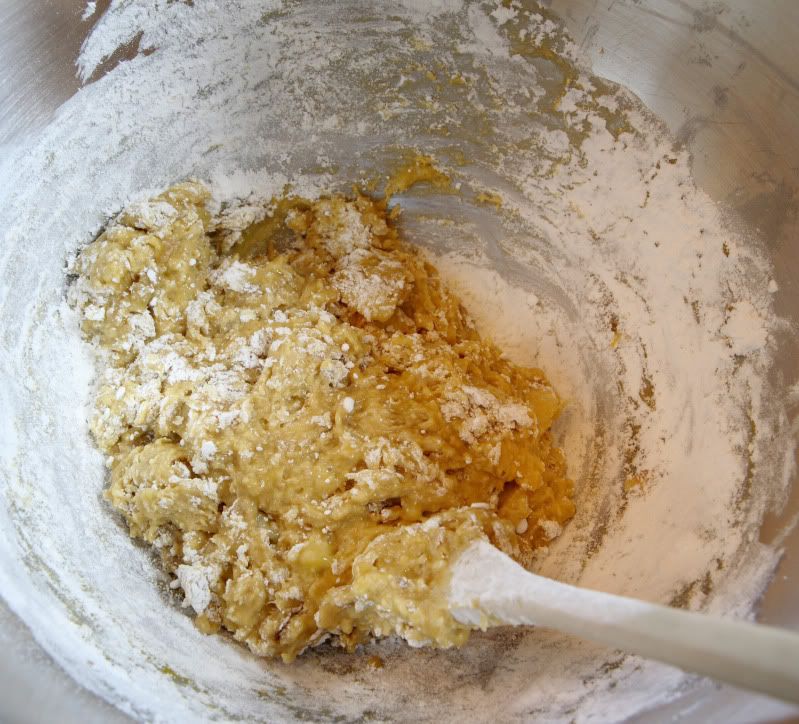
Gently fold the flour mixture into the egg mixture, stirring only until the flour is nearly mixed in. There should still be flour on the sides of the bowl.


Add the floured berries and the toasted walnuts, folding them into the batter only until they are evenly distributed and the remaining flour has been incorporated. Do not overmix the batter.

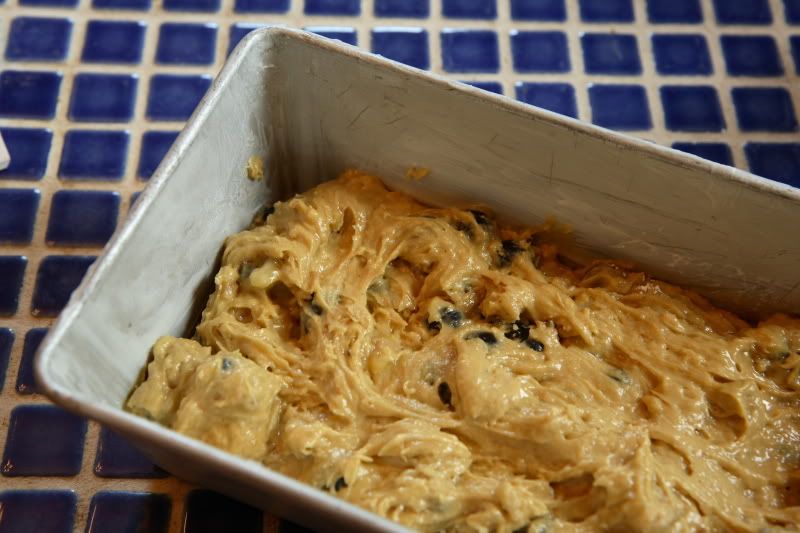
Spread the batter into the greased pan.


Bake at 350 degrees for 50-55 minutes, or until the bread tests clean when a toothpick is inserted into the center of the bread. Cool the bread inside the pan until you can’t stand to wait anymore (at least wait until you can handle the bread without a hot pad!).


Turn the bread out to a wire rack to cool to room temperature (or eat it!).

The original recipe recommends waiting a day before eating the bread (to let the flavors meld) but I can hardly wait that long! I think the bread tastes best when it is cut into thick, still-warm slices and topped with firm, cold, unsalted butter bits – the warm bread contrasts nicely with the sweet, cool butter. Yum!

Pretty cranberry bread:

Sunday, July 12, 2009

Simple Biscuits and Jam


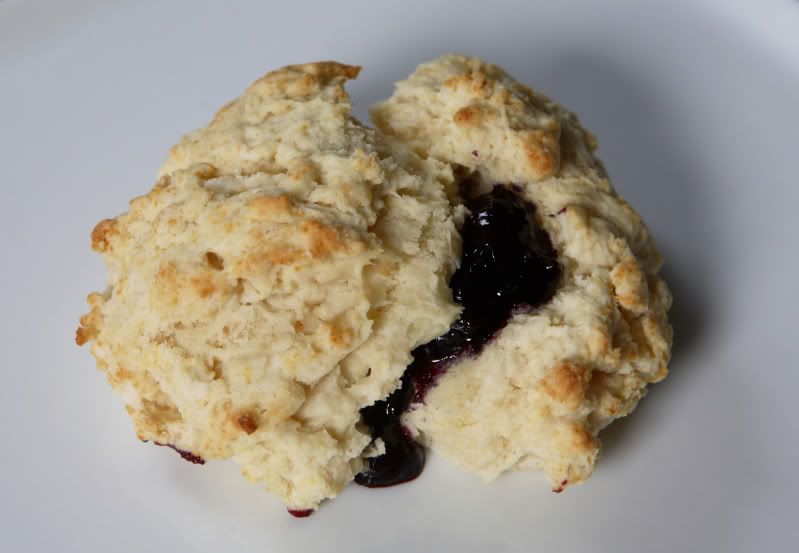
Homemade biscuits are so easy, I never can understand why anyone would want to make them out of Bisquick. These biscuits are tender and soft. They don’t call for butter, so they’re the perfect neutral base for homemade jam. You can easily add a bit of sugar to them to make biscuits for strawberry shortcake.

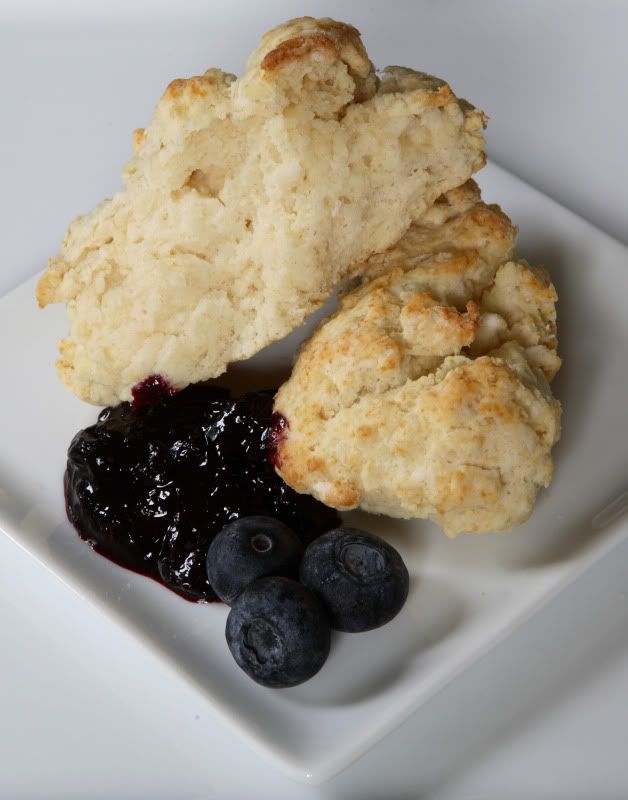
I served these for breakfast this morning with some homemade blueberry jam, following the same small-batch blueberry pan jam recipe I used for the June Daring Bakers Bakewell Tarts challenge.

Simple Baking Powder Biscuits
Makes 5 to 6 biscuits

2 cups flour
1 tsp salt
4 tsp baking powder
1/4 cup shortening
3/4 cup milk

Preheat the oven to 450 degrees. Cover a cookie sheet with a piece of aluminum foil or parchment paper (or you can grease the sheet if you’d prefer).

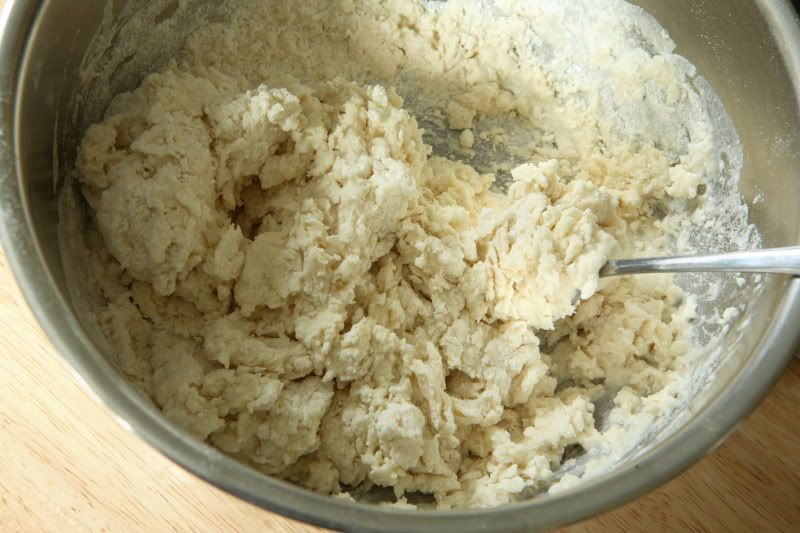
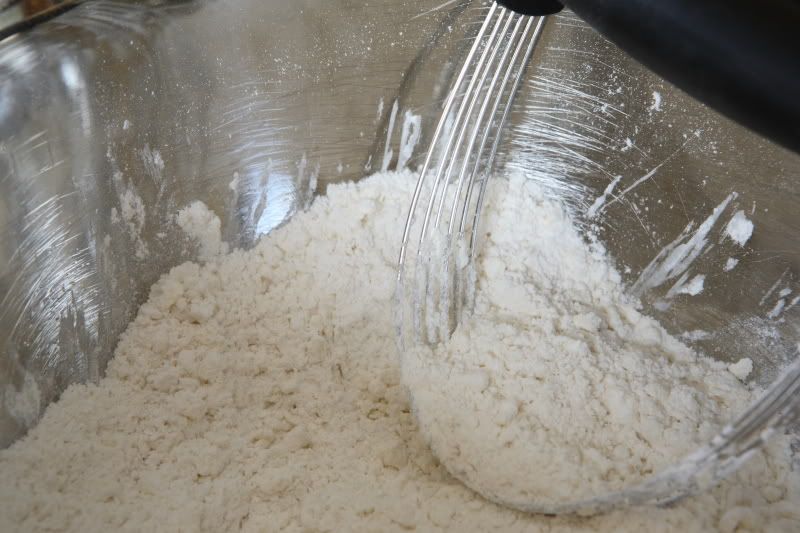
Mix together the flour, salt, and baking powder. Add the shortening and use a knife, fork, or pastry blender to cut in the shortening until small pea-sized pieces are left. The appearance should be very similar to this picture, from the crust for the Bakewell Tarts I made for the June Daring Bakers challenge.

If you’re making homemade pan jam, start it now. Let it slowly simmer while you finish the biscuit dough.

Pour in the milk, and use a fork to mix the dough only until it is barely combined. The dough will appear rough and ragged and some dry bits will be left in the bowl. Do not overmix the dough.


Shape the dough into five or six freeform biscuits and place on the cookie sheet. Bake for 12-15 minutes, until lightly browned, fluffy, and just barely done in the center.


If you’d like to make these as dessert biscuits for strawberry shortcake, add 2 Tbsp of sugar to the dry ingredients in the first mixing step.