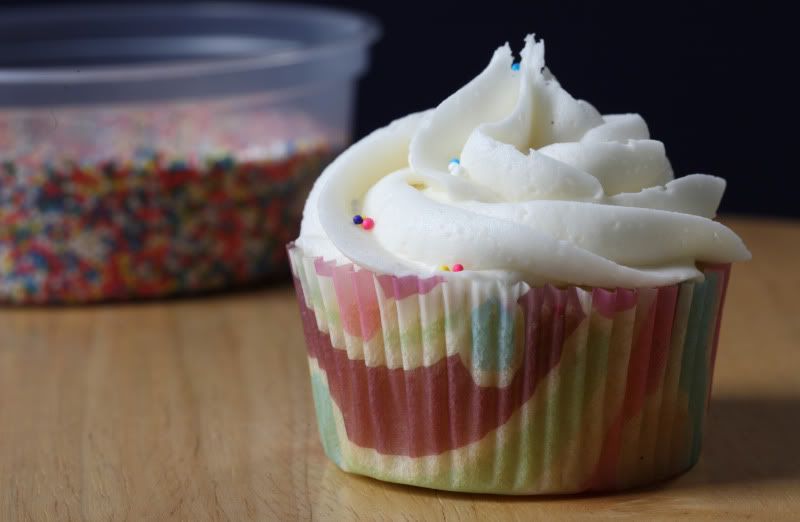
The day after New Year’s Eve is a great day for a lazy day – most people probably need a little bit of recovery time after their New Year’s Eve festivities, so no one really expects anything other than just that. Assuming you’re not working, you can sleep in, be unmotivated to accomplish much of anything, lounge around the house, take a nap, watch TV, and think of nothing of any importance.
So, being as the day I baked this recipe did happen to be the day after New Year’s Eve, and being as I had it off from work, I took full advantage of the opportunity for a lazy day, and slept most of the morning, surfed the internet, spent the day in my PJ’s, and just plain took the day off. The most complicated thing I thought of was whether or not I should take a nap (I initially decided against it since I slept in that morning and didn’t want to screw up my sleeping schedule for later that night, but then decided I was tired and a nap was definitely in order.). I also thought about what I might want to make for the blog next.
I initially thought of cookies, but I guessed that most people are rather cookied-out now that we’re at the close of the holiday season. (Posting any kind of cookie in January seems a little unfashionably late.) Then my mind moved to cupcakes. I haven’t made cupcakes in a long time – not since the last time I made my knockoff Hostess cream-filled cupcakes. Those are delicious, but I decided they were too much work for my low brainpower day…however something a little less difficult would be perfect – like a classic vanilla cupcake with a swirly crown of frosting.
These cupcakes are super easy to make, so they are perfect if you’re having a lazy day like I was, or if your kids want to bake and you want to give them a recipe that is simple and uncomplicated. The recipe is no more difficult to make than a batch of cookies (they actually kind of taste like sugar cookies in cupcake form), and it is made with things I almost always have in my fridge and pantry. The recipe does call for both cake flour and all-purpose flour, and you should definitely use both as the recipe is written or you’ll end up with a cake that is too dry and dense. The only ingredient that might be slightly more unique is buttermilk. I always keep a container of dry powdered buttermilk in my fridge for recipes such as this (it takes a very long time for it to go bad, so I recommend you do the same even if you hardly ever use it). If you don’t have that in your fridge, the chances are better that you might have some milk in there, and hopefully you have some vinegar somewhere around your house, so you can do the old fake buttermilk (vinegar-in-milk) trick in lieu of actual buttermilk. (I’ve included the directions for this substitution in the recipe ingredients list.)
Note that one reason the recipe is so simple is because there are no egg whites to whip. The lack of whipped egg whites means the cakes aren’t going to be as light and airy and perfect in texture as a cake with whipped whites included. Sometimes I'm willing to sacrifice a bit of texture in favor of simplicity…sometimes I'm not. If you’re just looking for a quick and easy cupcake recipe and don’t require perfection in the sponge cake world, these cupcakes will definitely fit the bill. What I'm hinting at is, while these cupcakes aren't bad, nor are they going to be the cornerstone recipe of the next cupcake boutique shop. But they are nice, easy-to-make, simple, unassuming cupcakes.
This recipe originally came from Martha Stewart’s Cupcakes cookbook. While the cupcake recipe was pretty good given the limitations I’ve described above, I wasn’t satisfied with the quality of the frosting recipe that accompanied the cupcakes in the cookbook. It didn’t make enough frosting, was excessively dense, buttery and greasy, and just wasn’t very good. The frosting was so bad that I tossed it and made something different - much better tasting. You should make the frosting I’ve posted below, or whatever your favorite buttercream frosting happens to be, instead of the frosting recipe written in the cookbook.
Vanilla Buttermilk Cupcakes
Makes about 42 standard-sized cupcakes, more or less, depending on how full you fill the tins. The original recipe claimed a yield of 36 cupcakes, but I got 48 out of the batch...
3 cups cake flour
1-1/2 cups all-purpose flour
3/4 tsp baking soda
2-1/4 tsp baking powder
1-1/2 tsp coarse salt
1 cup plus 2 Tbsp unsalted butter (that’s 2-1/4 sticks), room temperature
2-1/4 cups sugar
5 whole eggs, plus 3 egg yolks
2 cups buttermilk (or use dry buttermilk according to the package instructions, or substitute fake buttermilk: place 2 Tbsp vinegar in a 2-cup liquid measure. Add milk to fill up the measure to 2 cups)
2 tsp vanilla extract
frosting and sprinkles, to decorate
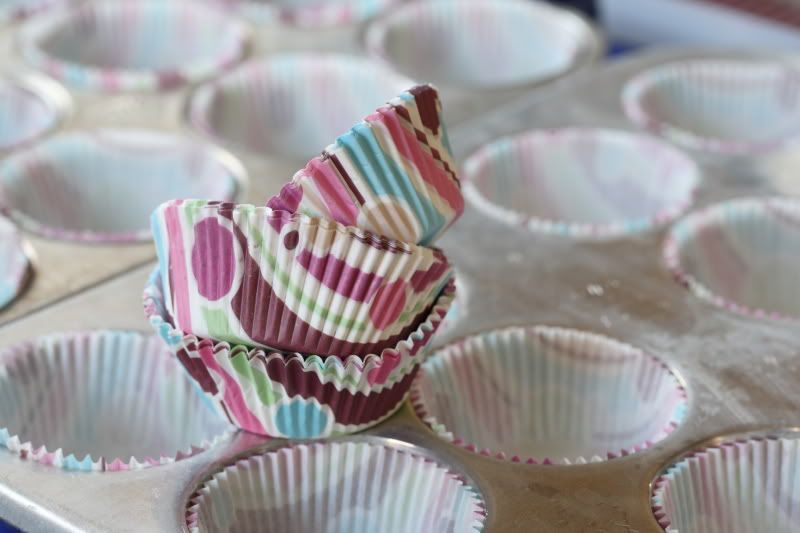
Preheat oven to 350 degrees F. Line standard muffin tins with liners. (I got these neat Wilton cupcake liners for 99 cents from Hobby Lobby!)
In a medium bowl, whisk together both flours, the baking soda, baking powder, and the salt. Set the bowl aside.
With an electric mixer on medium-high speed, cream the butter and sugar until pale and fluffy. Add the eggs one at a time (both the whole eggs and the egg yolks), beating until they are completely incorporated between each addition. You may need to scrape down the sides of the bowl a few times as you work.
Add the flour mixture in three batches, alternating with two additions of buttermilk, and beating until combined after each.

Beat in the vanilla.
The finished batter is thinner than the above photo (it shows the batter mid-way through the mixing process). Divide the batter between the cupcake liners, filling each 2/3 to 3/4 full.

Bake about 18-20 minutes, or until a cake tester inserted in the center comes out clean. Turn the cupcakes out onto racks and cool completely before frosting. The cupcakes will taste best when they’re served the same day they are baked.

(Oops, one cupcake liner was kind of bent in! You know what that means? Taste test cupcake!!)
Vanilla “American” Buttercream Frosting
Makes 6 cups, which is about 58 ounces of frosting. And there's a reason I gave you the yield of the frosting in ounces:
If you intend to frost your cupcakes with “cupcake shop”-style swirly tops (using a piping bag and a Wilton #2110 (1M) tip), this makes just enough to top 42 cupcakes assuming you use no more than 1.4 oz of frosting per cupcake.
If you intend to frost your cupcakes using the “smear with a knife” method, you can probably just make a half batch of this recipe, because my experience is that you’ll use much less frosting per cupcake (usually about half, so no more than .7 oz of frosting per cupcake), and therefore won’t need as much frosting to get the job done. If you anticipate you’ll have a heavy hand with the frosting, you might want to make 2/3 or 3/4 of a batch of frosting.
3/4 cup unsalted butter, room temperature
6 Tbsp shortening
2 tsp vanilla
1/2 tsp salt
12 cups powdered sugar (about 3.2 pounds)
3/4 cup milk
Beat the butter, shortening, vanilla, and salt on medium-high speed until everything is well incorporated. Meanwhile, I suggest that you measure the powdered sugar into a new, separate mixing bowl. (Doing so means you wont have to keep track of how many cups of sugar have been added to the frosting as you’re making it.) Similarly, its easier to make the frosting if you have the milk measured into a liquid measuring cup with a spout.
After the butter has been fully mixed, the powdered sugar and milk should be added to the butter mixture a little bit at a time, alternating between the two. I turn the mixer to low (or powdered sugar will be everywhere!) and use the pouring shield to drop in 1 cup of sugar. I wait until the sugar has been incorporated into the butter mixture, then add a splash of milk, about 1 tablespoon for each addition. Once the milk has been incorporated, I add another cup of sugar, wait for it to mix in, then add another tablespoon of milk, and so forth, until all of the sugar and milk has been added to the frosting. It takes time to make the frosting, but you’ll have smooth, airy, lump-free frosting when you make it this way.
After the ingredients are all mixed in, beat the frosting on high speed until it is creamy and smooth. It should be spreadable and pipeable, but you may need to adjust the consistency with a small addition of powdered sugar (sift it over the surface, then mix it in) or an additional drop or two of milk.