Sunday, February 24, 2008

Fettuccine with Spinach Pesto


This is one of my favorite recipes to make on a Monday night – the busiest night of my week, since I have a class to attend that night. I don’t have much time to make dinner that night, so we often have this since it is so quick to prepare!

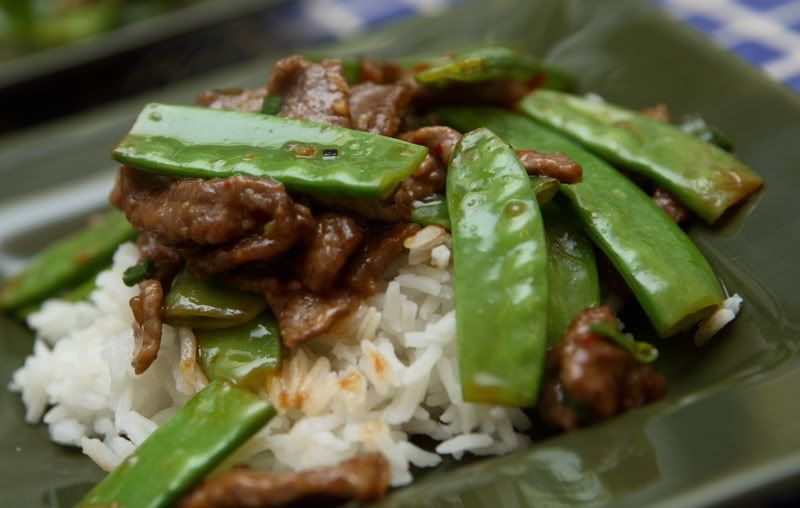
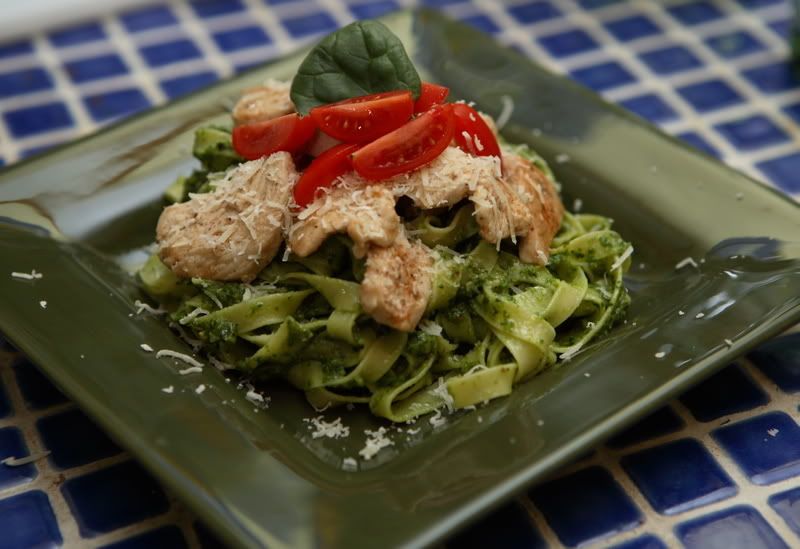
I love this dish – it’s so bright, flavorful, and easy!

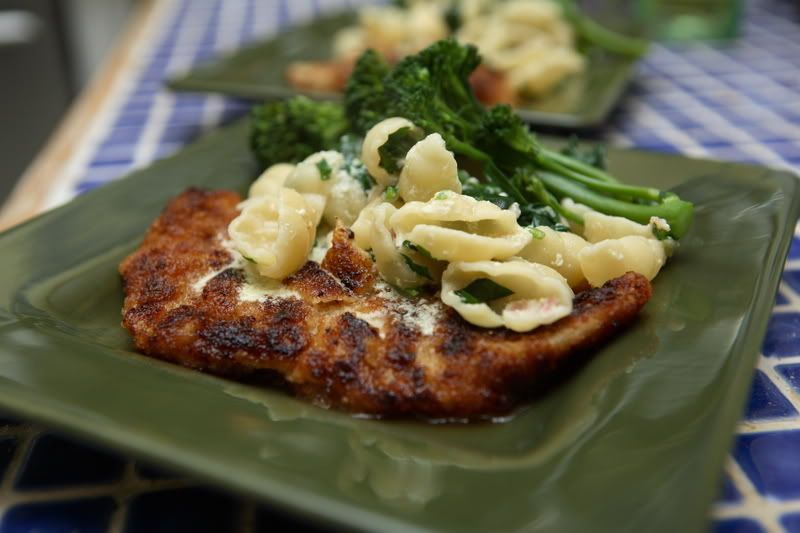
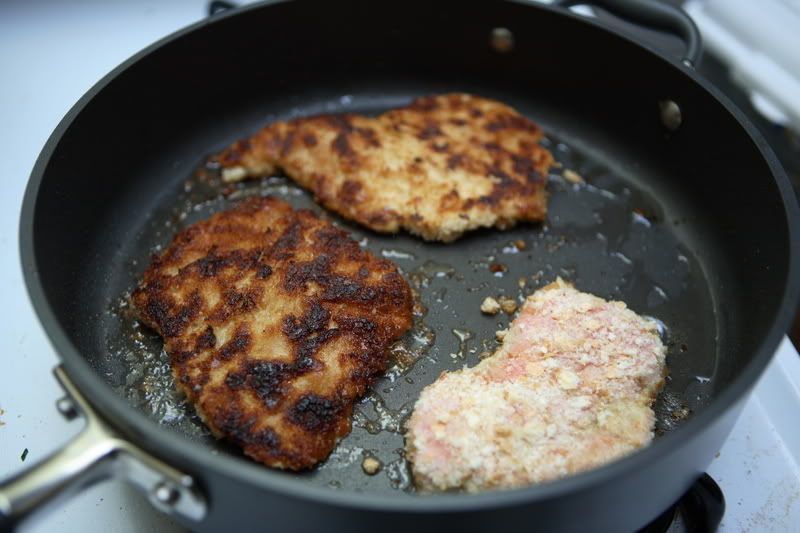
In the version shown below, I used turkey breast tenderloin, but I usually just make it with chicken breast. Either choice is delicious.

The original recipe came from the March 2007 issue of Everyday Food magazine. I make this recipe so often that I don’t even look at the original version anymore, so the recipe I’ve posted here reflects any changes I have made.

Fettuccine with Spinach Pesto
Serves 4

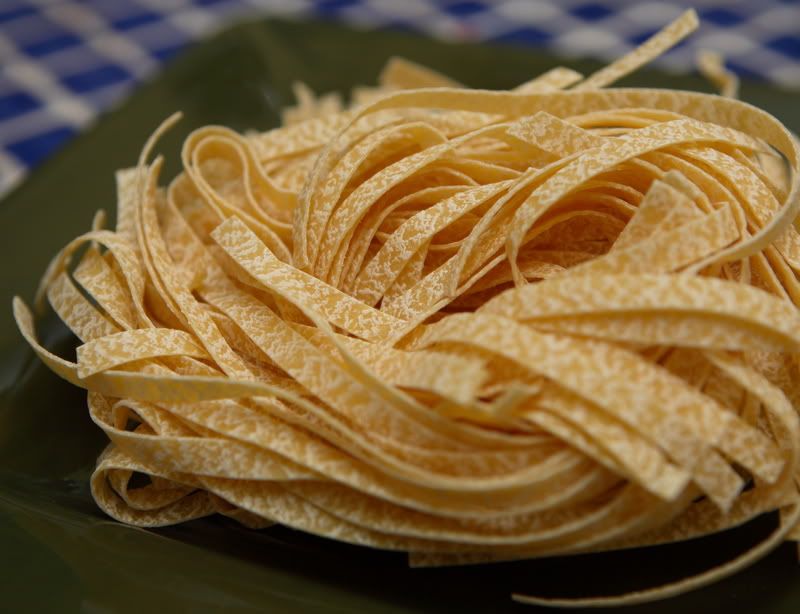
12 ounces fettuccine
2 boneless, skinless chicken breast halves, or an equivalent amount of turkey breast
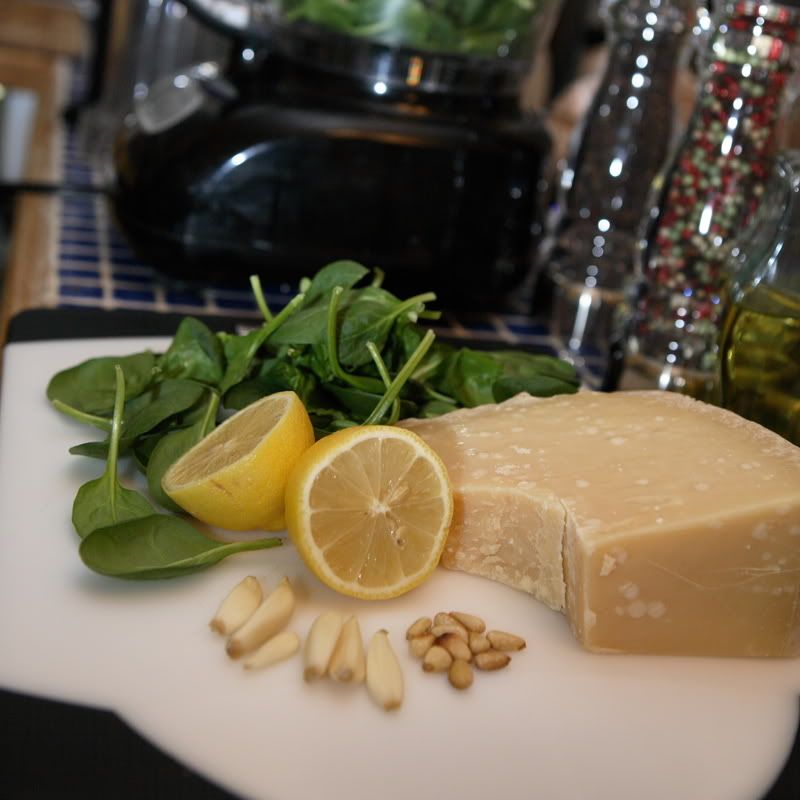
¼ cup pine nuts
10 ounces fresh baby spinach
3 ounces Parmigiano-Reggiano cheese, cut into chunks, plus a small additional amount for garnish
3 cloves garlic
Zest and juice from one lemon

Cook pasta according to package directions.


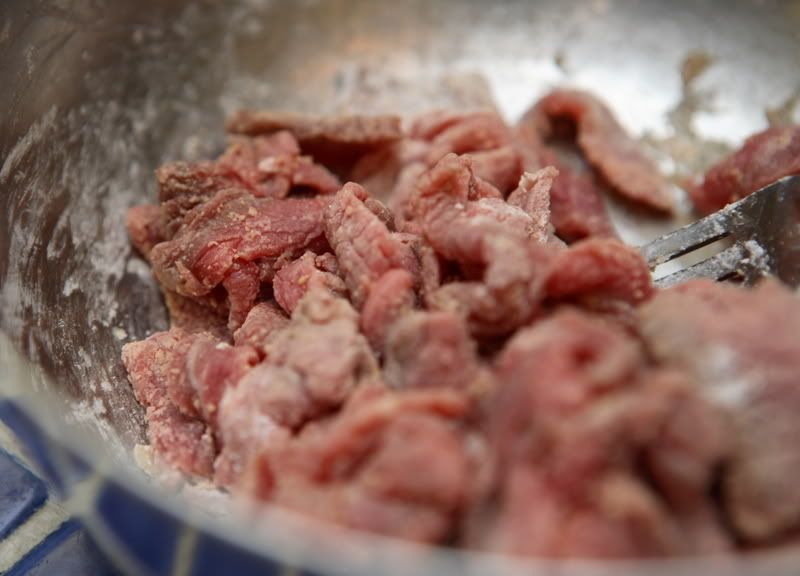
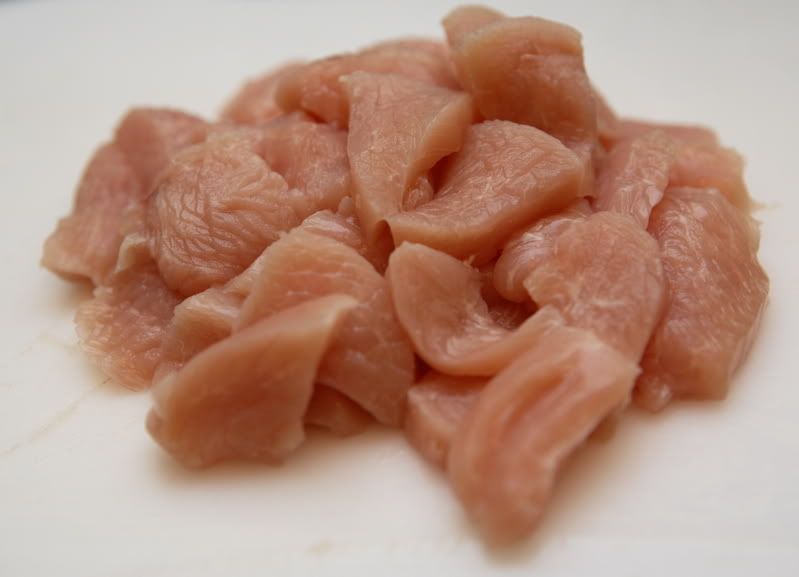
Meanwhile, chop poultry into bite-sized pieces.


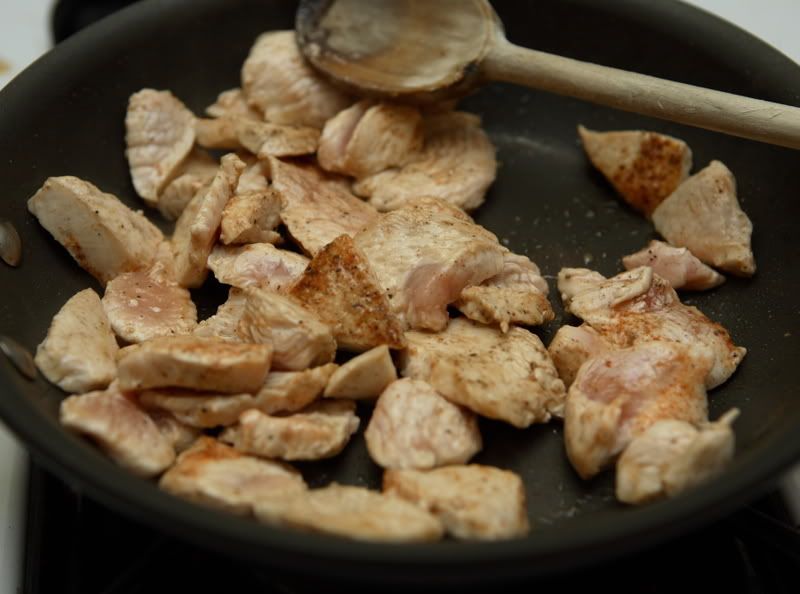
Sprinkle poultry with salt and pepper. In a large skillet, cook the meat over medium-high heat until it is barely done


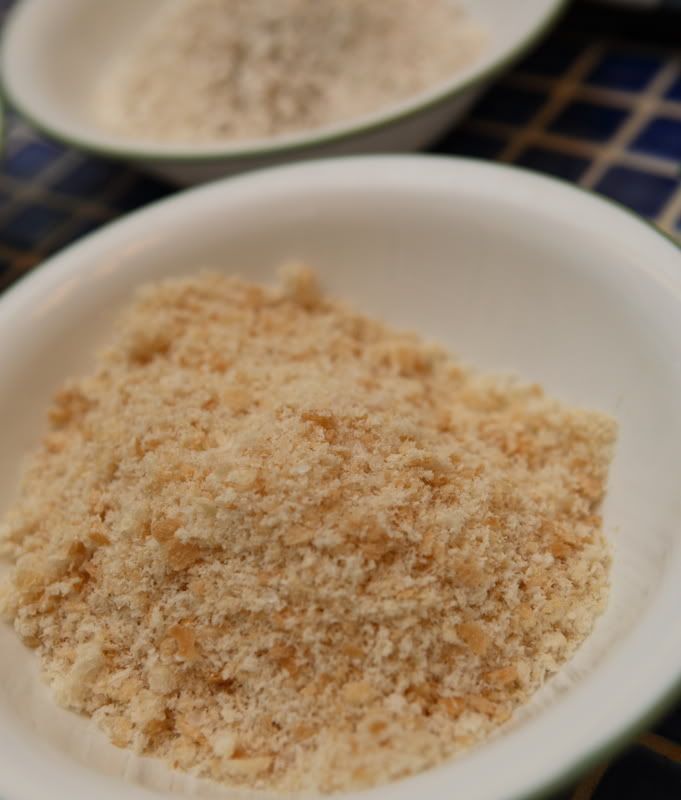
In a small skillet, toast the pine nuts over medium heat, stirring them constantly and watching them carefully to ensure they do not burn. Once they turn golden brown and start to smell toasted, remove them from the pan; set them aside to cool. Reserve 1 tablespoon for garnish.

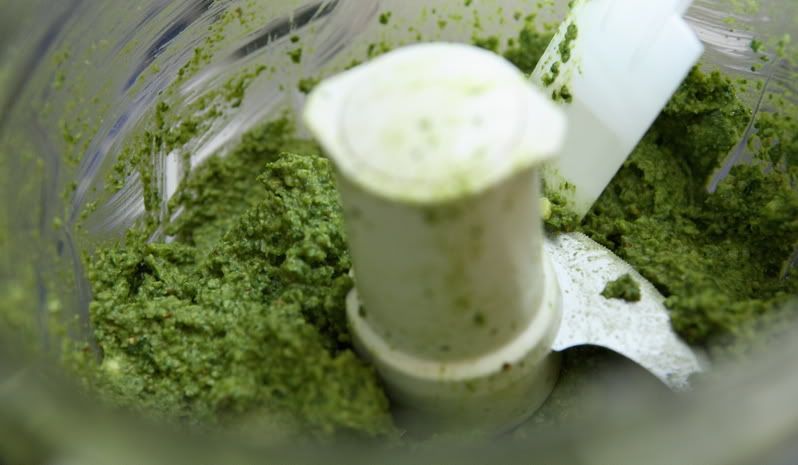
In the bowl of a large food processor, place the spinach, parmesan, 3 tablespoons toasted pine nuts, garlic, lemon zest, olive oil, and lemon juice. Process until everything is finely chopped, scraping the bowl as needed to ensure everything is evenly chopped.


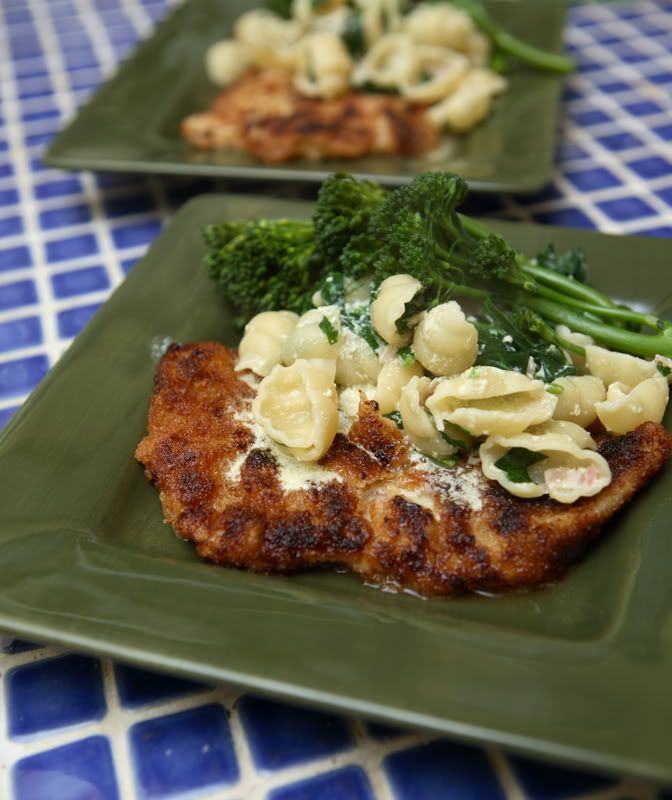
While pasta is draining, place processed spinach mixture in the empty pasta pot over medium heat. Stirring constantly, cook mixture for 1 or 2 minutes, until the sauce is heated through. Add the drained, cooked pasta; stir to coat evenly. Garnish with the remaining tablespoon of pine nuts and parmesan cheese.

I also chopped up some cherry tomatoes and used them alongside a spinach leaf for garnish.

Wednesday, February 20, 2008

A Quick Kielbasa and Sauerkraut Sandwich Dinner

I needed a quick dinner tonight, so I made sausage and sauerkraut sandwiches. I sliced fully-cooked kielbasa in half lengthwise and placed it in a sauté-style frying pan (a frying pan with taller-than-normal edges). I added about 1 cup of apple juice (apple cider would work even better if you have it!) and mixed in about a tablespoon of grainy mustard. Then I simmered the mixture over medium heat until the apple juice was slightly reduced and the sausages were heated through. I added sauerkraut to the pan and heated it through.

Meanwhile I “grilled” some rye bread: I did this similarly to how I would make a grilled cheese sandwich, but minus the cheese. I spread one side of the bread with reduced-fat mayonnaise (you might be used to using butter - I've never heard of anyone else using mayo to make grilled sandwiches besides me and my family). Then I placed the bread in a frying pan over medium-high heat, mayo-side down, and fried the it until it was a nice, golden brown.

To assemble the sandwich, I spread the ungrilled side of the bread with mustard, then topped it with the kielbasa and sauerkraut. Yum!

Tuesday, February 19, 2008

Ginger Beef Stir-Fry with Snow Peas and Jasmine Rice

Here’s a quick and easy weeknight dinner idea. The recipe is very flexible: you could easily substitute your favorite quick-cooking vegetable for the snow peas (try broccoli, carrots, or sugar snap peas). If you don’t happen to have any beef on hand, you could use poultry, pork, or a firm tofu in its place. The scallions add a nice flavor and are easier to prepare than onions – no tears! If you have any sesame oil on hand, drizzle a very small amount on top of your plated meals right before serving.


Ginger Beef Stir-Fry with Snow Peas and Jasmine Rice
Serves 4

1 cup jasmine rice (or any Asian rice)
Water, for cooking the rice (refer to the rice package directions for the quantity)
1 lb sirloin steak
1 Tbsp cornstarch
Ground black pepper
2 Tbsp low-sodium soy sauce, divided
12 ounces snow peas, trimmed as necessary
Vegetable oil, preferably peanut oil, for stir-frying
1 clove garlic (or to taste)
1 Tbsp fresh ginger, peeled and finely chopped
5 scallions
1 Tbsp chili garlic sauce, such as Lee Kum Kee brand (or use your favorite Asian hot sauce, to taste)
Juice of one lime
1 Tbsp brown sugar


Start to cook the rice according to the directions on its package.

Meanwhile, slice the steak as thinly as possible into bite-sized pieces. Toss the pieces in the cornstarch, pepper, and 1 tablespoon of the soy sauce. Set aside.


Finely chop the garlic; set it aside. Peel and finely chop the ginger; set it aside. Trim the snow peas; set them aside.


Finely chop the scallions, separating the green “tops” from the lighter green and white “bottoms."

Heat the vegetable oil in a large frying pan or wok over medium-high heat; add the chopped garlic and the chopped scallion “bottoms” (set the “tops” aside, they will be added later).


Stir-fry the garlic/scallion mixture for a minute or two, then add the trimmed snow peas. Stir-fry the snow peas until they turn bright green, then transfer the snow pea mixture to a bowl, emptying the frying pan.

Heat a small additional amount of vegetable oil to the pan, then add the sliced steak and the chopped ginger to the pan. Stir-fry the meat until it is barely browned – it will just take 1 or 2 minutes. Return the snow pea mixture to the pan; add the chili garlic sauce, lime juice, brown sugar, remaining 1 tablespoon of soy sauce, and scallion “tops.” Stir to incorporate and heat all of the ingredients. Serve piping hot with rice.

Saturday, February 16, 2008

Valentine's Dinner: Veal Marsala


To go along with our Valentine's Day Bittersweet Chocolate Mousse, we had a variation of Veal Marsala, served alongside some broccolini and a quick pasta with a sauce inspired by the classic Italian carbonara sauce. I didn’t use a recipe for the pasta sauce, since it was thrown together at the last minute with a few ingredients I had on hand: “hmmmm what could I put on this pasta?”

Carbonara pasta is basically pasta with a creamy sauce containing copious amounts of cheese (typically Parmesan Reggio), eggs, and Italian ham. It’s a very luscious, delicious, rich dish – but since my meal wasn’t focusing on the pasta, and since Carbonara isn't exactly health food, I felt it was acceptable to scale it back in fat content (I used homemade chicken stock in lieu of some of the dairy, and used a smaller quantity of half-and-half instead of the full quantity of cream.). Yeah, it wasn’t quite as rich and delicious as normal, but nor was it quite as sinful either. It was still a very tasty side dish for our meal. I snapped a couple of pictures of the uncooked pasta and the pancetta to pique your interest:


The Marsala recipe came from Make It Italian, by Nancy Verde Barr. It could easily be made with chicken or turkey cutlets pounded thin. The recipe below reflects my changes from the original recipe.

Veal Marsala
Serves 4

About 1 pound veal scaloppine, pounded to ¼-inch thick, cut into manageable sizes
1 cup flour
Salt and pepper
1 egg, lightly beaten with a few tablespoons of water
1 ½ cups fresh bread crumbs
Several tablespoons of olive oil, for pan-frying
2/3 cup dry Marsala wine
2 Tbsp unsalted butter

Thoroughly dry the veal with paper towels. In a small bowl, season the flour generously with salt and pepper. Prepare a little assembly line: one bowl of the seasoned flour, one bowl of the beaten egg mixture, and one bowl of bread crumbs.


Dip the veal into the flour, being careful to coat the piece entirely. Pat the meat to remove any excess flour, then dip it into the egg mixture, coating the piece entirely. Allow the excess egg to drip off of the meat, then transfer the veal to the bread crumbs, using your fingers to pat the crumbs onto the meat.

Heat the olive oil in a large frying pan over medium-high heat. Add the coated meat pieces and cook until barely they are nicely browned, but barely done. (Depending on the thickness of your meat, it might be as little as 1-2 minutes on each side.) Be cautious as you are turning the pieces, as the coating is delicate and may start to fall off. Remove the meat from the pan; set aside.


Add the Marsala and butter to the pan, stirring to scrape up any browned bits. Allow it to boil aggressively for a few minutes. Return the meat to the pan, warming it through. Serve immediately.

Valentine's Dinner: Bittersweet Chocolate Mousse

This year we celebrated Valentine’s Day early. Our favorite restaurant books up months in advance for the holiday, and we could only get a reservation for the Friday prior to what is definitely one of the busiest weekends of their year. That was okay – we prefer to go on a day where they are not so busy – a day when we don’t feel guilty for relaxing over a bottle of wine because there is no massive line of patrons piling up towards the door. We enjoyed our slow-paced, relaxing evening so much that we agreed to try to celebrate Valentine’s Day a week early every year from now on.

It was also nice because I had the best of both worlds: I got to relax and eat out at my favorite restaurant, but also got to have fun making a nicer-than-average-but-no-overkill-required-since-we-already-had-the-real-deal dinner on the day of the actual Valentines Day holiday.


I wasn’t sure what to make for dessert until I stumbled across a recipe on the Everyday Food website. Although I love mousse, I rarely make it for some reason, so I thought it would be a nice change from what I might normally make. The recipe below reflects my changes from the original recipe.

The original recipe says it serves four. I disagree: Yes, it could be divided into four servings, but they would be so small that they would be difficult to attractively plate and present if you were planning on serving the dessert to guests. It is, however, perfect to make into two somewhat larger servings and share one of these larger servings with your significant other, saving the second portion for later. (But, it generally wouldn’t be appropriate to serve a single dessert to two random guests and demand that they share it between themselves.)

Bittersweet Chocolate Mousse
Yield: 2 large servings

2 ounces bittersweet chocolate, plus a small additional amount to be used as garnish
4 large egg yolks
¼ cup sugar
A pinch of salt
2 Tbsp unsweetened cocoa powder
1 cup heavy whipping cream (3/4 cup will be used in the recipe; ¼ cup will be used as a garnish)

Finely chop the bittersweet chocolate – for best results, pieces should be pea-sized or smaller. (I used Scharffen Berger 70% Cacao Bittersweet chocolate.) Set chopped chocolate aside.


In the top of a double boiler or in a heat-safe mixing bowl set above (but not in) gently-simmering water, whisk the egg yolks, sugar, and salt until the sugar has dissolved. The mixture will thicken ever so slightly.

Remove the bowl from the heat and whisk in the chopped chocolate and the cocoa powder. (To keep the flavors similar, I used the same brand of cocoa, Scharffen Berger Natural Unsweetened Cocoa Powder.) The mixture will be thick. Allow this mixture to cool to room temperature. As it cools it will become even more thick and sticky – give it a stir every few minutes to keep it loose.


Once the chocolate mixture has cooled, in a separate bowl, beat only ¾ cup of the heavy whipping cream until soft peaks form (reserve the last ¼ cup of unwhipped cream for the garnish, which won’t be used until just before the dessert is served). Whisk half of the whipped cream into the chocolate mixture, then use a rubber spatula or flat spoon to fold in the remaining half of the whipped cream.


Divide the mixture between your serving dishes. Refrigerate for at least two hours and up to one day.

Immediately before serving, grate a small amount of bittersweet chocolate over the mousse as a garnish.

In a small bowl, whip the remaining ¼ cup of whipping cream until stiff peaks form. Place the whipped cream into a small plastic baggie, pushing it into one corner of the bag. Snip a small triangle off of the corner of the bag. Use the baggie as a piping bag to decorate the top of the dessert.


I love using my martini glasses as dessert cups!

The dessert was delicious, but I prefer my chocolate desserts slightly less sweet. It would be great to serve to someone who enjoys desserts but isn’t necessarily a chocoholic. Will I make it again? Probably, but next time I plan to try to modify the recipe to yield more mousse with less sugar. I’ll let you know how it works out...