I first learned how to make Chinese dumplings during a college-sponsored trip to China nearly ten years ago. I participated in a study abroad program and spent the better part of a summer travelling around China with 12 classmates and two teachers. It was a great experience – one of our teachers was born in rural China so he took us to all of the places he used to go to as a child and young adult. Thus, it was a better experience than what I imagine most tourists’ visits might be like – less emphasis on the commercialized tourist-oriented sites and more emphasis on actually learning about Chinese culture. We stayed in our host college’s dormitories and our daily activities were more like those of a Chinese college student’s rather than those of an American tourist.
One day our Chinese friends taught us how to make dumplings – we were taught that the Mandarin Chinese word was
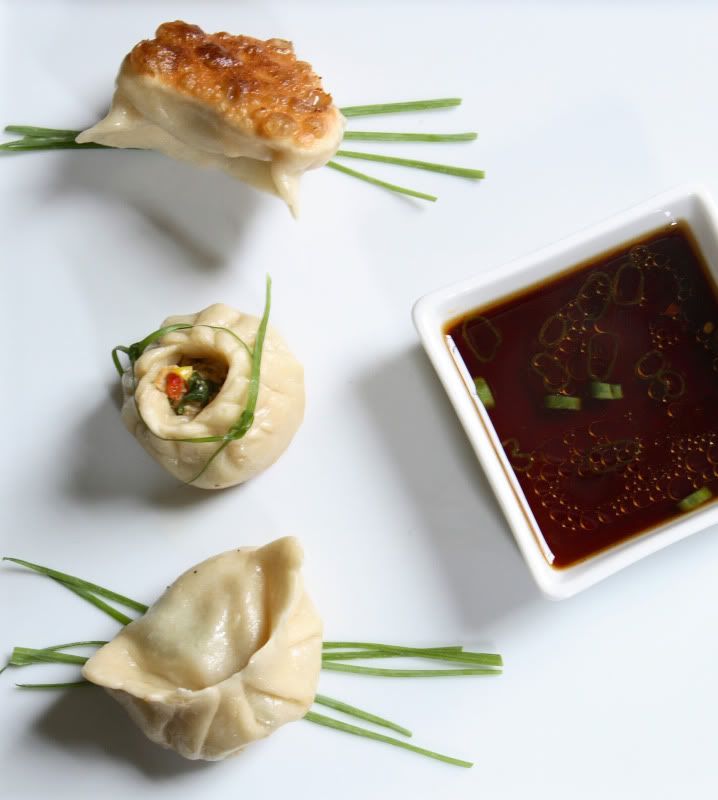
jiao tze. We watched as they expertly rolled out each dumpling skin into a perfect circle (our attempts were not nearly as beautiful nor as efficiently done!). They filled their dumplings with a pork and cabbage mixture, and in the blink of an eye, pleated each dumpling into a perfectly ridged half-moon shape. They also demonstrated a different shape of dumpling – I don’t remember what the Mandarin word to describe them was, but the English translation was Beggar’s Purses, and they painstakingly tied thin threads of Chinese scallions around the tops of each dumpling. Beautiful – but not something I’d want to do for a weeknight supper! The dumplings were all placed in a bamboo steamer to gently steam the dumplings.
After returning to the US, I searched for and found a recipe that was fairly close to what I remembered eating in China, and have been making steamed dumplings on a regular basis ever since then.
I was excited when I learned that the
Daring Cooks June Challenge was Chinese dumplings and potstickers, hosted by Jen from
use real butter. Since I have never made potstickers, I decided to try making them instead of following my usual method of steaming the dumplings. Their crispy bottoms are a delicious contrast from the soft texture of the rest of the dumpling wrapper.
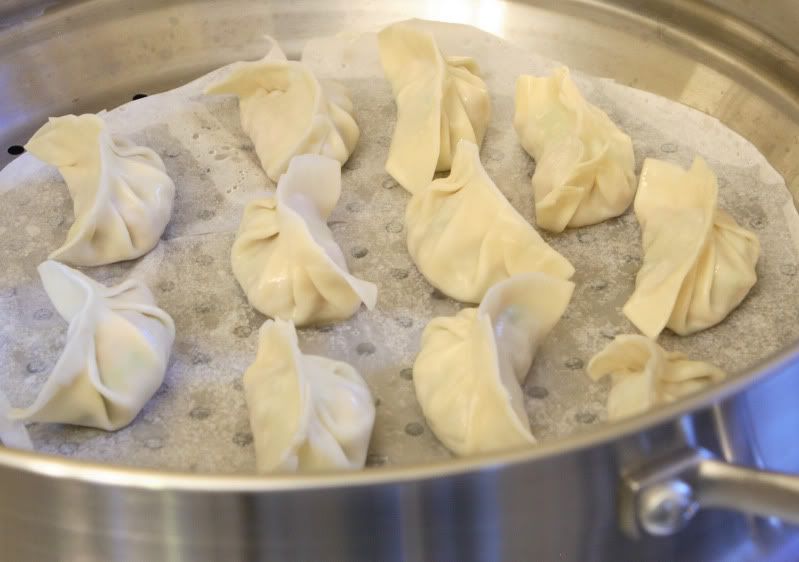
I actually made steamed dumplings about a week prior to the announcement of June’s challenge recipe, but I did not make homemade dumpling wrappers. The only stipulation of this month’s challenge recipe was that we make our own homemade dumpling wrappers. Therefore, my previous effort would not “count” towards fulfilling the Daring Cook’s challenge. However, I have included a few photos from that endeavor because they illustrate steaming the dumplings, and the method is the same regardless of the type of dumpling skin used.
You could use storebought wrappers – again, the method is the same, except you will require a small amount of water as “glue” – dab it on the edges of the skins before you start to fold the wrappers. But I encourage you to give the homemade wrappers a shot – they taste much better!
Dumpling WrappersYields 25-50 dumplings, depending on how large you make each wrapper4 cups all-purpose flour
1 cup warm water (as hot as your tap will go)
Flour for work surface
Note: Depending on how large your food processor is, you might need to mix this in two batches. A Kitchen Aid 12 cup processor can do it in one batch. Use your judgement based on that... Place the flour in the work bowl of a food processor with the dough blade. Run the processor and pour the warm water in until incorporated. Knead the dough with the food processor for several minutes until the dough travels around the bowl with the blade. (You may need to add additional flour or water to achieve the proper results.) The dough should be firm and silky to the touch and not sticky. [Note: it’s better to have a moist dough and have to incorporate more flour than to have a dry and pilling dough and have to incorporate more water).
Cover the dough with a damp towel for 15 minutes.
Meanwhile, make your filling. I have provided you with two choices – each option makes enough to fill one batch of dumpling wrappers.
Pork and Cabbage Filling1/2 lb napa cabbage
3/4 lb unseasoned coarsely ground pork
1 Tbsp finely minced ginger
1/4 cup coarsely chopped green and white scallions
1 Tbsp soy sauce
1 Tbsp Chinese rice wine or dry sherry
1 Tbsp sesame oil
1 tsp coarse kosher salt
1/4 tsp ground black pepper
Chop the cabbage until it is pea-sized. Place in a large bowl. Add the ground pork and sprinkle the remaining ingredients on top. Stir until well blended – but don’t overstir it and create mush.
Veal, Fire-Roasted Corn, and Red Pepper Filling2 ears corn – do not shuck – leave the husks on!
2 red bell peppers
6-8 large shitake mushroom caps
1 lb ground veal
3 cloves garlic, pressed
1 Tbsp ginger, minced
3 ounces spinach, finely chopped
4 tsp soy sauce
1/4 tsp coarse kosher salt
1/4 tsp ground black pepper
1 Tbsp sesame oil
1 Tbsp Chinese rice wine or dry sherry
2 tsp brown sugar
Preheat your grill to obtain medium-high heat. Run the corn – husks and all – under cool water. Grill, turning as necessary, until the husks have blackened and the corn is tender, about 10 minutes.
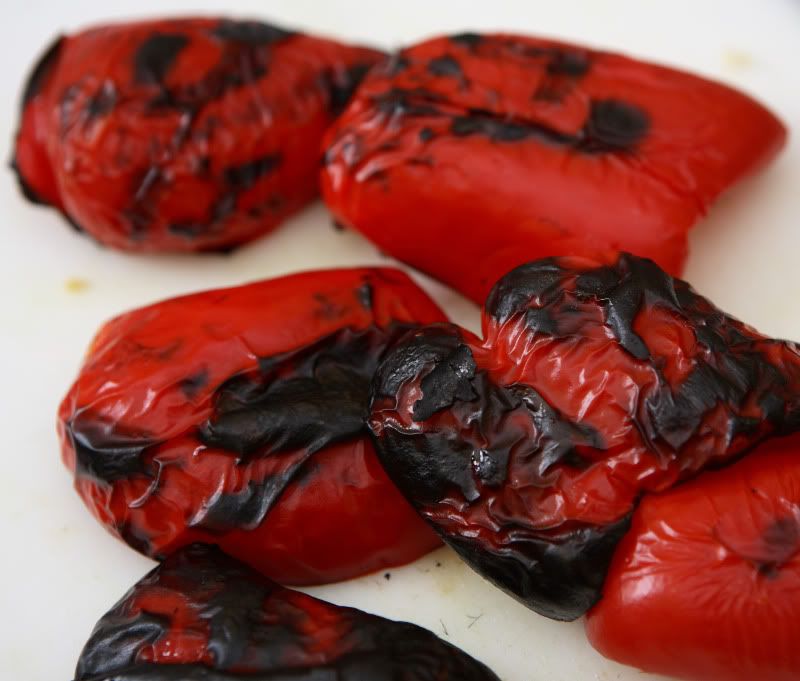
Meanwhile, quarter the bell peppers. Discard the seeds and ribs. Grill until the skin is blackened and the peppers are tender, 5-8 minutes.

During the last five minutes of grilling time, grill the shitake mushroom caps on the coolest part of the grill until they are tender, about 5 minutes.
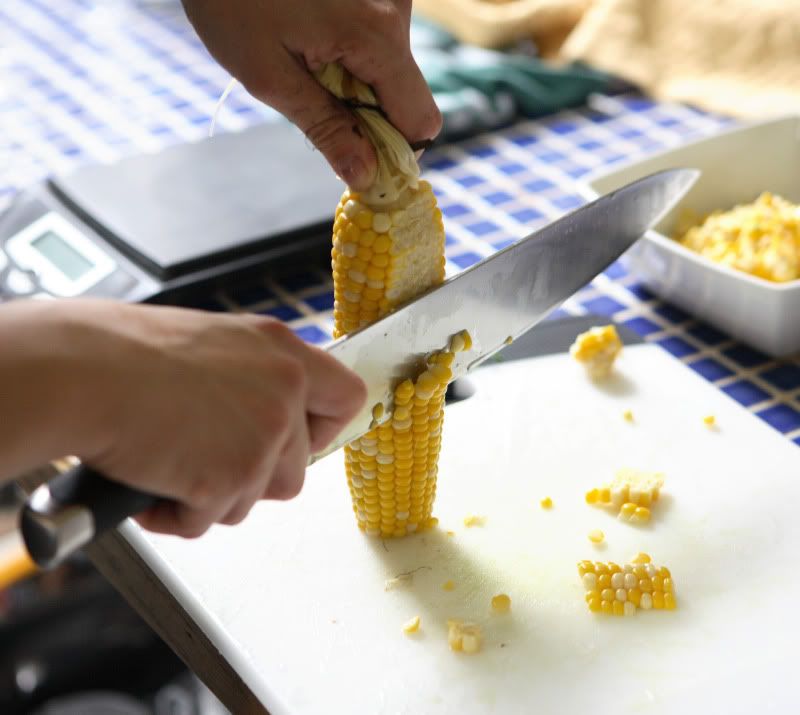
Allow the grilled vegetables to cool slightly. Pull the husks and silks back off of the corn – but do not remove the husks from the corncob. Carefully cut the corn kernels off of the corn cobs. The easiest way to do this is to cut off the last inch of the tip of the corncob opposite of the stalk, creating a flat end. Place the end flat on your cutting board and use a large, sharp knife to carefully cut straight down the cob, using the husks/stalk as a handle. CUT CAREFULLY! Place the corn kernels in a large bowl.

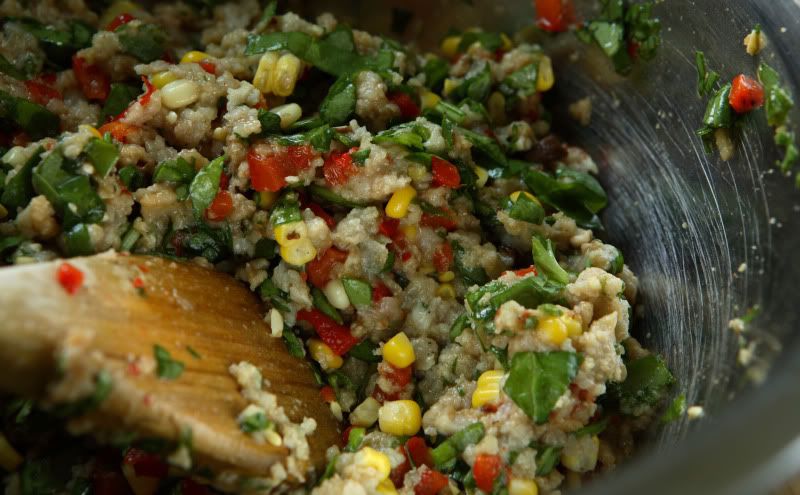
Carefully use your fingertips or a knife to remove the skins from the red peppers. Roughly chop the peppers and the mushrooms, and add them to the corn. Add the remaining filling ingredients and stir to combine. Don’t overstir or you’ll end up with mush.

A note for vegetarians: I think this filling recipe would be a great starting point to create a meatless dumpling. I'd suggest increasing the mushroom quantity and possibly adding some firm tofu (panfried before finely dicing for a little added flavor?)
To roll out the wrappers and fill the dough:Take the dough and form a flattened dome. Cut into strips about 1 1/2 to 2 inches wide. Shape the strips into rounded long cylinders. On a floured surface, cut the strips into either 1/2-ounce or 1-ounce pieces (larger dumplings are easier to make if you’re a dumpling newbie). The recipe will yield approximately 50 dumplings if you use a 1/2-ounce size, or approximately 25 dumplings if your wrappers weigh 1 ounce each. Keep the waiting dough underneath a cloth to prevent it from drying out.
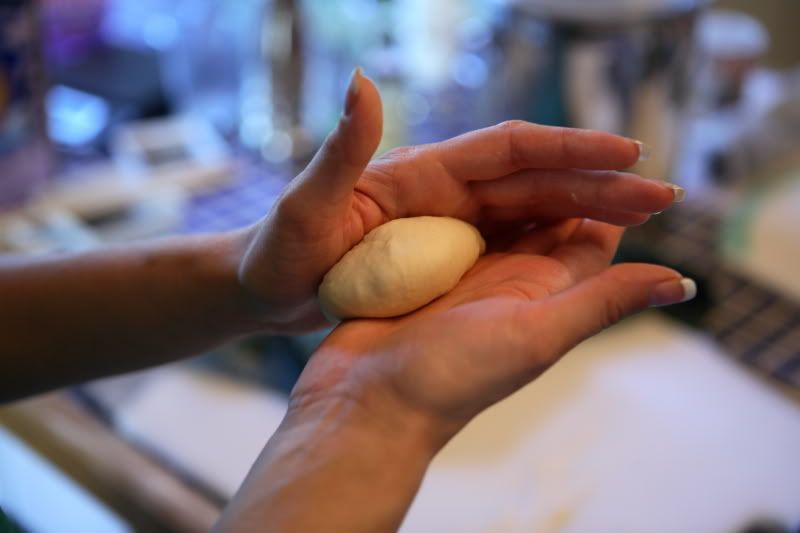
To roll out the wrappers, knead a dough piece in your hands for a few minutes until it is smooth.

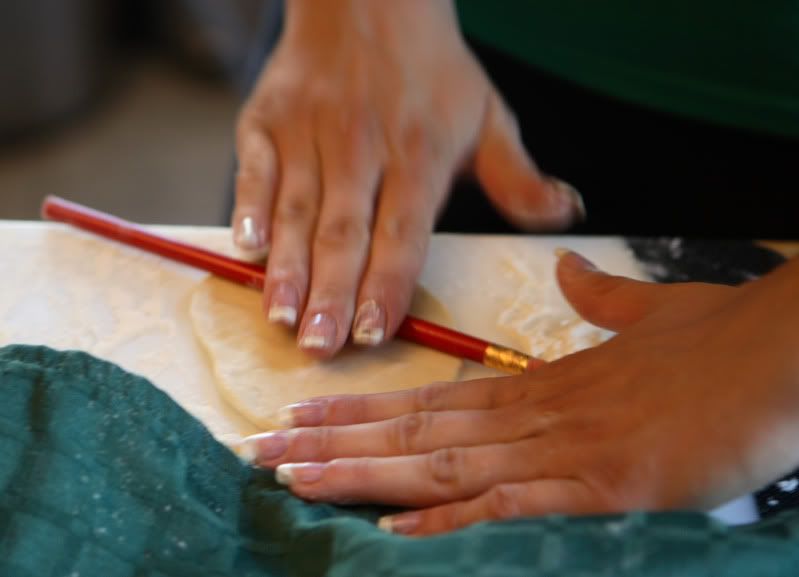
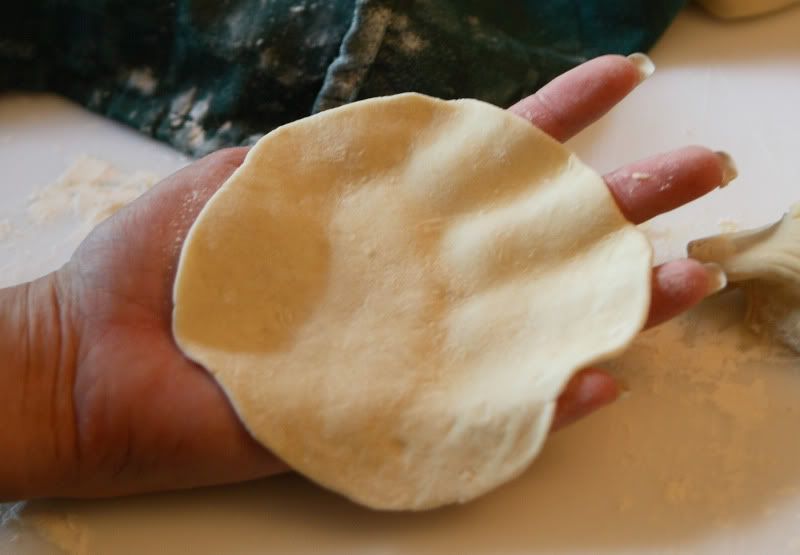
Press your palm down on each piece to form a flat circle. With a straight (not tapered) rolling pin, roll out a circular wrapper from each flat disc. (I recommend using a thick dowel rod, or in absence of that, even a round, unsharpened pencil will work as a rolling pin - that's what I used in my pictures. A larger, standard-sized pastry rolling pin is too bulky to use. Take care not to roll out the skins too thinly or the dumplings might break - about 1/16th inch.

Leave the centers slightly thicker than the edges. Your wrappers will be between three and four inches in diameter.

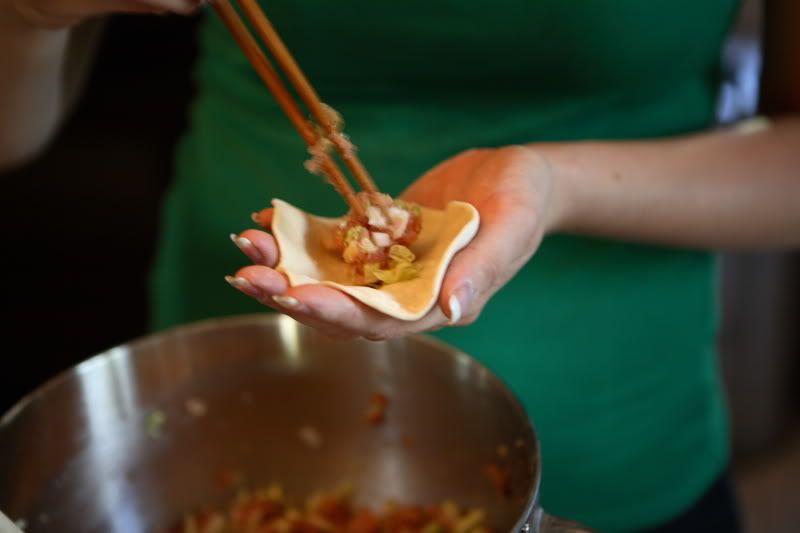
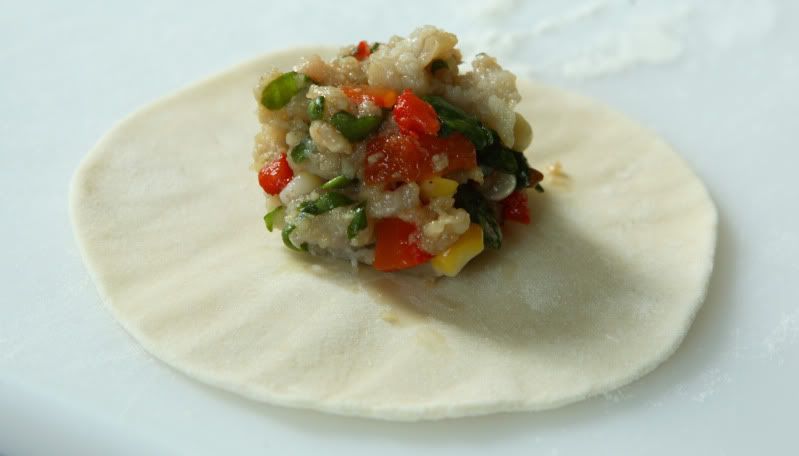
Place 1/2 ounce to 1 ounce of filling in the center of each wrapper (depending on the size of your wrapper).


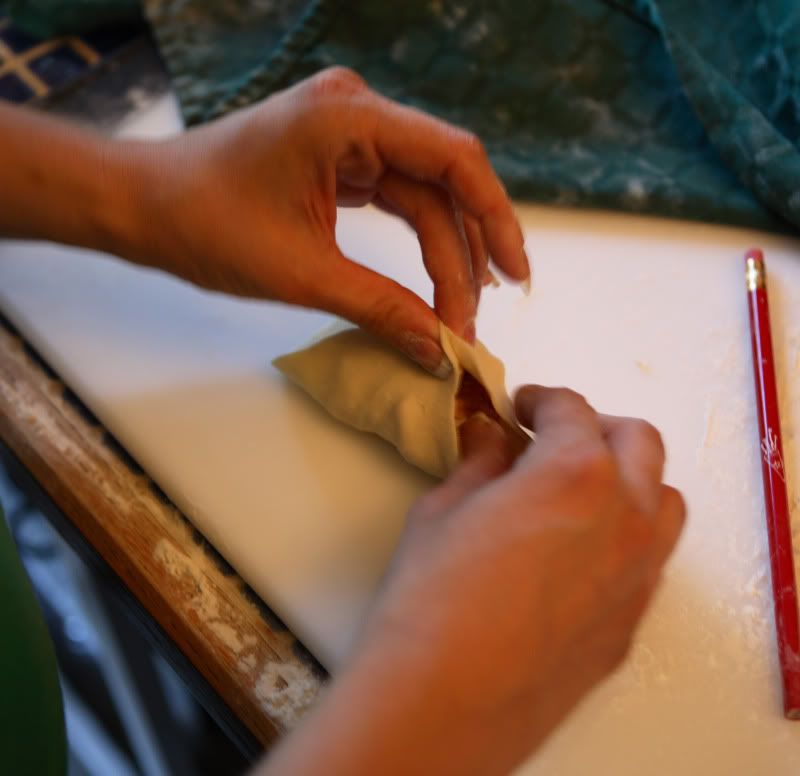
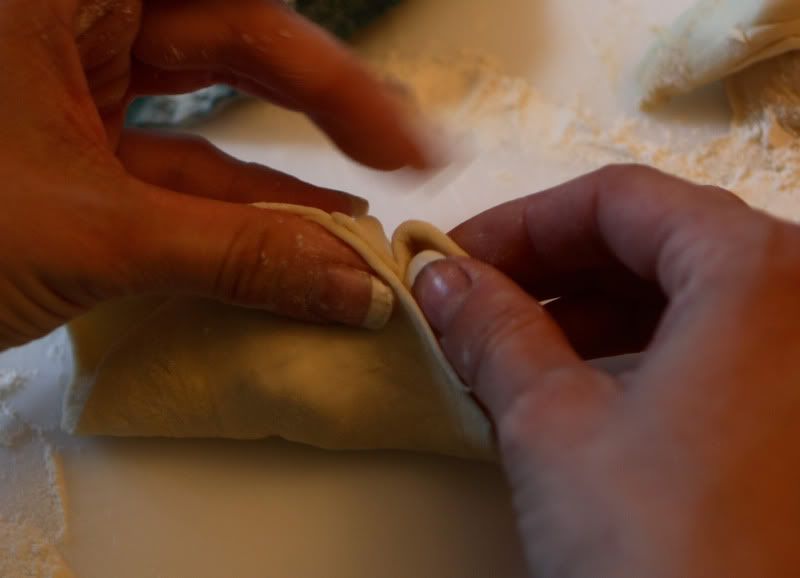
There’s lots of different ways to pleat a dumpling. Here’s the way I was taught in China. Create the top of the dumpling by pinching the dough together at the top, leaving the sides open.

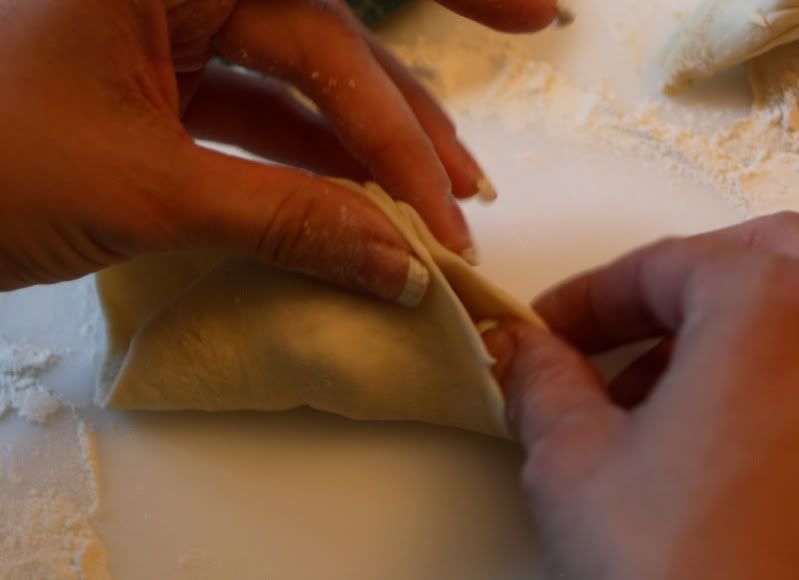
Make three or four pleats along one side of the dough by folding the dough up, one pleat at a time, and pressing it flat.


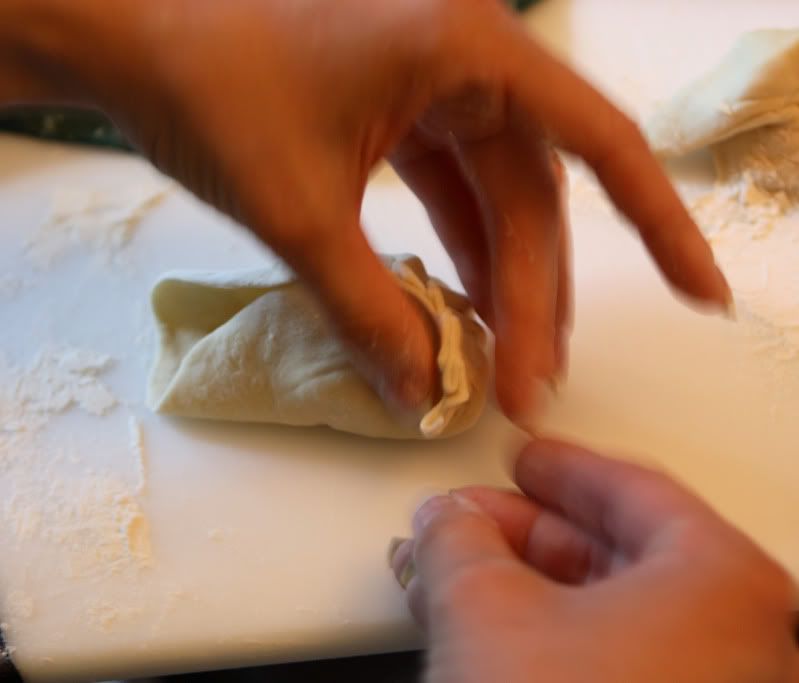
Work from the center of the dumpling out towards the right to complete one side, then return to the center and work out towards the left to create the other side of pleats.

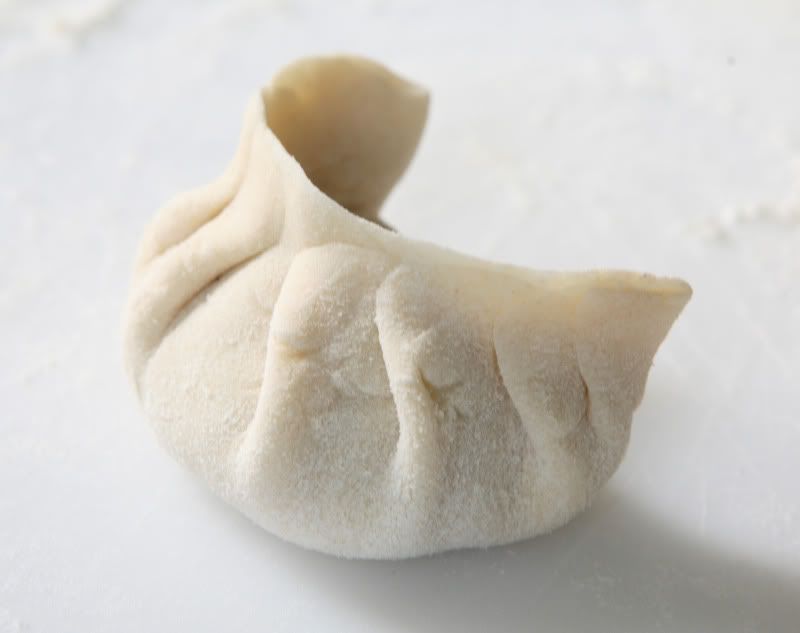
One side of the dumpling should have pleats, the other side should remain flat – this gives the dumpling its crescent shape. The dumpling should rest upright on a flat bottom, with a crescent ridge of pleats pointing up.

This month’s Daring Cooks host, Jen, uses a very similar pleating method to mine – you might want to
check her website out to see how she does it.
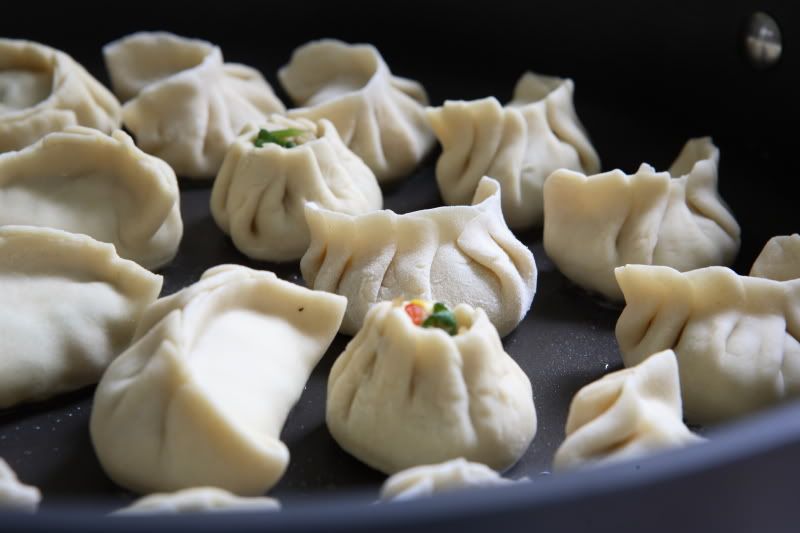
You could also create a beggar’s purse by pleating in a circular fashion around the entire circumference of the dough. Some of the filling should be visible out of the top. Press in slightly to create an area where you can later tie a thread of scallion around the dumpling. They kind of look like little volcanoes! (I’m sure I have not refined the technique nearly as well as my Chinese classmates, who showed me how to make these ten years ago, have!)

Place the shaped and filled dumplings on a nonstick surface, such as a piece of parchment paper, until you are ready to cook the dumplings. If you desire, you can freeze the dumplings at this point and cook them from frozen later.
Choose a cooking method:
To make potstickers:In a large nonstick sauté pan with high sides and a lid, heat 2 Tbsp oil over medium-high heat, uncovered. Add the dumplings – do not let them touch. Let them cook uncovered for approximately 2 minutes – long enough to begin to brown the bottoms of the dumplings.

Add 1/2 cup of water (careful, the pan will spatter) and immediately put the lid on the pan. Cook covered until the water has boiled away, then uncover and reduce the heat to medium-low. Let the dumplings cook another 2 minutes and then remove them from the heat and serve with dipping sauce.
To make steamed dumplings:Line a steamer. I usually use a piece of parchment paper with a few holes poked through it. You could also use a single layer of cabbage leaves. Place the dumplings in the steamer basket – don’t let them touch one another.

Place the steamer over boiling water and cover – let them steam for about six minutes. Serve with dipping sauce.
Dipping Sauce1/4 cup soy sauce
2 Tbsp white vinegar or unseasoned Chinese rice vinegar
2 tsp sesame oil
1/2 tsp Asian chili sauce (or more to taste)
1 tsp white sugar
2 Tbsp thinly cut green and white scallion rings
Stir to combine all ingredients. Serve at room temperature.