You could also make a smaller portion in a little crockpot, turn it on before you go to work, and dinner will be ready by the time you get home in the evening.
The "secret" ingredients in this recipe are important. Don't omit the ground cardamom even though it's kind of expensive. (Throw the cardamom in your freezer and it will last longer!) And if you can find fresh bay leaves, they are better than dried (although whole dried bay leaves will do the trick too). Look for apple cider (not apple juice), but if it's the wrong time of the year and you absolutely cannot find cider, apple juice will suffice. Or, you could substitute chicken stock, but you'll miss out on the apple flavor the cider brings.
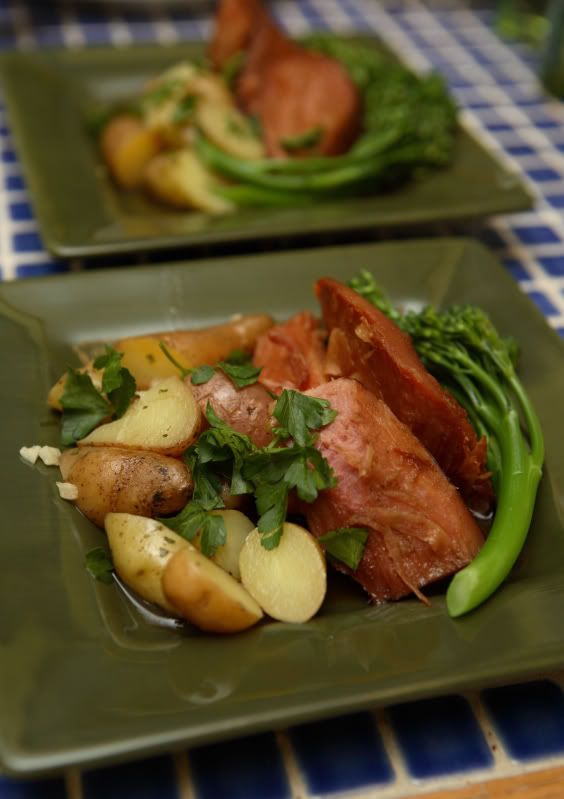
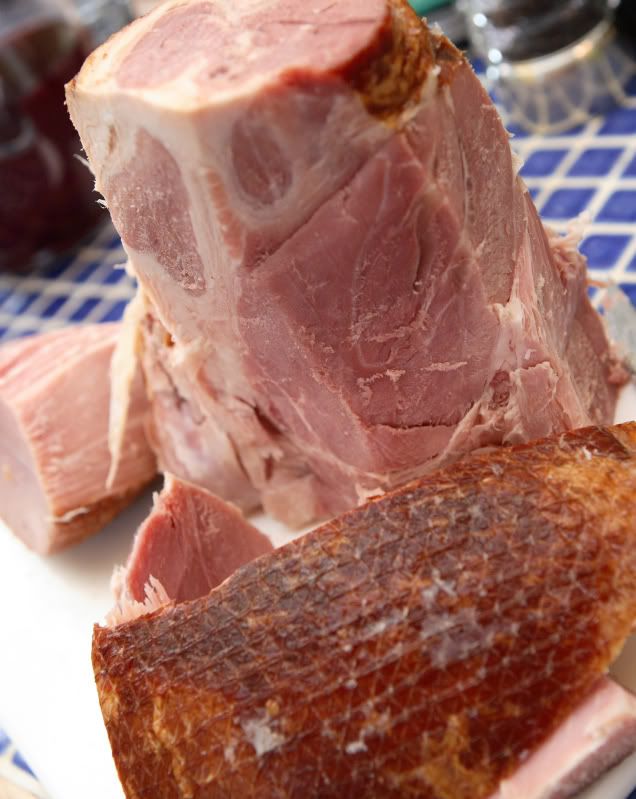
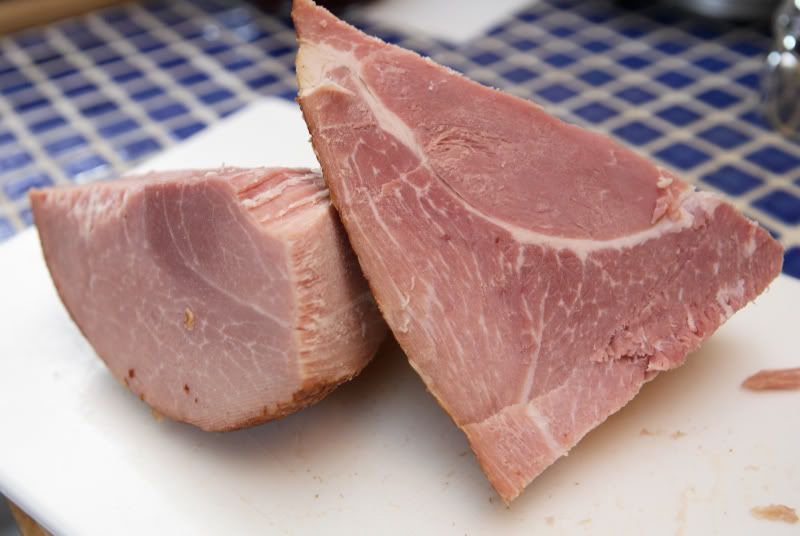
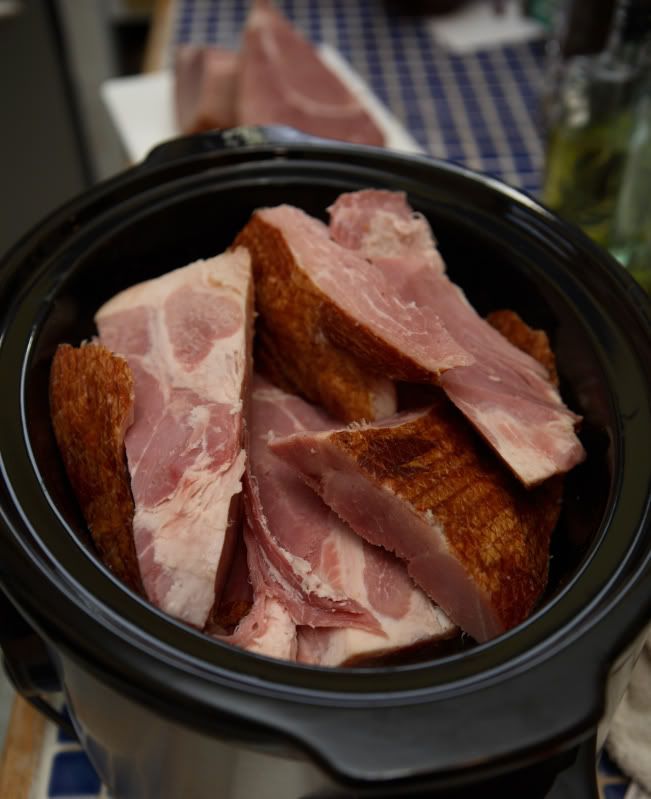
My favorite type of ham to buy is the Kirkland brand ham from Costco. They're large - I just cut it down if I don't need the entire ham at once. They actually taste like ham (not just like salt) and the texture of the meat is better than the oval-shaped hams I usually see at the regular grocery store. You can make the recipe with any kind of fully-cooked ham, though.
Crockpot Ham
The number of servings will vary based on ham size
1 large ham, fully cooked
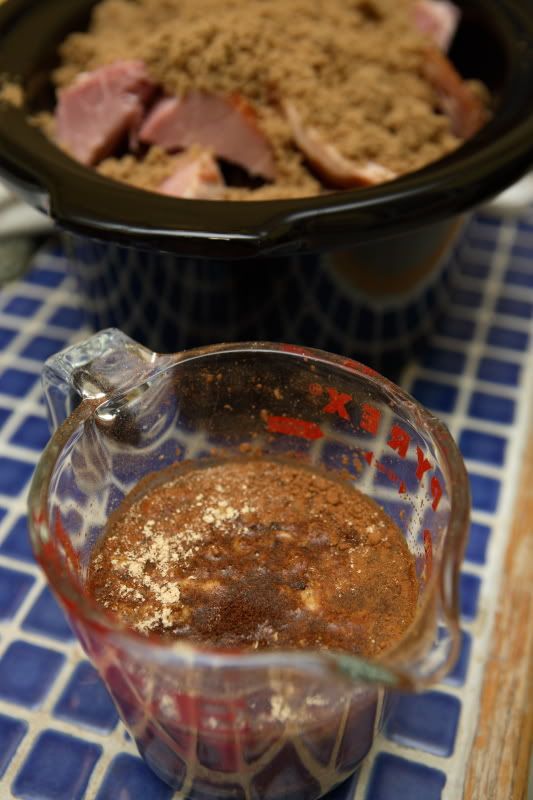
1 1/2 cups apple cider
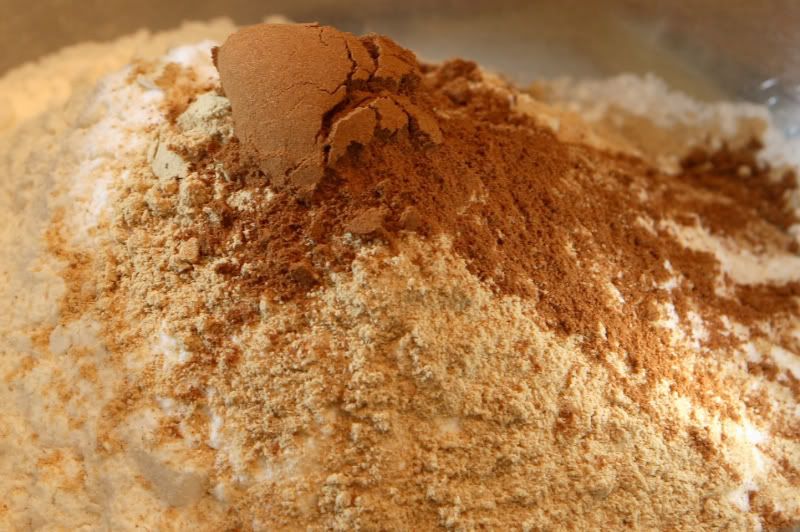
1 Tbsp ground cardamom
1 Tbsp whole fennel seeds
2 Tsp ground cinnamon
1 Tbsp ground ginger
1 cup prepared mustard
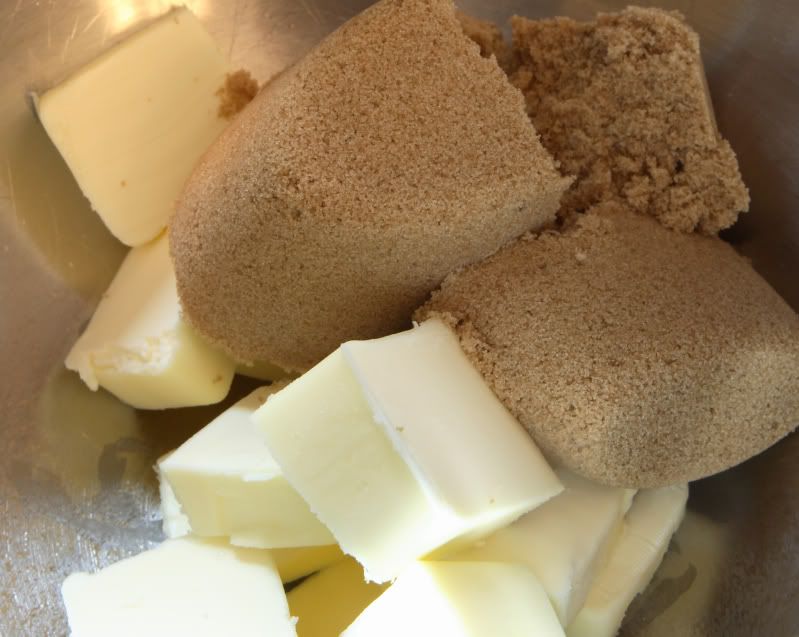
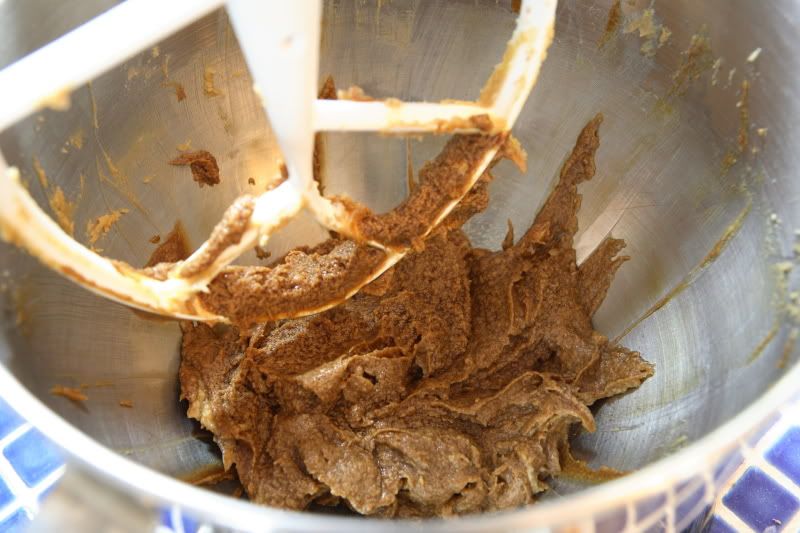
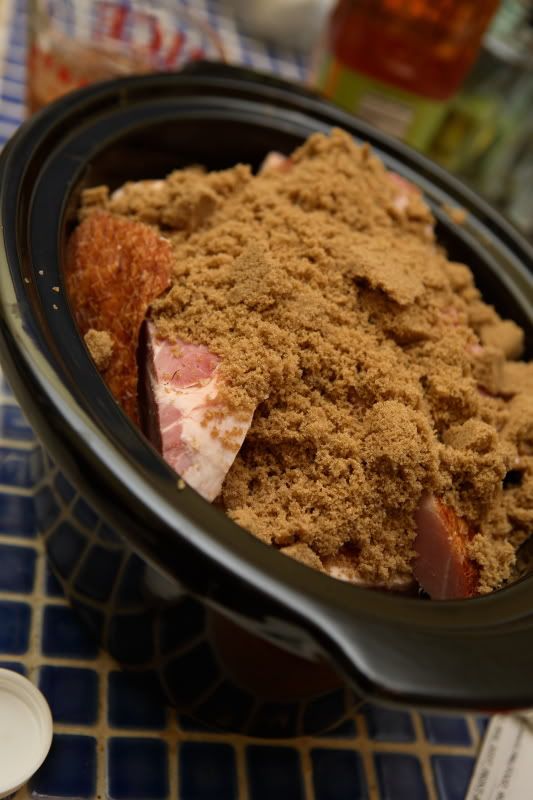
2 cups packed dark brown sugar
2 Tbsp light corn syrup
2 Tbsp unsulfured molasses
2 Tbsp whole cloves
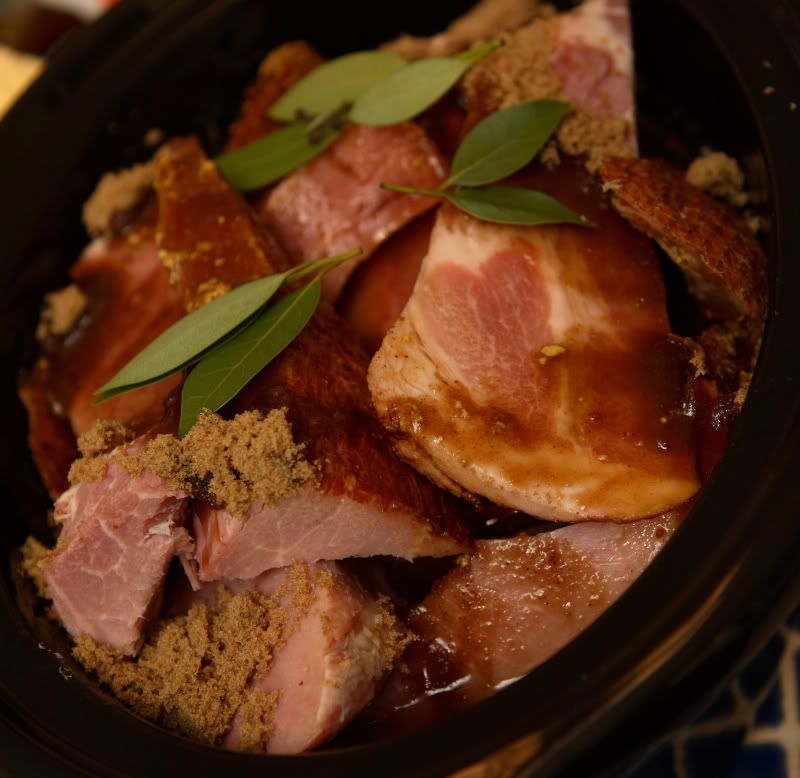
4 fresh bay leaves
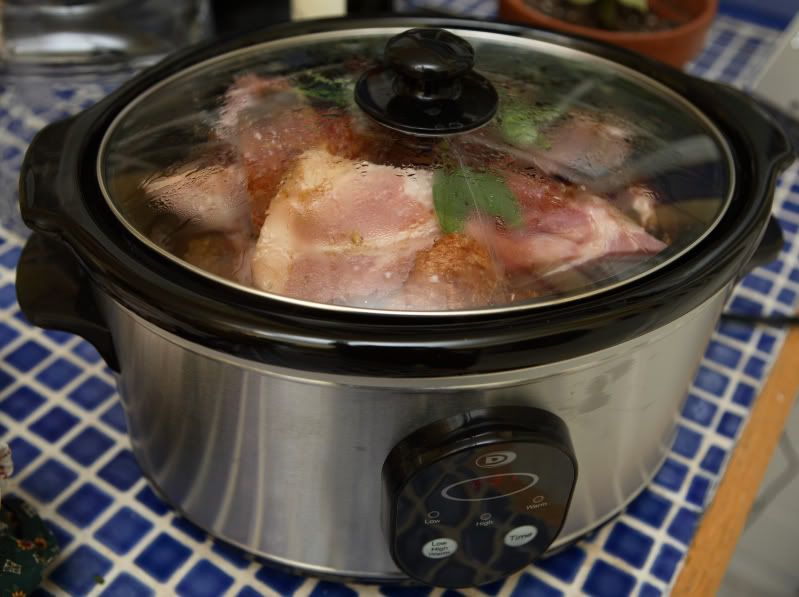
If your ham fits inside your crockpot, you can skip this first step. If the ham is to large to fit inside your crockpot, cut it up into manageable pieces. If your ham comes with a bone, and if it will fit in your crockpot, include it! Don't throw it away! (If the bone won't fit, save the bone for ham and bean soup or for some other purpose!)
Place ham pieces inside a large crock pot.
Sprinkle the brown sugar over the ham.
In a small bowl, mix the apple cider, cardamom, fennel seeds, cinnamon, ginger, mustard, corn syrup, molasses, and cloves.
Pour cider mixture over the ham. Lay the bay leaves on top of the ham.
Cover and cook on low for 4-6 hours. Do not remove the lid during the cooking time.
Prior to carving, ladle some of the juices over the meat. Serve moistened with juices.