I love Hostess cupcakes. I rarely eat them anymore, but when I was a kid, my dad would occasionally buy them for me and my sister as a special treat. I would eat them upside down, saving the frosting for last, with special emphasis on attempting to preserve the line of white squiggly frosting for the very end.
I’ve always wanted to try making homemade Hostess-style cupcakes, but never have had the opportunity. I guess I just needed the right excuse to make them: an invitation to an early summer barbeque. So, I decided to give the cupcakes a shot!
Wow. I don’t think I’ll ever be able to eat a store-bought Hostess cupcake again. These are so much better.
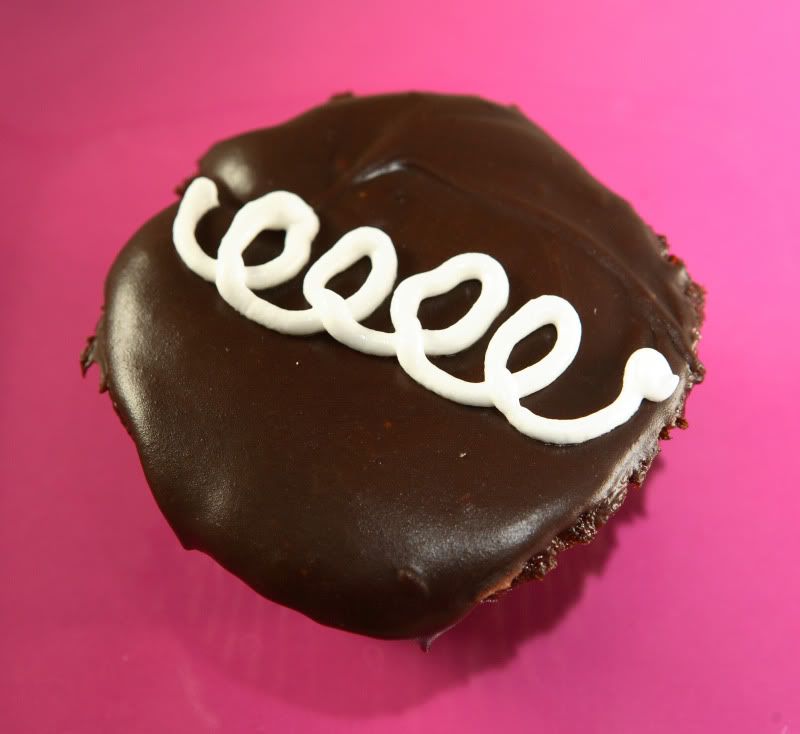
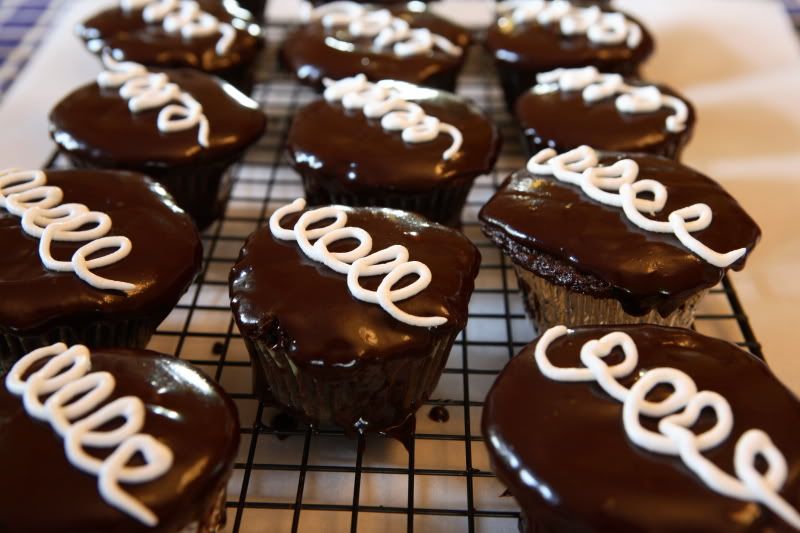
I used a certain layer cake recipe which I know from previous experience has a tendency to bake up rather flat. I filled the cupcakes with a marshmallow-tasting frosting, glazed the tops with semi-sweet ganache, and used leftover filling to create the squiggles on top. The cake and filling recipes came from Diner Desserts, by Tish Boyle, although the original recipes were not written with homemade hostess cupcakes in mind – they are components of a regular layer cake.
The end result of this little experiment: tender and moist chocolate cupcakes, with perfect creamy centers, and cute squiggly tops.
Chocolate Cupcakes
Makes 24 cupcakes
2-1/4 cups granulated sugar
1-3/4 cups cake flour
1-1/4 cups unsweetened cocoa powder
2-1/4 tsp baking soda
1-1/4 tsp baking powder
1/2 tsp salt
3 large whole eggs
1 large egg yolk (save the white for the filling)
1 Tbsp vanilla extract
9 Tbsp unsalted butter, melted and cooled slightly
1-1/2 cups buttermilk
3/4 cup milk
Preheat the oven to 350 degrees F. Place 24 cupcake liners in muffin tins. Set aside.
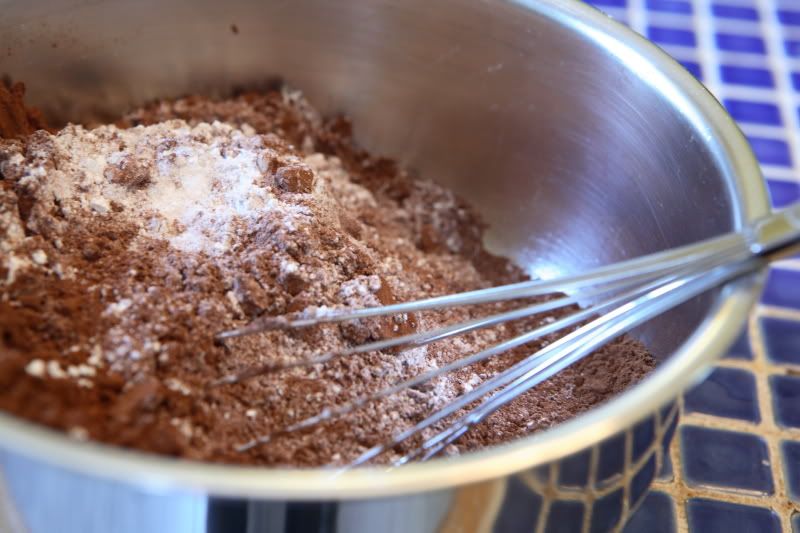
In a medium mixing bowl, whisk together the sugar, cake flour, cocoa powder, baking soda, baking powder, and salt until well incorporated. Set aside.
In a separate large mixing bowl, whisk together the whole eggs, egg yolk, vanilla, buttermilk, and milk. Whisk in the melted butter. Pour the dry ingredients into the wet ingredients and stir only until barely combined and smooth.
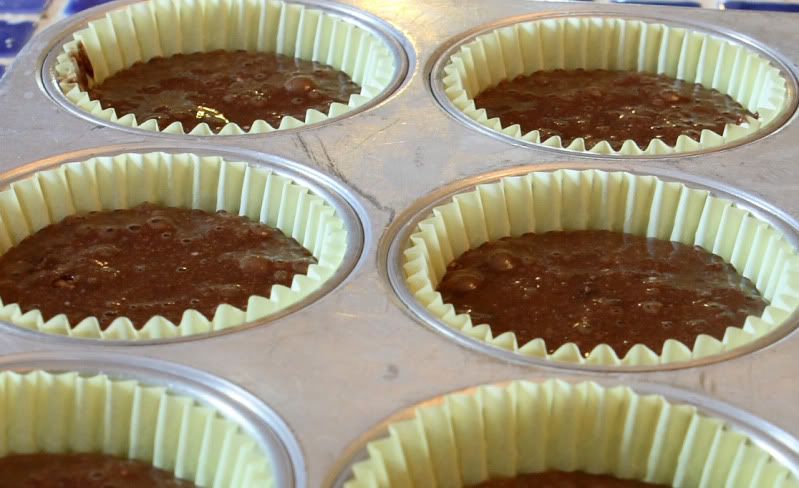
Use a ladle to spoon batter into the muffin tins, filling approximately 2/3 full. (Note: I actually probably filled mine slightly too high in the picture below. They ended up rising out of the muffin tins, and it wasn't the end of the world, but they were a little more difficult to remove from the tins.)
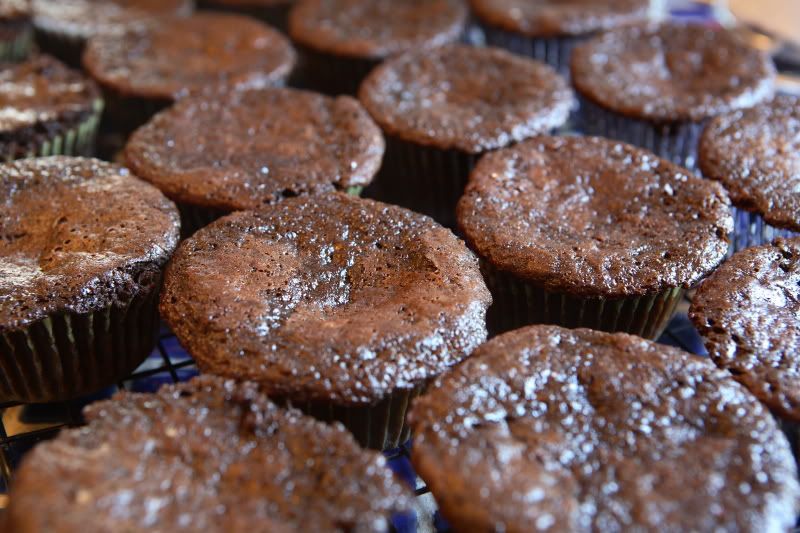
Bake 23-28 minutes, until a toothpick inserted in the center of a cupcake tests clean. Cool the cupcakes in the pan for 10 minutes, then turn out onto wire racks to finish cooling completely. The cupcakes will be very flat - even slightly dipped in the center. That's fine, because we're going to fill them later.
While the cupcakes are cooling, start the ganache:
Chocolate Ganache Glaze
Before determining the quantity of ingredients to buy, see the note a couple of paragraphs below...
18 ounces semisweet chocolate chips
2 cups heavy cream
2 tsp vanilla extract
Place the chocolate chips in a medium mixing bowl and set aside. In a deep saucepan, warm the cream over medium-high heat until it barely comes to a boil. As soon as it comes to a boil, pour it over the chocolate chips and let it sit undisturbed for five minutes. After five minutes has passed, whisk the mixture until it becomes a uniformly chocolate-colored liquid. Let the mixture cool slightly, stirring occasionally to keep it from hardening. We’re looking for a thick liquid glaze, not a stiff frosting texture.
Note: You may need to make more glaze depending on how generous you are in glazing the cupcakes later. If you discover you need more, make a half recipe, and pour the whisked glaze into a pie pan to get the glaze to cool more rapidly.
While the ganache glaze is cooling, start the filling:
Filling
3 egg whites
3/4 cup plus 2 Tbsp granulated sugar
3 Tbsp water
1/4 tsp cream of tartar
1 tsp vanilla extract
For the filling, you will need a good-quality electric hand mixer. You’ll have to have the mixer running non-stop for about 15 minutes straight, so don’t use anything too old that might break in the midst of your mixing session. Yes, this is personal experience talking. Once I made this recipe using an old mixer and by the end of the mixing process, I burnt the motor out and ruined the mixer. Hey, it was an excuse to get a new hand mixer! You will also need a thermometer that goes to 160 degrees F.
My pictures show a double batch of filling, so your quantities will be less than what is shown.
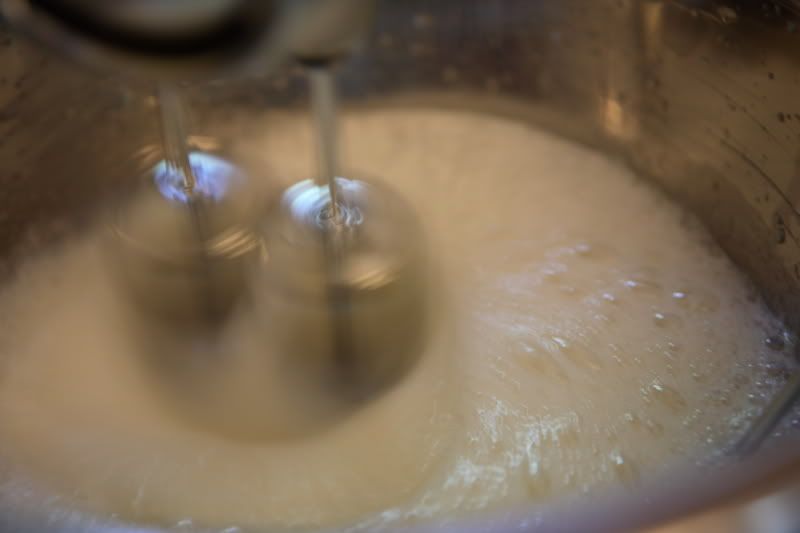
In a large deep bowl, combine the egg whites, sugar, water, and cream of tarter with a handheld electric mixer. Beat until foamy, about 1 minute.
Place the bowl over a saucepan of simmering water, making sure the bottom of the bowl does not touch the water. Beat constantly on low speed until the mixture reaches 160 degrees F, about 7 minutes.
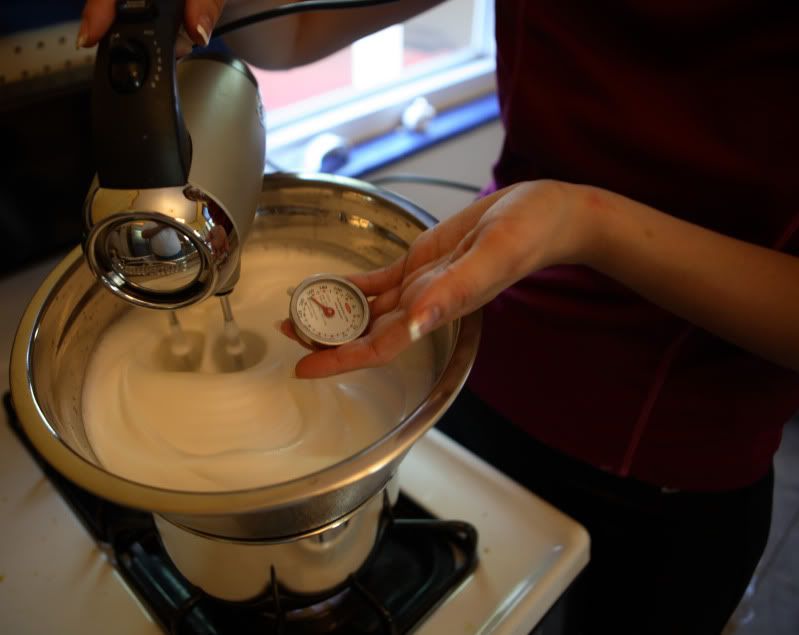
Remove the bowl from the heat, add the vanilla, and beat it on high speed until it holds stiff peaks, about 7 minutes.
Cupcake Assembly
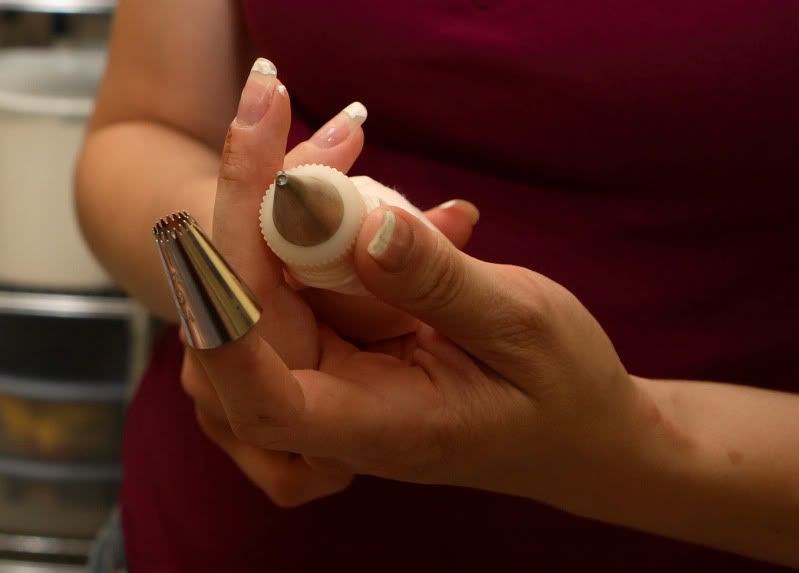
Fit a pastry (frosting) bag with a relatively wide, round-shaped tip. I used Wilton #364 because it is the largest diameter tip I own, and although it happens to have small teeth, it doesn’t matter. You could use anything of a relatively similar size as long as it’s a round tip and not a flat tip. You'll end up needing two different tips for this recipe; here's what I used. The one on my fingertip is #364.
Fill the pastry bag with the white filling.
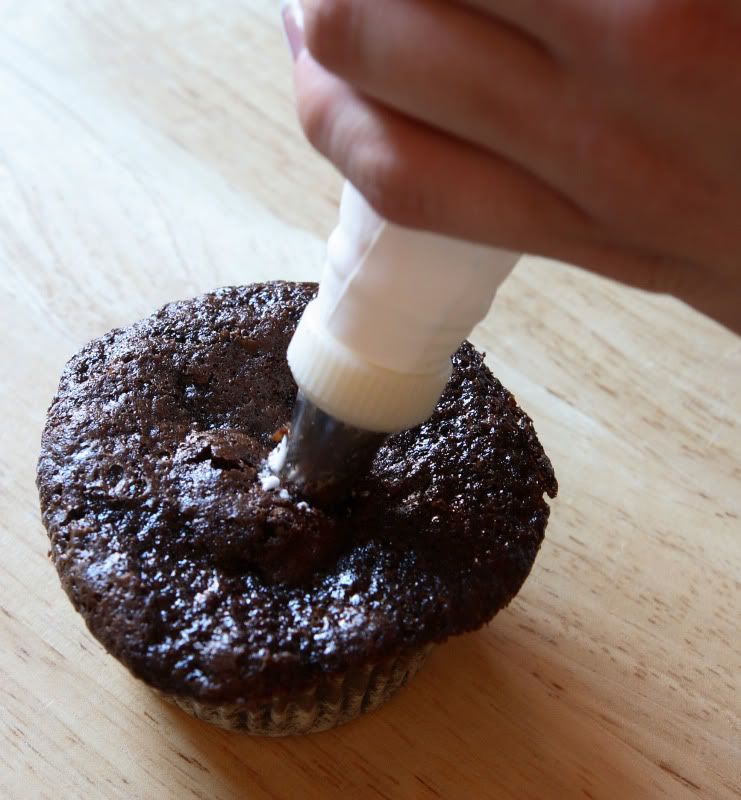
Use a chopstick, skinny dowel rod, skewer, or similar stick-like object to poke a hole in the center of each cupcake. Insert the pastry bag in the hole and squeeze a few teaspoons of filling into the cupcake, until it barely begins to bulge. Be cautious to avoid overfilling them – too much filling means it’s too difficult to eat without a fork. When you're done filling the cupcakes, save the pastry bag – we’ll use it again.
Place the cupcakes on a wire rack set over a piece of waxed paper or some other sanitary surface that is easy to clean up. (You’re creating a drip rack to catch extra glaze.) Use a small ladle to spoon chocolate ganache over each cupcake. Push the glaze to the edges so the surfaces are smooth and evenly covered with a thin layer of ganache. Let any excess drip off the sides. You can reuse the glaze, or make more if you need more.
Refrigerate glazed cupcakes for a few minutes to set up the ganache.
Change the tip on your pastry bag to a small circular tip, such as Wilton #3. Pipe the squiggly “cursive e” design on the top of each cupcake.
Cupcakes should be refrigerated for storage, and should be eaten within the next few days.
No comments:
Post a Comment