Showing posts with label sausage. Show all posts

Tuesday, September 29, 2009

Creamy Homemade Stovetop Macaroni & Cheese


One of my favorite comfort foods of all time is macaroni and cheese. When I was younger, still in high school or college, and didn't yet have any culinary skill to speak of, I only made generic “imitation blue box” macaroni (“generic” due to funding limitations and a general distaste for the Kraft company, and “blue box” due to a lack of culinary skill). Now-a-days, I usually make my mac & cheese homemade, but occasionally I’ll bust out a blue box (I like Annie's brand) if I’m having a particularly bad day and just need a quick, inexpensive, and fast meal. I like it served alongside barbecued sausage. I know Mom, it’s not exactly a healthy meal, so I don’t eat it very often!

I do love macaroni and cheese. I get excited when I see it on the menu at sandwich shops, but most of the time it’s a let-down once I’ve tasted it:  it’s usually not all that great. It always seems to be too runny, too gritty, or the cheese sauce tastes too much like the flour used to thicken it. I want a silky, smooth textured sauce over perfectly al dente macaroni – pasta that hasn’t been cooking all afternoon in a giant sheet pan. The sauce shouldn’t be too thick, and nor should the pasta be swimming in it – there should be just enough sauce to coat the pasta.

So, like I said, I’m often disappointed.

I found this recipe in “The Best American Classics,” which is a Cooks Illustrated cookbook. I have a couple of their cookbooks, and while I don’t always agree with what their opinion of “best” may be (“best” is so subjective!), I do agree with them in this case…well, mostly. I’ve written my changes into the version you’ll find here.

This recipe is made on the stovetop. It’s almost as simple as blue-box macaroni (it does require a bit more stirring), yet it tastes so much better. There’s no long baking time involved, so like the boxed variety, you can make it on the spur of the moment. It makes more than a family-sized blue box, so I always have leftovers to take to work.

Speaking of leftovers, the best way to reheat any kind of macaroni and cheese is in a saucepan over medium-low heat, with a splash of milk or other dairy added to help recreate the sauce. I usually don’t put that much effort into reheating lunch at work, so I just stick it in the microwave and eat it even though the texture of the sauce has changed slightly. (It still has great flavor, though!)

The original recipe is written to include a toasted bread crumb topping, but I never bother with it. I like mine topped with chopped tomatoes instead.  Not only is it better for you, but the sweet juicy tomatoes are a nice counterpart to the salty, cheesy pasta.

Creamy Homemade Stovetop Macaroni and Cheese
Serves 6-8, unless you are a big macaroni eater, in which case it might yield closer to 4 servings.

1 can evaporated milk
2 large eggs
1/4 tsp hot pepper sauce (like Tabasco sauce)
2 tsp salt
1/4 tsp ground black pepper
1/4 tsp dry mustard
1/2 pound macaroni
4 Tbsp unsalted butter
12 ounces sharp cheddar (I used Tilamook Vintage White Extra Sharp Cheddar)
1 cup chopped tomato (either 1 cup of sliced "baby" tomatoes, or 1 chopped "regular" tomato should be about the right amount)

In a two-cup liquid measure, use a fork to whisk together 1 cup of evaporated milk, the eggs, hot pepper sauce, 1 tsp of salt, and the dry mustard. Set it aside.

Meanwhile, cook the pasta according to package directions. Use a large pot, and if you have a nonstick one, use it. (Tip: select a pot that’s slightly larger than what I used in these pictures, because I thought the pot was too small once I got to the last few steps. Oops!). Cook the macaroni only until barely al dente.

While the pasta is cooking, grate the cheese. For this much cheese, I use the shredding (grating) disc in my food processor.
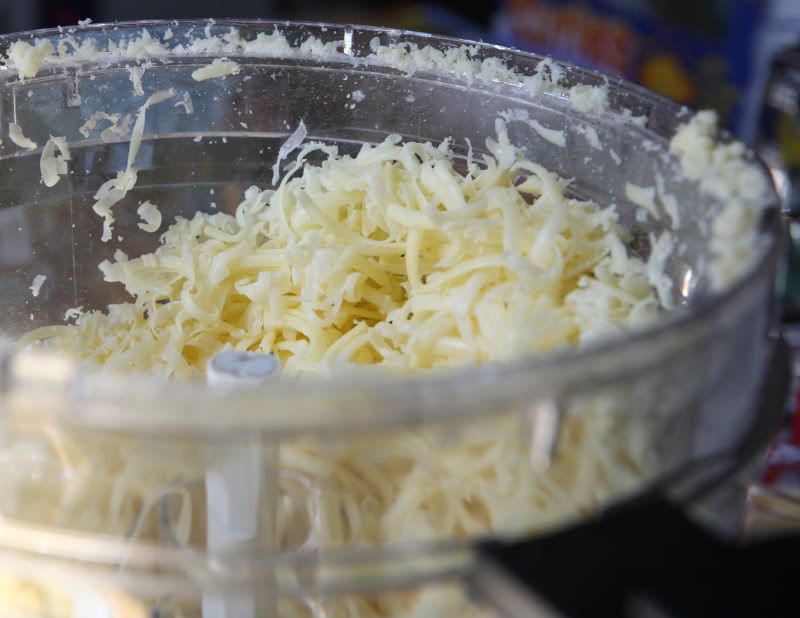


Once the pasta has cooked, drain it and return it to the pot. Add the butter and stir over medium heat until it has melted.

Pour the egg mixture over the buttered noodles. Sprinkle about half of the cheese over the pasta. Stir constantly over medium-low heat until the sauce thickens and the mixture is hot and creamy, about five minutes. Yes, it’s a lot of stirring, but you’ve got to do it in order to properly cook the eggs.  Don’t let the mixture boil; if the pan starts sizzling when you’re stirring, it’s too hot.  (Remember, medium-low heat!)  In general, if it seems runny, you haven’t cooked/stirred it long enough. Keep the heat on medium-low and keep stirring, and it should end up just fine.

As you near the end of the five-minute stirring time, add the rest of the cheese and the remaining evaporated milk. Stir it just long enough to incorporate everything and melt the cheese. Taste it, and sprinkle the remaining teaspoon of salt over the pasta (or salt to taste, because cheeses vary in saltiness).  Stir to incorporate the salt, then taste it again just to be sure things aren't too salty.
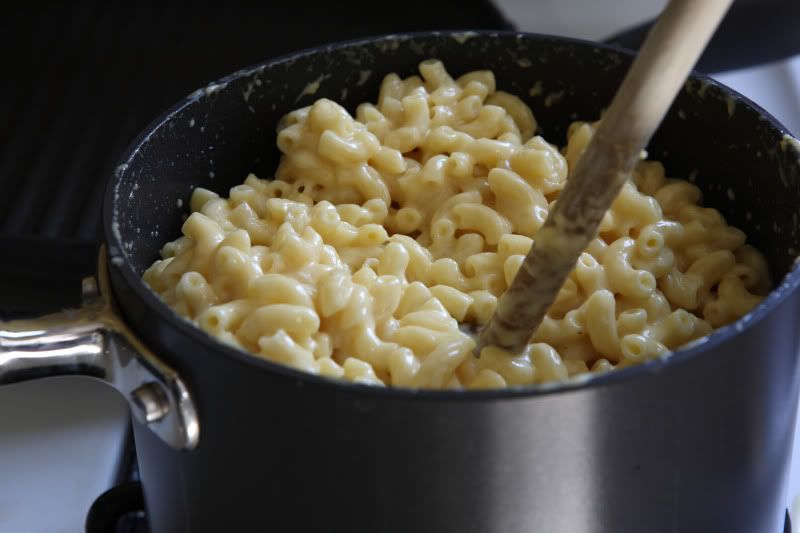


Serve immediately, topped with a handful of chopped tomatoes.

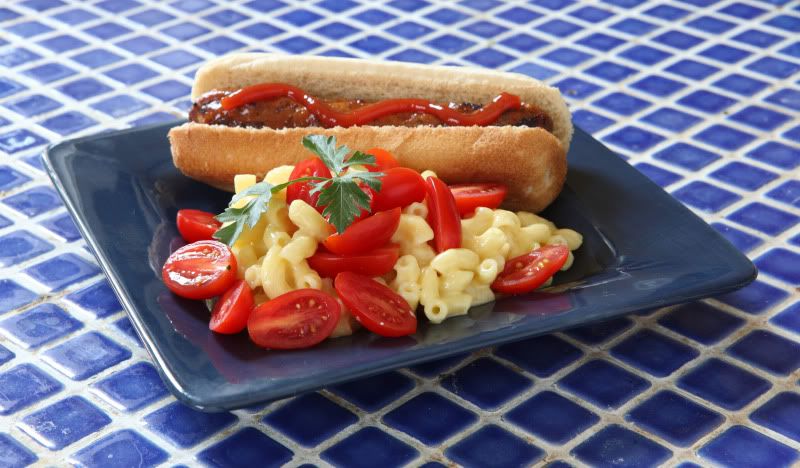
I mentioned earlier that I liked mine served with sausage… I love bratwurst, but it’s sooo unhealthy that I rarely serve them. I have found an alternative that I’ve been enjoying lately: chicken sausage!

Costco carries an andouille chicken sausage (sorry, the exact brand is not listed online, but it probably doesn’t matter because the available brands and flavors vary by location anyway. Over the years, I’ve tried several different brands of chicken sausage from both Midwestern American and Western Canadian Costcos, and I liked both of the varieties available from both regions, so maybe your nearest Costco has a brand you’d like).

I also found a different chicken sausage at my local grocery store: Al Fresco brand Sweet Apple Chicken Sausage (it has Maple Syrup in it – yum!). They have several other interesting-sounding flavors, which I haven’t yet tried. It’s more expensive than buying in bulk at Costco, but truthfully, I think it tastes better. (Maybe I just liked it because of the maple syrup. Me?!?!)

By the way, the sausage in the picture at the beginning of this post is the Costco andouille sausage.

Oh, and if you want to slightly lower the carbs in the dish (it is pasta, after all!), you could omit the bun, slice up the grilled sausage, and serve it mixed into the macaroni.

Wednesday, August 19, 2009

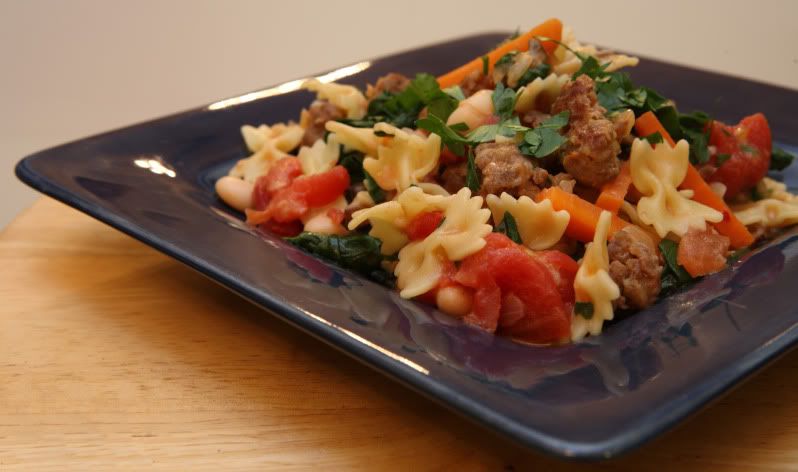
Pasta with Sausage, Spinach, and White Beans


Do you pack a lunch to take to work or school each day? I go through stages: for awhile I'll be really good about packing my PB&J and applesauce, but after awhile I get kind of tired of the same old same old and end up eating takeout. I do better when I have leftovers packed up from the previous night's dinner.

So, when I plan what I'm going to eat for dinner, I try to choose something that I know will leave enough leftovers for me to take to lunch the next day (or two).

For my family of three, this recipe fits the bill.

This meal serves about six people, depending on how big your servings are. That's way more than what I need to feed the three mouths I currently have in my house, but that just means I have plenty of leftovers to eat throughout the rest of the week. We just packaged up leftovers from tonight's dinner and have enough for at least four lunches! It reheats pretty well in the microwave or on the stovetop, and I can't wait for lunch tomorrow!

And if you don't need quite that much food all at once, the recipe can easily be halved, or simply reduced slightly.

I like this meal because it's easy enough to make on a weeknight and it tastes great due to the spicy Italian sausage - buy a type that is labeled "hot" for the best flavor!

You'll need a large, deep skillet to make this dish.

Pasta with Sausage, Spinach, and White Beans
Serves about 6

3 links hot Italian sausage, casing removed
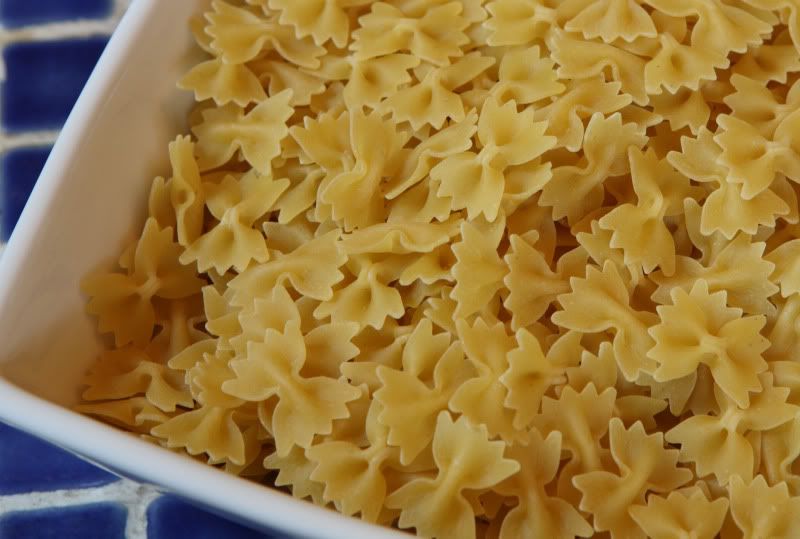
8 ounces bow-tie pasta (the pictures show mini farfalle)
5 tomatoes (you could substitute one 14.5-ounce can of diced tomatoes if your fresh tomato availability is nil)
1 medium onion, chopped (I give it a whir in the mini food processor)
2 carrots, peeled and chopped (I make little carrot sticks about the length of the pasta - you could use an equal amount of baby carrots sliced into sticks)
4 ounces portabella mushrooms, chopped
1/2 cup chicken stock
2 Tbsp heavy cream (approximately...I just eyeball it)
6 ounces fresh baby spinach, roughly chopped if the pieces are particularly large
1/4 cup chopped fresh parsley
One 14.5-ounce can Great Northern white beans, rinsed and drained

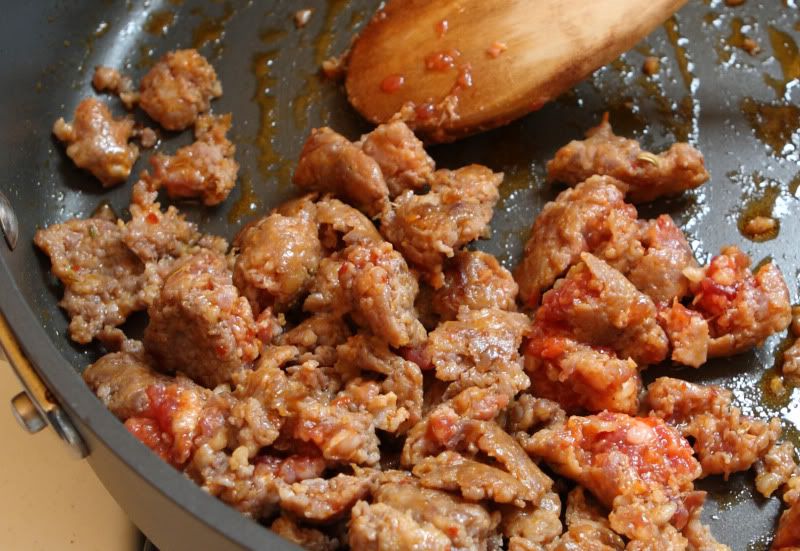
In a deep, large skillet, over medium heat, fry sausage, stirring and breaking it up as it cooks. When the sausage is mostly-cooked, but is still slightly pink on the inside, remove it from the pan to a plate lined with a paper towel, leaving the fat in the pan - set the pan aside. This picture shows the sausage at the proper level of doneness: mostly browned on the outside but still pink on the interior. (No worries, we’ll finish cooking the sausage later.)


Bring a separate large pot of water to a boil. Add the pasta and cook according to the package directions. Drain and set aside.


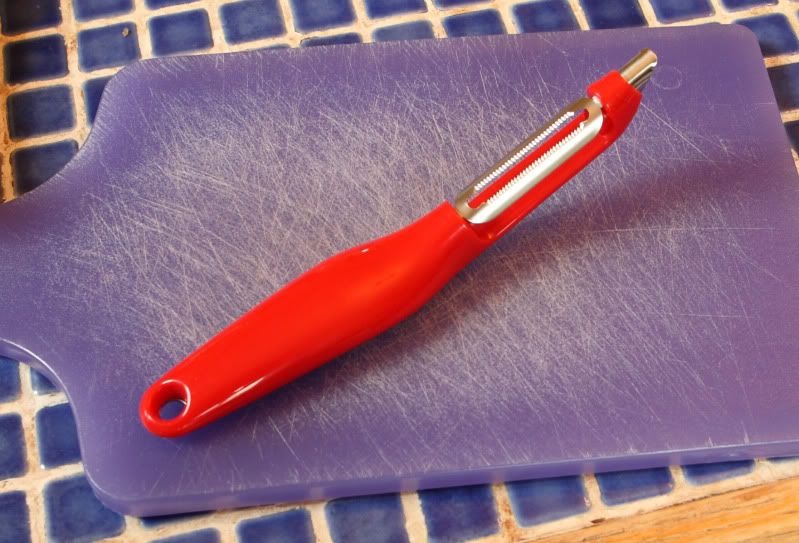
Meanwhile, if you like (and I highly recommend it), peel the tomatoes. If you don’t have one yet, I suggest you invest in one of these gadgets:


…a soft-skin serrated peeler! Besides being good at peeling tomatoes, they do an excellent job of peeling kiwis, peaches, and the skin off your fingers (so be careful!). They’re dishwasher safe, and happen to be ergonomic: they are pretty comfortable to use if you have a big peeling task ahead of you. Buy one, and while you’re at it, buy one of their standard peelers too. Your hands will thank you next time you peel a potato.

If you don’t have a nifty soft-skin peeler, you’ll need to peel the tomatoes using the boiling water method: Cut a shallow X into the bottom of each tomato. Plunge them first in boiling water for about ten or fifteen seconds, then rinse them under cold water to stop any cooking. The skins should come off more easily than they would otherwise (start peeling from the X). (A soft-skin peeler is much easier – no boiling water to deal with and one less pot to wash!)

(If its wintertime and your supermarket has terrible tomatoes, go ahead and use canned diced tomatoes.  No peeling or chopping necessary...)

Once you’ve peeled the tomatoes, roughly chop them and divide them into two approximately equal portions. Set both portions aside.

Add the onions to the leftover fat in the large skillet you used for the sausage. Cook on medium-high heat until onions just begin to soften. Stir in the carrots, mushrooms, and half of the chopped tomatoes and cook a few minutes longer until carrots are crisp-tender.

Stir in the chicken stock, reserved sausage, and the spinach, and allow the mixture to simmer for a few minutes to reduce the liquid slightly.  If you have a lid for your skillet, cover it for a minute to help cook the spinach more evenly.  No lid?  Don't worry, just stir it frequently until the spinach is all evenly wilted.

Add the cream, chopped parsley, and reserved cooked pasta. Stir to incorporate the ingredients. Once the sausage has cooked through, gently fold in the beans and the remaining tomatoes. Heat through, then serve immediately.

Wednesday, February 20, 2008

A Quick Kielbasa and Sauerkraut Sandwich Dinner

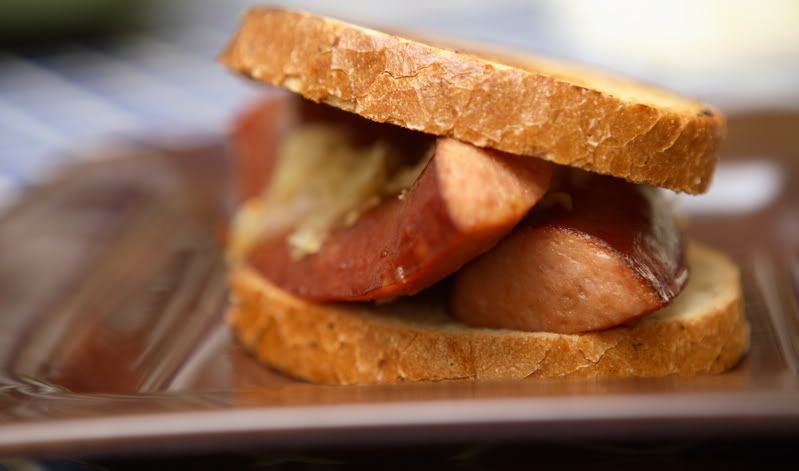
I needed a quick dinner tonight, so I made sausage and sauerkraut sandwiches. I sliced fully-cooked kielbasa in half lengthwise and placed it in a sauté-style frying pan (a frying pan with taller-than-normal edges). I added about 1 cup of apple juice (apple cider would work even better if you have it!) and mixed in about a tablespoon of grainy mustard. Then I simmered the mixture over medium heat until the apple juice was slightly reduced and the sausages were heated through. I added sauerkraut to the pan and heated it through.

Meanwhile I “grilled” some rye bread: I did this similarly to how I would make a grilled cheese sandwich, but minus the cheese. I spread one side of the bread with reduced-fat mayonnaise (you might be used to using butter - I've never heard of anyone else using mayo to make grilled sandwiches besides me and my family). Then I placed the bread in a frying pan over medium-high heat, mayo-side down, and fried the it until it was a nice, golden brown.

To assemble the sandwich, I spread the ungrilled side of the bread with mustard, then topped it with the kielbasa and sauerkraut. Yum!