Showing posts with label easy to adjust to become vegetarian. Show all posts

Monday, January 11, 2010

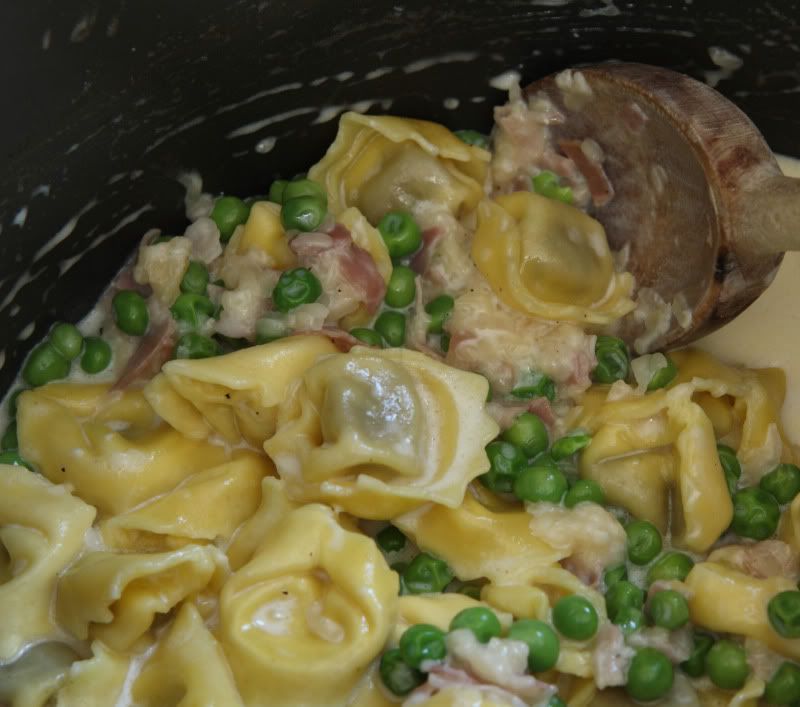
Tortellini in Cream Sauce


One of St. Louis’ great neighborhoods is called The Hill – it’s kind of a little Italy. Nestled between the cute little homes are lots of Italian restaurants, several great Italian grocery stores, bakeries, and even an Italian deli. One of St. Louis’ favorite restaurants, Cunetto House of Pasta, is on The Hill.  Amongst many other delicious entrees, they have an outstanding tortellini and cream sauce dish: tortellini, mushrooms, peas, and prosciutto enveloped in a velvety cream, butter, and parmesan sauce. It is quite good. If I lived closer, I’d eat supper there all the time.

Since it is at least a 45 minute drive to get to The Hill, I have my own version of tortellini and cream sauce that I can make at home. It is surprisingly quick and easy – so easy it can easily be made on a weeknight. My version isn’t an exact copy of their dish, but it tastes good enough that the difference doesn’t matter to me. It is not exactly health food, but it is One Good Cream Sauce, worth ignoring the calories and eating it every once in awhile.  To help with portion control, the recipe I’ve posted here makes enough for a smallish main dish.

There are several keys to success with this recipe: One – have everything ready to go before you start to make the sauce. (You can prepare everything while your pasta water is coming to a boil.) You don’t want to be scrambling to grate cheese while your butter overheats. Two – don’t omit the nutmeg – its just a pinch – and please use freshly grated nutmeg!  Three – when you select your cheese, please don't use the powdery stuff in the green container.  This is a dish where real Parmigiano Reggiano makes a difference.

Tortellini in Cream Sauce
Serves 4 as a smallish main course

1 cup freshly grated Parmigiano Reggiano cheese (I use the medium sized holes on my box grater)
2 ounces prosciutto
3 Tbsp unsalted butter
1-1/4 cups heavy cream (unwhipped heavy whipping cream, not coffee creamer)
freshly grated nutmeg
freshly ground black pepper
4 cups frozen packaged fully-cooked tortellini
1-1/2 cups frozen peas


Fill a large saucepan or small stockpot with water, bring it to a boil. (This will be your pasta water.) While the water is coming to a boil, prep the rest of your ingredients:

Grate the Parmigiano Reggiano cheese, set it aside. Finely chop the prosciutto, set it aside. Locate your butter, measure the cream, and get the nutmeg and pepper out so you’re ready to go.


Once your pasta water is boiling, stir in the frozen tortellini. Watch the pot closely; as soon as the tortellini begin to boil (and it wont take long – just a couple of minutes), add the frozen peas.

Again, watch the pot closely; as soon as the pasta mixture begins to boil, remove it from the heat, drain it, and set it aside.

Add the butter to the empty pot – melt it over medium heat. Add the nutmeg and the black pepper; stir the butter mixture a few times until the spices have heated and are aromatic. Stir in the prosciutto; heat it through. Stir in the cream and heat it through, stirring constantly. Add the grated cheese, then return the cooked pasta to the pot. Gently stir the pasta to melt the cheese and coat the pasta evenly. Serve hot. The longer the sauce sits, the thicker the sauce will get.


A note for vegetarians: The sauce is nearly vegetarian – except the prosciutto. If you omit the meat, you might want to add a little bit of salt to the sauce. (The prosciutto is very salty; you’ll need to make up for its absence.)

A note for those who don’t want to use cream: You can cut back on the fat slightly by substituting half-and-half for the heavy cream. The sauce won’t be quite as thick and will not taste quite as good, but you might feel its worth the reduction in calories and fat.

Sunday, June 14, 2009

Chinese Potsticker Dumplings - The Daring Cooks June Challenge


I first learned how to make Chinese dumplings during a college-sponsored trip to China nearly ten years ago. I participated in a study abroad program and spent the better part of a summer travelling around China with 12 classmates and two teachers. It was a great experience – one of our teachers was born in rural China so he took us to all of the places he used to go to as a child and young adult. Thus, it was a better experience than what I imagine most tourists’ visits might be like – less emphasis on the commercialized tourist-oriented sites and more emphasis on actually learning about Chinese culture. We stayed in our host college’s dormitories and our daily activities were more like those of a Chinese college student’s rather than those of an American tourist.

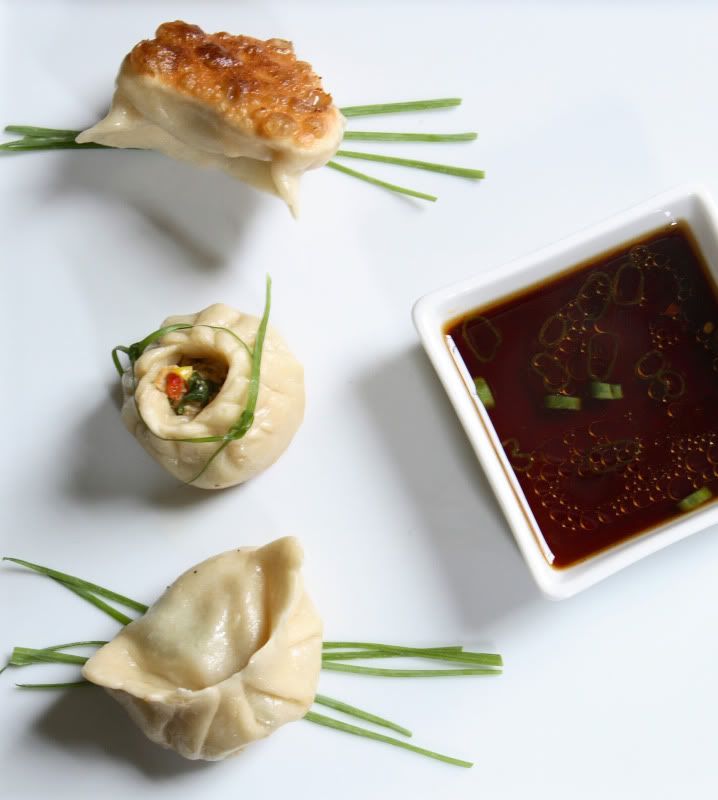
One day our Chinese friends taught us how to make dumplings – we were taught that the Mandarin Chinese word was jiao tze. We watched as they expertly rolled out each dumpling skin into a perfect circle (our attempts were not nearly as beautiful nor as efficiently done!). They filled their dumplings with a pork and cabbage mixture, and in the blink of an eye, pleated each dumpling into a perfectly ridged half-moon shape. They also demonstrated a different shape of dumpling – I don’t remember what the Mandarin word to describe them was, but the English translation was Beggar’s Purses, and they painstakingly tied thin threads of Chinese scallions around the tops of each dumpling. Beautiful – but not something I’d want to do for a weeknight supper! The dumplings were all placed in a bamboo steamer to gently steam the dumplings.

After returning to the US, I searched for and found a recipe that was fairly close to what I remembered eating in China, and have been making steamed dumplings on a regular basis ever since then.

I was excited when I learned that the Daring Cooks June Challenge was Chinese dumplings and potstickers, hosted by Jen from use real butter. Since I have never made potstickers, I decided to try making them instead of following my usual method of steaming the dumplings. Their crispy bottoms are a delicious contrast from the soft texture of the rest of the dumpling wrapper.

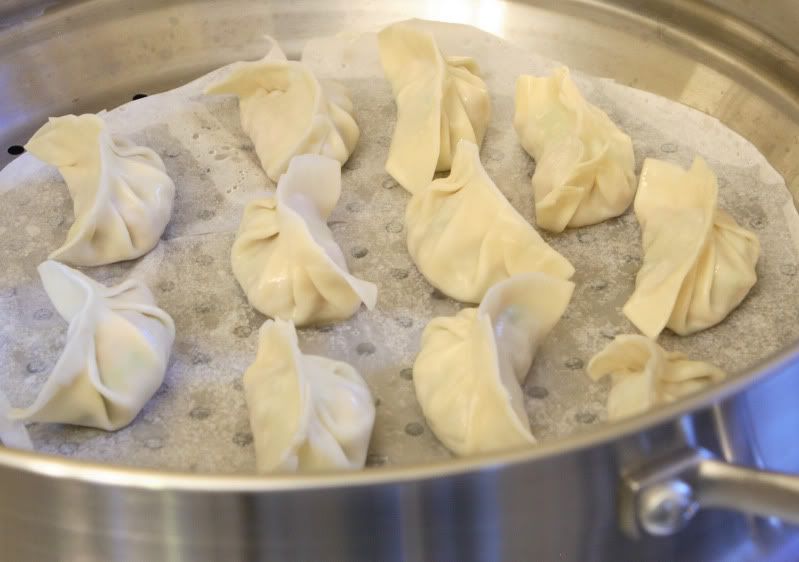
I actually made steamed dumplings about a week prior to the announcement of June’s challenge recipe, but I did not make homemade dumpling wrappers. The only stipulation of this month’s challenge recipe was that we make our own homemade dumpling wrappers. Therefore, my previous effort would not “count” towards fulfilling the Daring Cook’s challenge. However, I have included a few photos from that endeavor because they illustrate steaming the dumplings, and the method is the same regardless of the type of dumpling skin used.

You could use storebought wrappers – again, the method is the same, except you will require a small amount of water as “glue” – dab it on the edges of the skins before you start to fold the wrappers. But I encourage you to give the homemade wrappers a shot – they taste much better!

Dumpling Wrappers
Yields 25-50 dumplings, depending on how large you make each wrapper
4 cups all-purpose flour
1 cup warm water (as hot as your tap will go)
Flour for work surface

Note: Depending on how large your food processor is, you might need to mix this in two batches. A Kitchen Aid 12 cup processor can do it in one batch. Use your judgement based on that... Place the flour in the work bowl of a food processor with the dough blade. Run the processor and pour the warm water in until incorporated. Knead the dough with the food processor for several minutes until the dough travels around the bowl with the blade. (You may need to add additional flour or water to achieve the proper results.) The dough should be firm and silky to the touch and not sticky. [Note: it’s better to have a moist dough and have to incorporate more flour than to have a dry and pilling dough and have to incorporate more water).

Cover the dough with a damp towel for 15 minutes.

Meanwhile, make your filling. I have provided you with two choices – each option makes enough to fill one batch of dumpling wrappers.

Pork and Cabbage Filling
1/2 lb napa cabbage
3/4 lb unseasoned coarsely ground pork
1 Tbsp finely minced ginger
1/4 cup coarsely chopped green and white scallions
1 Tbsp soy sauce
1 Tbsp Chinese rice wine or dry sherry
1 Tbsp sesame oil
1 tsp coarse kosher salt
1/4 tsp ground black pepper

Chop the cabbage until it is pea-sized. Place in a large bowl. Add the ground pork and sprinkle the remaining ingredients on top. Stir until well blended – but don’t overstir it and create mush.

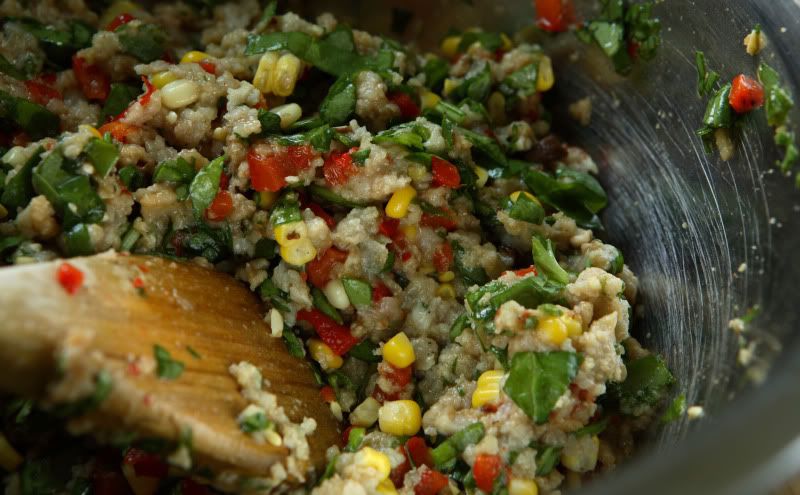
Veal, Fire-Roasted Corn, and Red Pepper Filling
2 ears corn – do not shuck – leave the husks on!
2 red bell peppers
6-8 large shitake mushroom caps
1 lb ground veal
3 cloves garlic, pressed
1 Tbsp ginger, minced
3 ounces spinach, finely chopped
4 tsp soy sauce
1/4 tsp coarse kosher salt
1/4 tsp ground black pepper
1 Tbsp sesame oil
1 Tbsp Chinese rice wine or dry sherry
2 tsp brown sugar

Preheat your grill to obtain medium-high heat. Run the corn – husks and all – under cool water. Grill, turning as necessary, until the husks have blackened and the corn is tender, about 10 minutes.

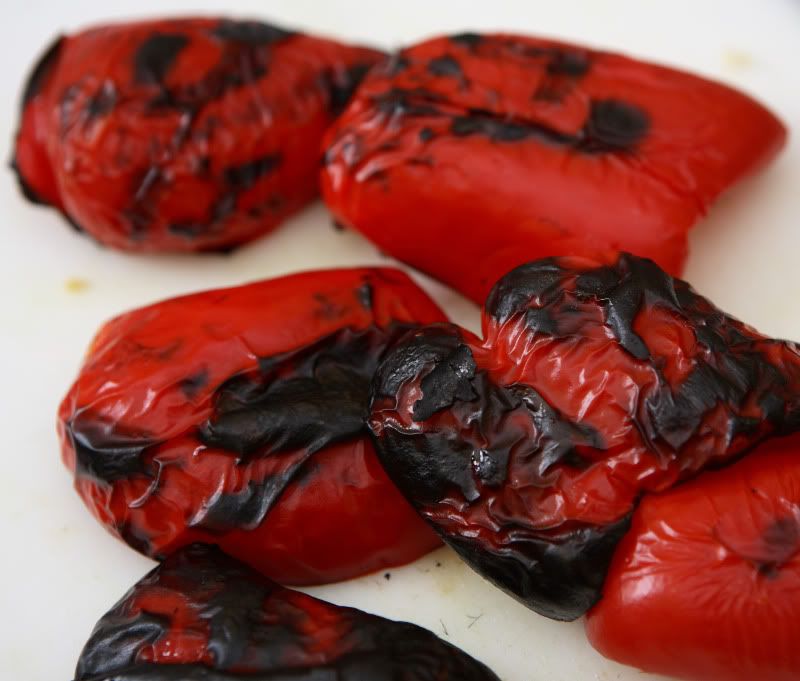
Meanwhile, quarter the bell peppers. Discard the seeds and ribs. Grill until the skin is blackened and the peppers are tender, 5-8 minutes.


During the last five minutes of grilling time, grill the shitake mushroom caps on the coolest part of the grill until they are tender, about 5 minutes.

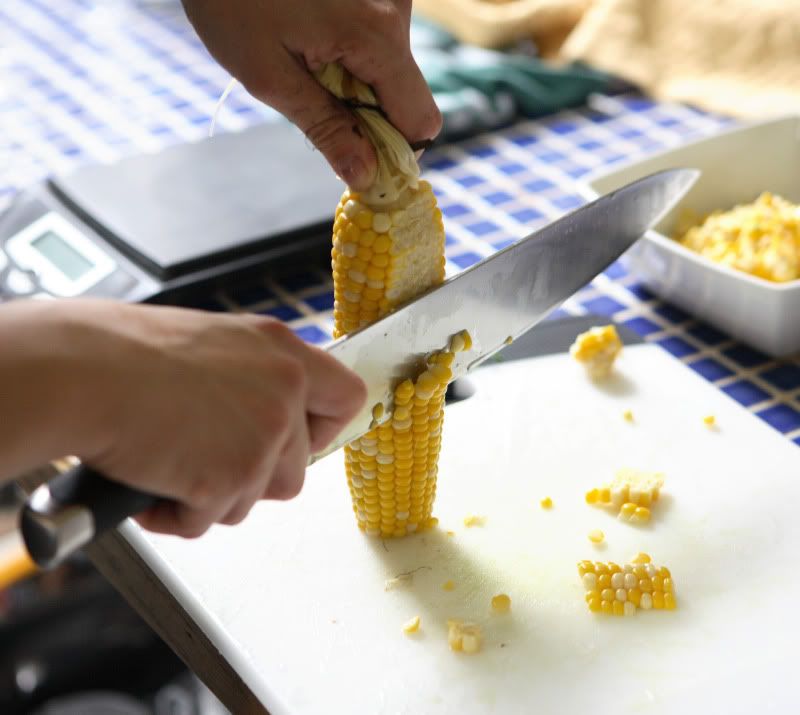
Allow the grilled vegetables to cool slightly. Pull the husks and silks back off of the corn – but do not remove the husks from the corncob. Carefully cut the corn kernels off of the corn cobs. The easiest way to do this is to cut off the last inch of the tip of the corncob opposite of the stalk, creating a flat end. Place the end flat on your cutting board and use a large, sharp knife to carefully cut straight down the cob, using the husks/stalk as a handle. CUT CAREFULLY! Place the corn kernels in a large bowl.


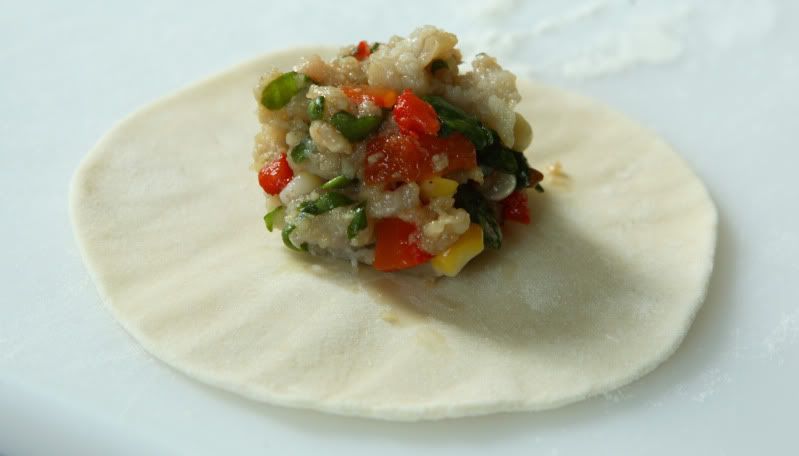
Carefully use your fingertips or a knife to remove the skins from the red peppers. Roughly chop the peppers and the mushrooms, and add them to the corn. Add the remaining filling ingredients and stir to combine. Don’t overstir or you’ll end up with mush.


A note for vegetarians: I think this filling recipe would be a great starting point to create a meatless dumpling. I'd suggest increasing the mushroom quantity and possibly adding some firm tofu (panfried before finely dicing for a little added flavor?)


To roll out the wrappers and fill the dough:

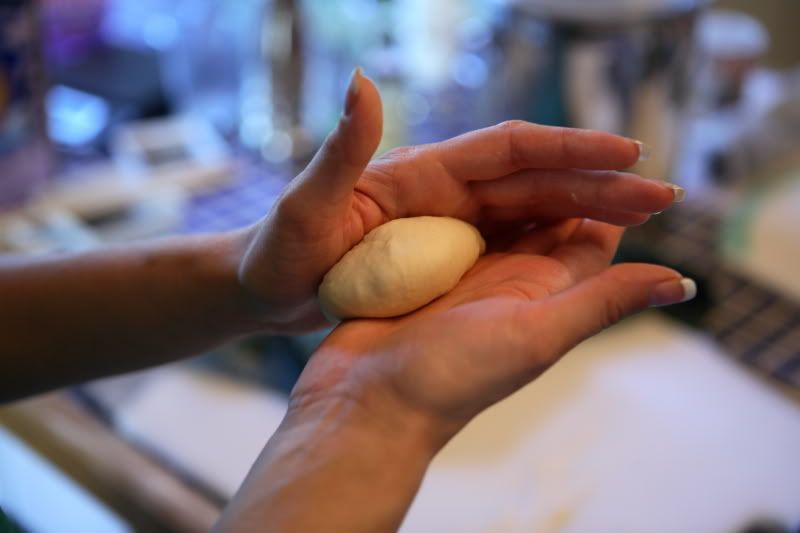
Take the dough and form a flattened dome. Cut into strips about 1 1/2 to 2 inches wide. Shape the strips into rounded long cylinders. On a floured surface, cut the strips into either 1/2-ounce or 1-ounce pieces (larger dumplings are easier to make if you’re a dumpling newbie). The recipe will yield approximately 50 dumplings if you use a 1/2-ounce size, or approximately 25 dumplings if your wrappers weigh 1 ounce each. Keep the waiting dough underneath a cloth to prevent it from drying out.

To roll out the wrappers, knead a dough piece in your hands for a few minutes until it is smooth.


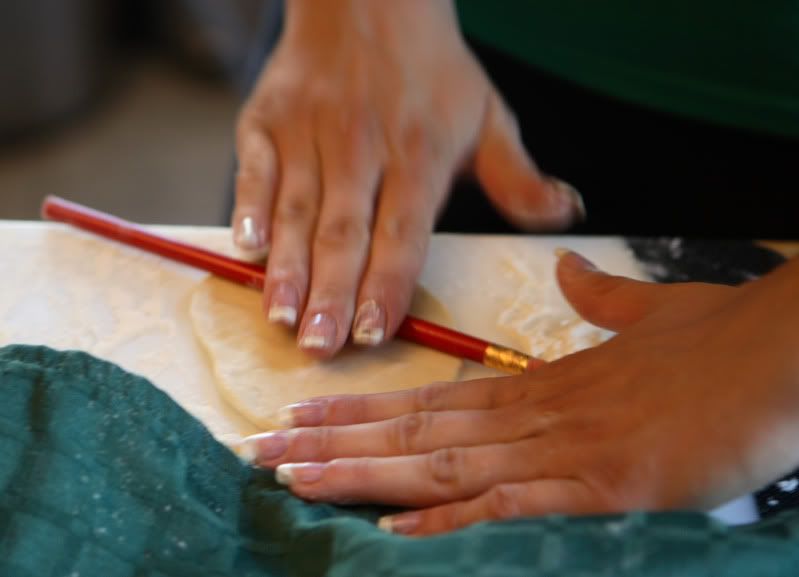
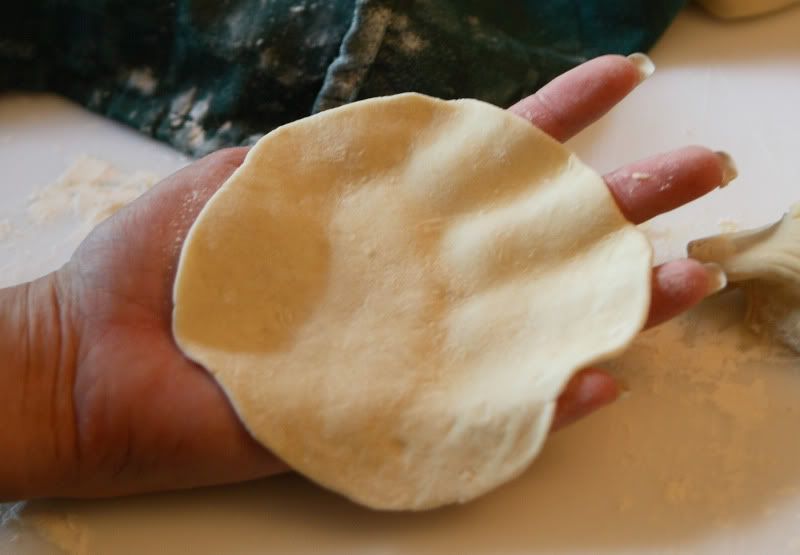
Press your palm down on each piece to form a flat circle. With a straight (not tapered) rolling pin, roll out a circular wrapper from each flat disc. (I recommend using a thick dowel rod, or in absence of that, even a round, unsharpened pencil will work as a rolling pin - that's what I used in my pictures. A larger, standard-sized pastry rolling pin is too bulky to use. Take care not to roll out the skins too thinly or the dumplings might break - about 1/16th inch.


Leave the centers slightly thicker than the edges. Your wrappers will be between three and four inches in diameter.


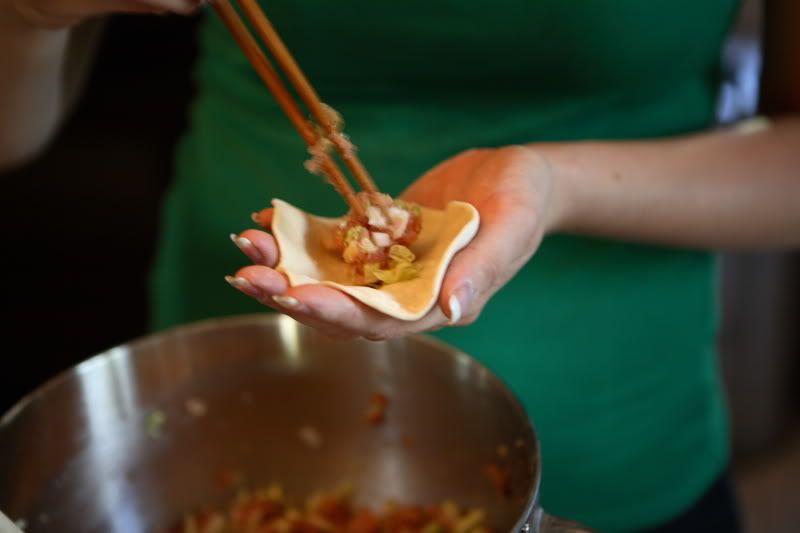
Place 1/2 ounce to 1 ounce of filling in the center of each wrapper (depending on the size of your wrapper).


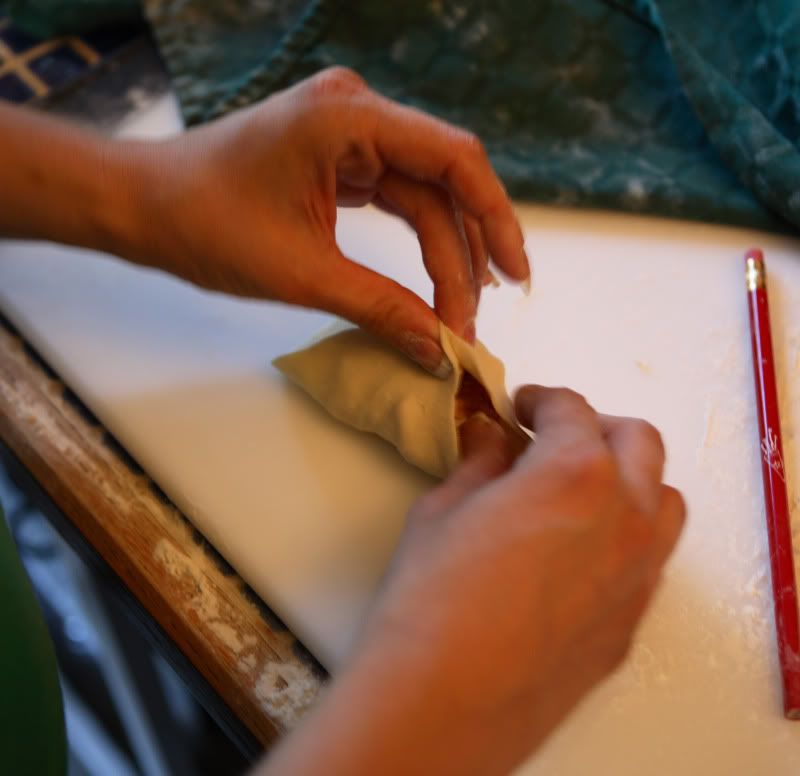
There’s lots of different ways to pleat a dumpling. Here’s the way I was taught in China. Create the top of the dumpling by pinching the dough together at the top, leaving the sides open.


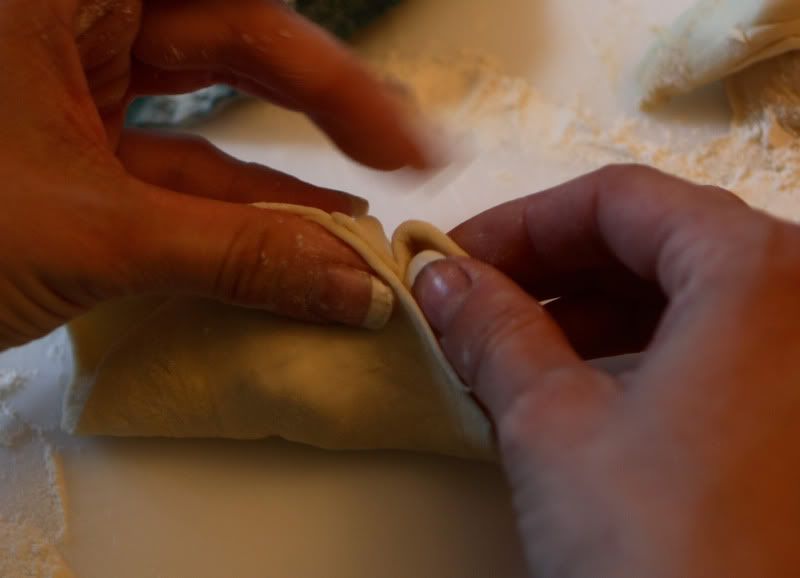
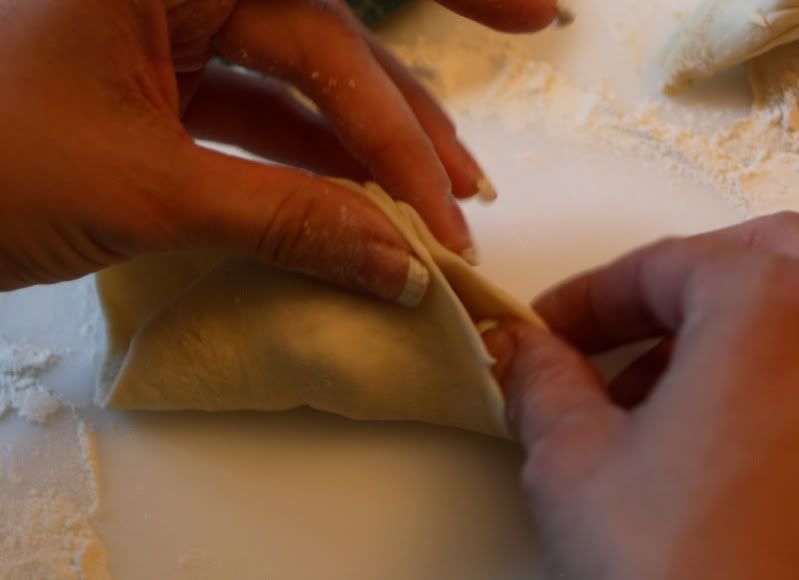
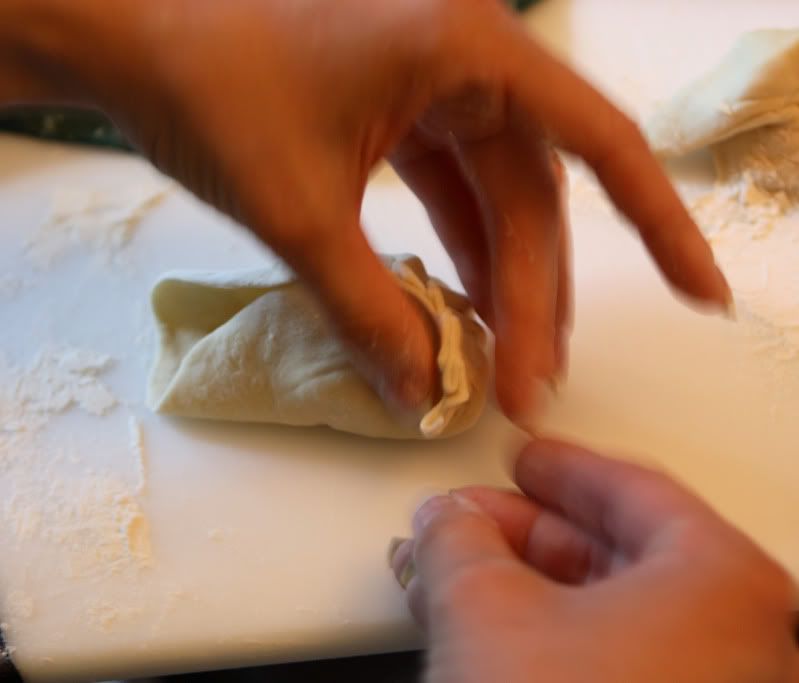
Make three or four pleats along one side of the dough by folding the dough up, one pleat at a time, and pressing it flat.


Work from the center of the dumpling out towards the right to complete one side, then return to the center and work out towards the left to create the other side of pleats.


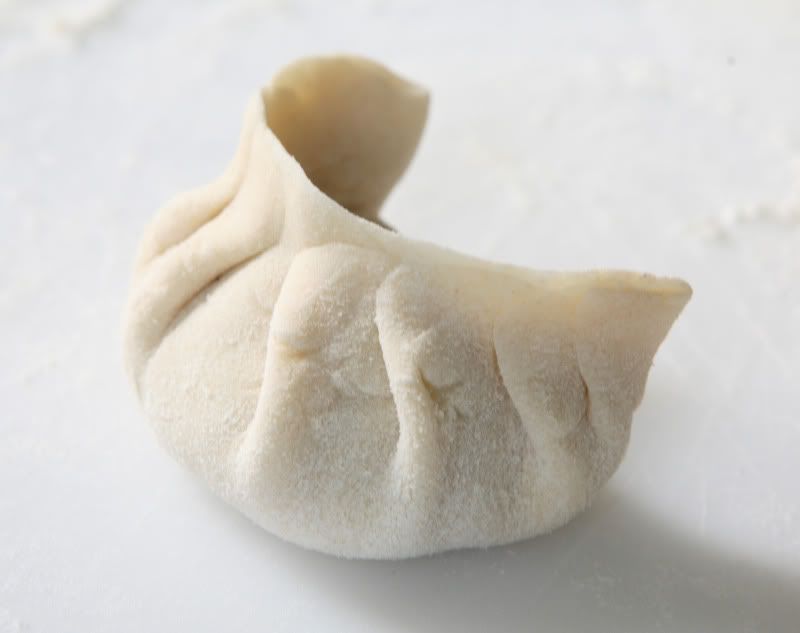
One side of the dumpling should have pleats, the other side should remain flat – this gives the dumpling its crescent shape. The dumpling should rest upright on a flat bottom, with a crescent ridge of pleats pointing up.


This month’s Daring Cooks host, Jen, uses a very similar pleating method to mine – you might want to check her website out to see how she does it.

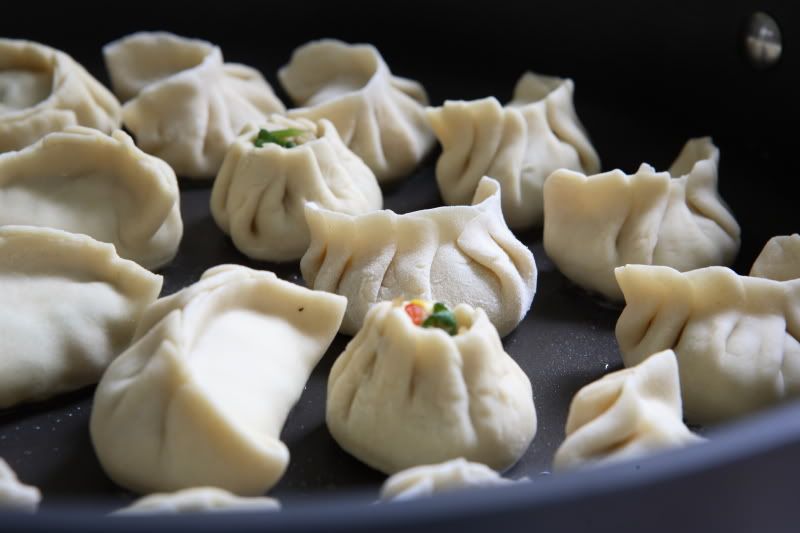
You could also create a beggar’s purse by pleating in a circular fashion around the entire circumference of the dough. Some of the filling should be visible out of the top. Press in slightly to create an area where you can later tie a thread of scallion around the dumpling. They kind of look like little volcanoes! (I’m sure I have not refined the technique nearly as well as my Chinese classmates, who showed me how to make these ten years ago, have!)


Place the shaped and filled dumplings on a nonstick surface, such as a piece of parchment paper, until you are ready to cook the dumplings. If you desire, you can freeze the dumplings at this point and cook them from frozen later.

Choose a cooking method:

To make potstickers:


In a large nonstick sauté pan with high sides and a lid, heat 2 Tbsp oil over medium-high heat, uncovered. Add the dumplings – do not let them touch. Let them cook uncovered for approximately 2 minutes – long enough to begin to brown the bottoms of the dumplings.


Add 1/2 cup of water (careful, the pan will spatter) and immediately put the lid on the pan. Cook covered until the water has boiled away, then uncover and reduce the heat to medium-low. Let the dumplings cook another 2 minutes and then remove them from the heat and serve with dipping sauce.

To make steamed dumplings:

Line a steamer. I usually use a piece of parchment paper with a few holes poked through it. You could also use a single layer of cabbage leaves. Place the dumplings in the steamer basket – don’t let them touch one another.


Place the steamer over boiling water and cover – let them steam for about six minutes. Serve with dipping sauce.

Dipping Sauce
1/4 cup soy sauce
2 Tbsp white vinegar or unseasoned Chinese rice vinegar
2 tsp sesame oil
1/2 tsp Asian chili sauce (or more to taste)
1 tsp white sugar
2 Tbsp thinly cut green and white scallion rings

Stir to combine all ingredients. Serve at room temperature.

Saturday, June 6, 2009

Steak Tacos, Red Pepper and Corn Salsa, Homemade Refried Beans, and Guacamole

Craving steak tacos?

Thinly-sliced, lime-and-cilantro-flavored steak
Fire-roasted red pepper and corn salsa
Spicy jalapeno pinto beans
Cool and refreshing guacamole


I know I am!

Let's get cooking! Many of the ingredients can be prepared ahead of time. Some items can be cooked ahead and simply reheated, or kept warm over a low grill (that’s what I do at home when I’m just cooking for the family), or in a slow oven (that works well if you’re cooking on a larger scale). I have written the recipes below as if I’m serving them to my family immediately.

All quantities below will serve four people


Steak Marinade
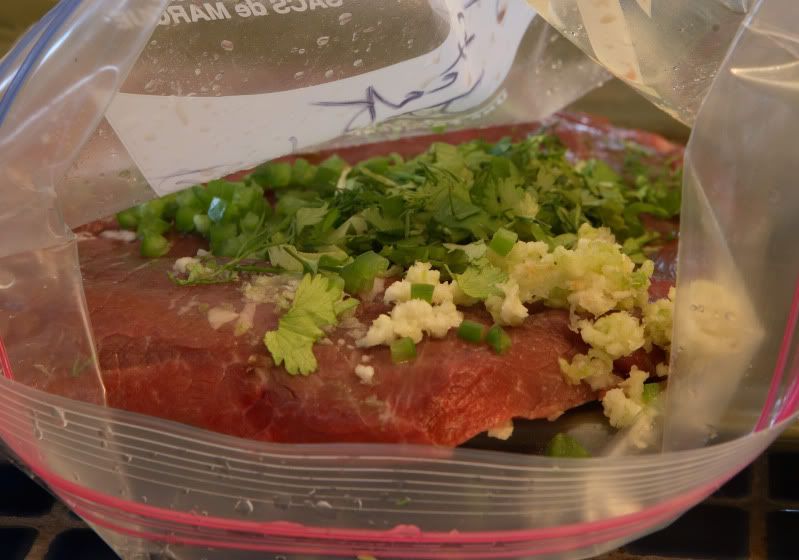
1 lb flank steak, left unsliced
Juice of 2 limes
3 cloves garlic, ran through a garlic press, or chopped
½ of a jalapeno, seeds and ribs removed, chopped (more or less to taste)
2 Tbsp fresh cilantro, chopped
¼ cup olive oil
½ tsp ground cumin
¼ tsp ground paprika

Place the flank steak in a resealable container or heavy zip-lock bag. Add the remaining marinade ingredients and let rest for several hours, or as long as overnight. Turn/shake the bag occasionally to coat everything evenly.


Meanwhile, start the salsa – it needs to go on the grill first.

Fire-roasted Red Pepper and Corn Salsa

2 red peppers, seeds and ribs removed, cut into thirds
1 onion, peeled and quartered
1 Tbsp olive oil
Salt and pepper
2 ears corn, shucked, but with as much of the stems left intact as possible.
One 16-ounce can black beans, rinsed and drained
1 tsp cumin
1 Tbsp fresh flat-leaved Italian parsley, chopped
2 Tbsp fresh cilantro, chopped


Prepare your grill to obtain medium to medium-low heat.

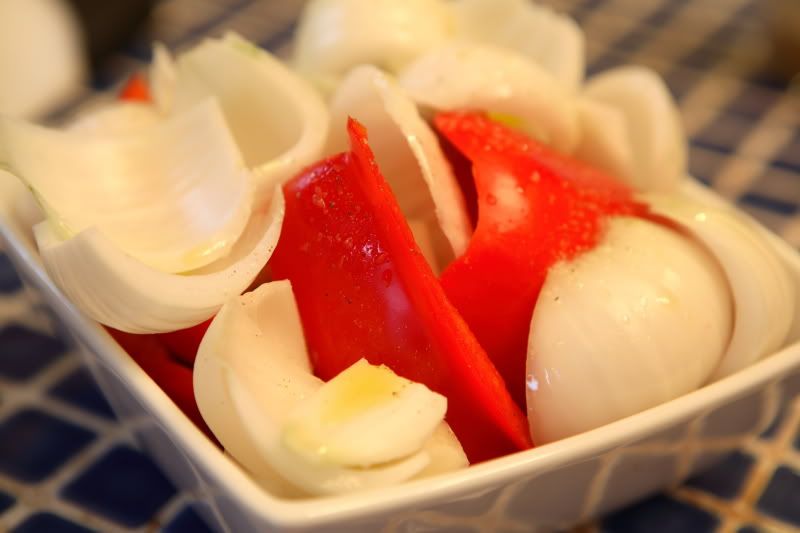
Place the red peppers in a medium bowl. Add the onion, separating each quarter into individual pieces. Drizzle olive oil over the onion mixture; sprinkle with salt and pepper. Toss to coat all pieces.


Carefully place the onion mixture on your grill (you might experience a brief flare-up due to the olive oil). Put the shucked corn on the grill at this time, too. Grill over medium to medium-low heat, turning often, until the skin of the peppers starts to blister and the vegetables are cooked through and lightly charred. (Yes, charred skin is ok!)

If you’re making the homemade refried beans, start the first step of that recipe while you’re waiting for the peppers and corn to grill. Depending on how fast you are, you might also find this is also a good time to mix up guacamole.

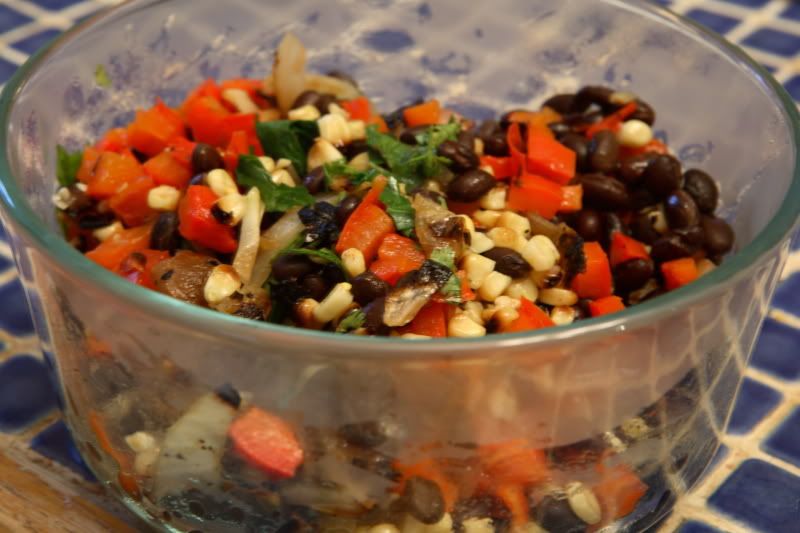
Remove the cooked veggies to a flat working surface, such as a heat-resistant cutting board. Allow the vegetables to cool slightly, then carefully use your fingers or a knife to remove the skins of the peppers and any other excessively charred portions of the vegetables. Roughly chop the peppers and onions, then place them in a large bowl.

Carefully cut the corn kernels off of the corn cobs. The easiest way to do this is to cut off the last inch of the tip of the corncob opposite of the stalk, creating a flat end. Place the end flat on your cutting board and use a large, sharp knife to carefully cut straight down the cob. Oh, and if you left the stalk on the end of the corncob, you’ve got yourself a nice handle that usually works out pretty well. CUT CAREFULLY! Did I mention that you should be careful while cutting that corn off? Hey, you could also go out and buy a gadget that accomplishes this task for you…but I’ve never tried it so I can’t comment on its real-world practicality. Once you get those corn kernels off of that cob, add the kernels to the onion mixture.
Add the rinsed and drained black beans, cumin, parsley, and cilantro to the onion mixture and gently stir to incorporate everything. If you’re not ready to serve the salsa yet, I recommend putting it into a foil packet and placing it in a cooler spot on your grill. It can be moved to a warmer spot and reheated right before serving. Although I prefer the salsa served warm, it is good either hot or cold, so you could refrigerate it if you didn’t want to mess around with trying to keep it warm.


Homemade Refried Beans
1 onion, processed or chopped into small pieces
1 Tbsp olive oil
1 jalapeno, seeds and ribs removed, finely chopped
One 16-ounce can pinto beans, undrained
2 Tbsp fresh flat-leaved Italian parsley, chopped
1 Tbsp fresh cilantro, chopped
1 tomato, roughly chopped


Step one: (which I recommend you complete while you’re waiting for your veggies to grill if you’re making the salsa…) Place the chopped onion and olive oil in a large frying pan with deep sides. Over medium-low heat, cook the onion until it begins to brown, stirring occasionally. If your heat is low enough, this shouldn’t require too much babysitting, so go back up and finish that salsa…

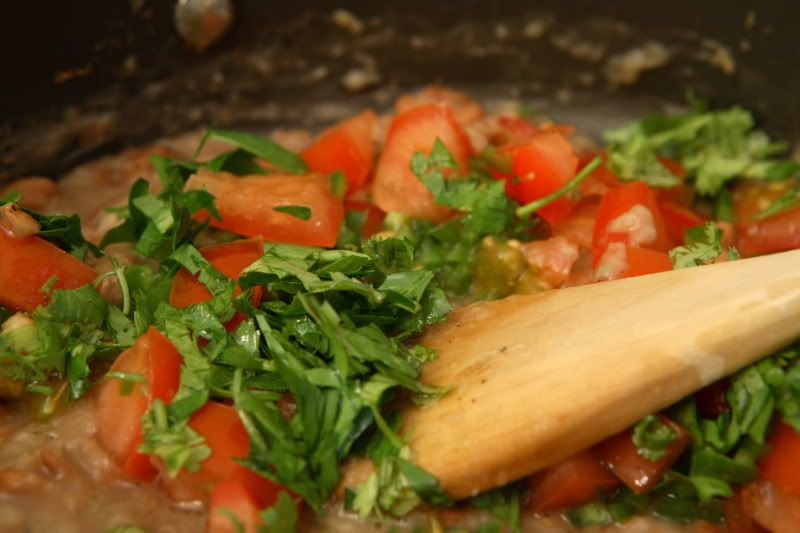
The rest of the recipe: (This only needs to heat through…so you can do this last step right before serving time.) Add the chopped jalapeno and undrained pinto beans to the pan. Use a potato masher or the back of a spatula to mash and stir up the beans. I mash about half of the beans for a variation in texture. Stir in the parsley, cilantro, and tomatoes.


For the tacos
Lettuce
Tomato, chopped
Grated cheese (I usually use Colby-jack)
Soft tortilla shells (I usually use something from the La Tortilla Factory lineup – they’re a little healthier than most tortilla options I’ve seen)


Guacamole
2 ripe avocados, halved and pitted.
Salt and pepper
Juice of ½ to 1 lime (to taste)


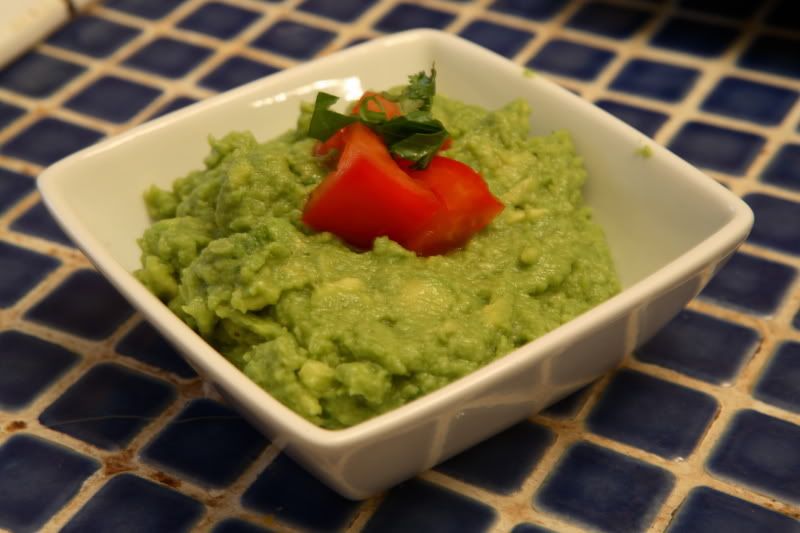
Use a large spoon to scoop the avocado flesh out of the skins. Add salt, pepper, and lime juice to taste. I don’t have a large mortar/pestle, so I just use a big wooden spoon to mash it all up until it’s smooth.


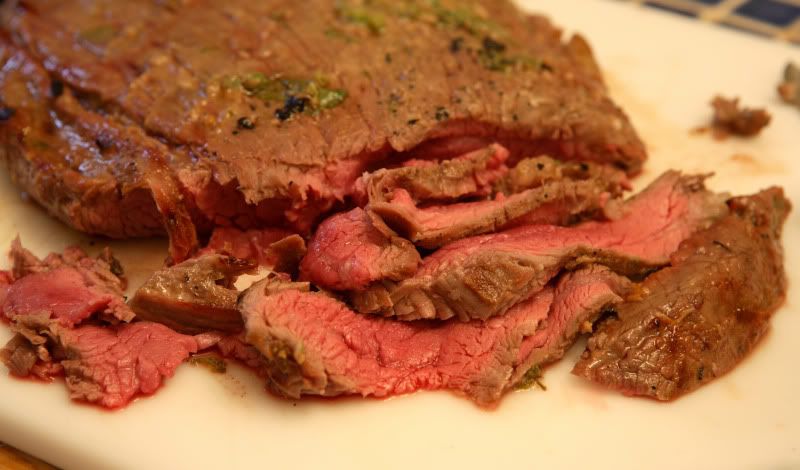
Once you’ve got everything above done, grill up that steak! Prepare your grill to obtain medium high heat. Flank steak is best served rare or medium-rare. Times will vary, but if you're grilling over medium-high heat, you’re probably looking at three or four minutes on each side. Spoon a little of that leftover marinade over the meat as it’s cooking (you boiled that marinade first to avoid those germies, didn’t you?).
Flank steak has a really obvious striated appearance. Thinly slice the cooked steak perpendicular ACROSS the stripes, NOT parallel to the stripes.


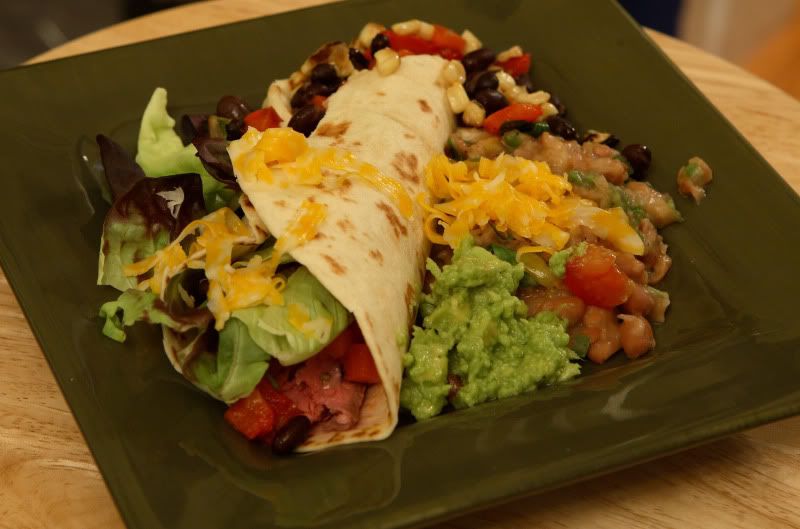
Assemble those tacos and eat! (These tacos are so filling, I find rice and tortilla chips aren’t necessary.)


Oh, and if you're a vegetarian, just omit the meat. The beans would be great spooned into the tacos, or try grilling up some marinated portabellas...

Thursday, May 14, 2009

Brown Butter Pasta Sauce on Butternut Squash Ravioli

Have you ever had brown butter pasta sauce? It’s less common, at least, around here (I can’t recall seeing it in a restaurant recently). I do love it, partially because it’s delicious, partially because it’s a nice change of pace from marinara or alfredo sauce, and partially because it’s one of the easiest pasta sauces to make.

That said, to be successful with the finished product, have all of your ingredients ready to go by the time the pasta is done cooking. You’ll need to be able to dump it all into the pot at the appropriate time and if you take too long, your pasta will cool off too much. But that’s the most difficult thing about it. (To alleviate that problem, you could make the sauce in a different pan as the pasta is cooking...but that means you'll have more clean-up...I'm lazy...)

Another thing – yeah, this isn’t exactly health food... It is called Brown BUTTER Sauce for a reason!

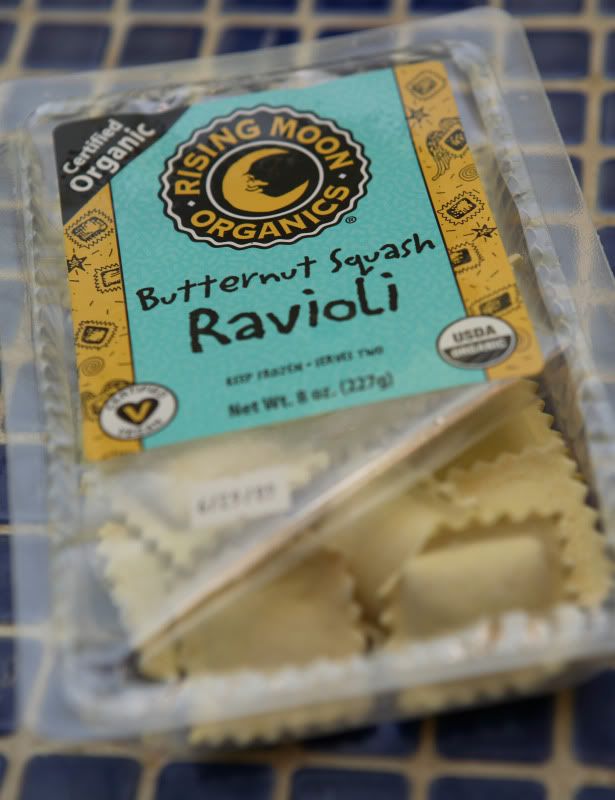
We like the Rising Moon brand of ravioli – they have a wide variety of flavors to try. My favorite is the Butternut Squash kind, especially when served with this sauce. Most of the flavors I’ve tried are pretty good, though.


This is easy to make vegetarian – just omit the prosciutto. Add a pinch of coarse salt if you do that, though, because prosciutto’s very salty!

Brown Butter Pasta Sauce on Butternut Squash Ravioli
Serves 4

2 8-ounce packages butternut squash-filled ravioli (16 ounces total)
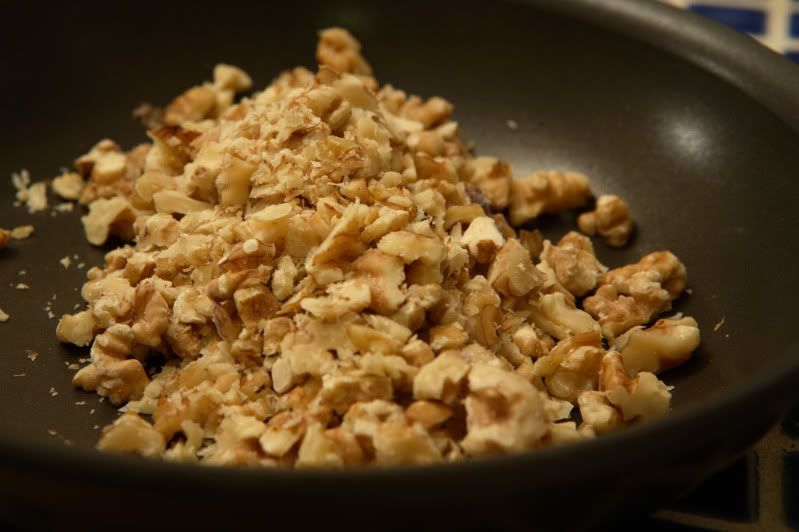
1/2 cup walnuts, roughly chopped
About 3 ounces thinly sliced prosciutto, finely diced
1 Tbsp fresh sage, finely chopped
1/4 cup freshly grated Parmesan cheese, plus more for garnish
1/4 tsp freshly grated nutmeg
4 Tbsp butter
1/4 cup finely diced portabella mushroom
Freshly ground black pepper


Cook the pasta according to package directions.

Meanwhile, prepare the sauce ingredients:

Roughly chop the walnuts. Toast them in a skillet over medium heat, stirring often, until aromatic and lightly browned. Remove the nuts from the heat and set them aside.


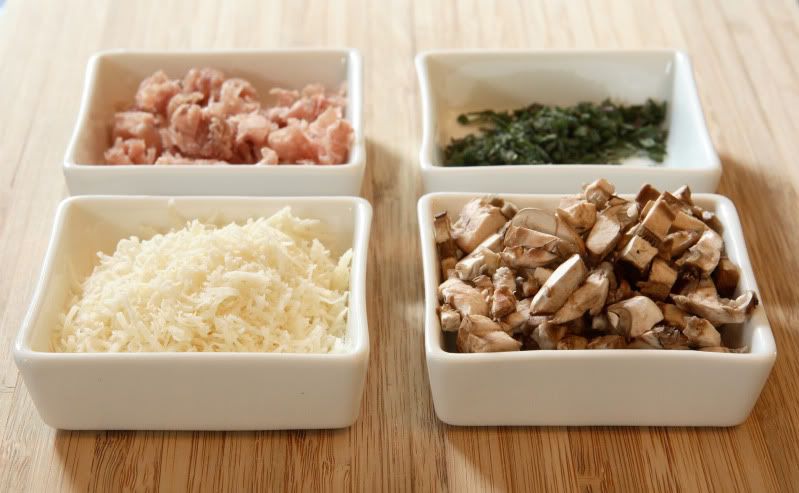
Finely dice the prosciutto; set it aside. Finely chop the sage; set it aside. Grate the cheese. Keep your nutmeg and it's grater close at hand, so it's ready to go too.


Once the pasta has cooked, drain it well and set it aside. Add the butter to the empty pasta pot. Stir it over medium heat until it has melted. Continue to cook the butter, stirring frequently, until it begins to turn golden brown – this will take just a few minutes. As soon as it begins to become golden brown, add the mushrooms, grated nutmeg, black pepper, diced prosciutto, and chopped sage. Over low heat, stir to heat through; the mushrooms will cook very rapidly in the hot butter.

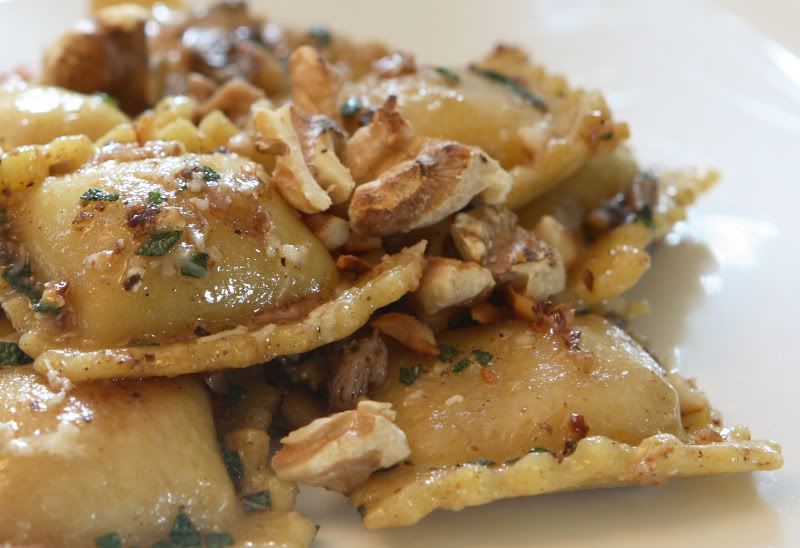
Return the pasta to the pot. Sprinkle the parmesan over the pasta and gently stir to distribute the cheese evenly and coat the pasta with the sauce. Garnish with additional grated parmesan cheese and the toasted nuts.

Sunday, February 24, 2008

Fettuccine with Spinach Pesto


This is one of my favorite recipes to make on a Monday night – the busiest night of my week, since I have a class to attend that night. I don’t have much time to make dinner that night, so we often have this since it is so quick to prepare!

I love this dish – it’s so bright, flavorful, and easy!

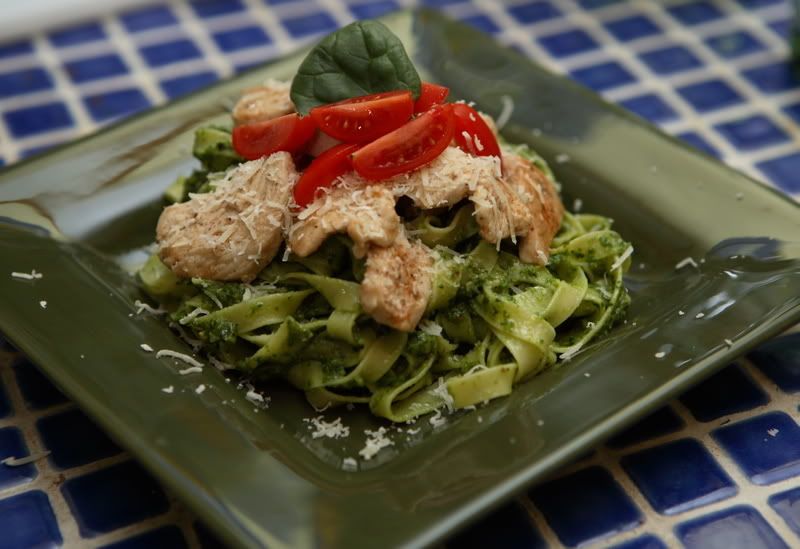
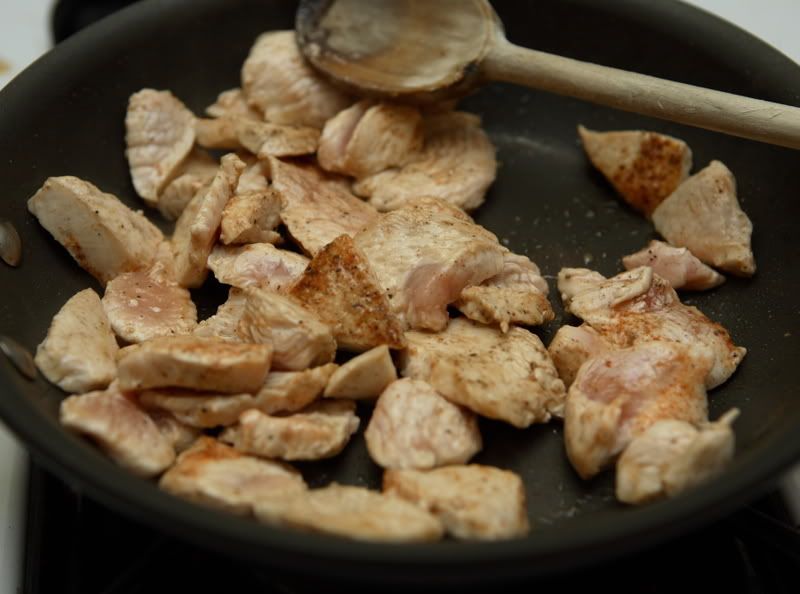
In the version shown below, I used turkey breast tenderloin, but I usually just make it with chicken breast. Either choice is delicious.

The original recipe came from the March 2007 issue of Everyday Food magazine. I make this recipe so often that I don’t even look at the original version anymore, so the recipe I’ve posted here reflects any changes I have made.

Fettuccine with Spinach Pesto
Serves 4

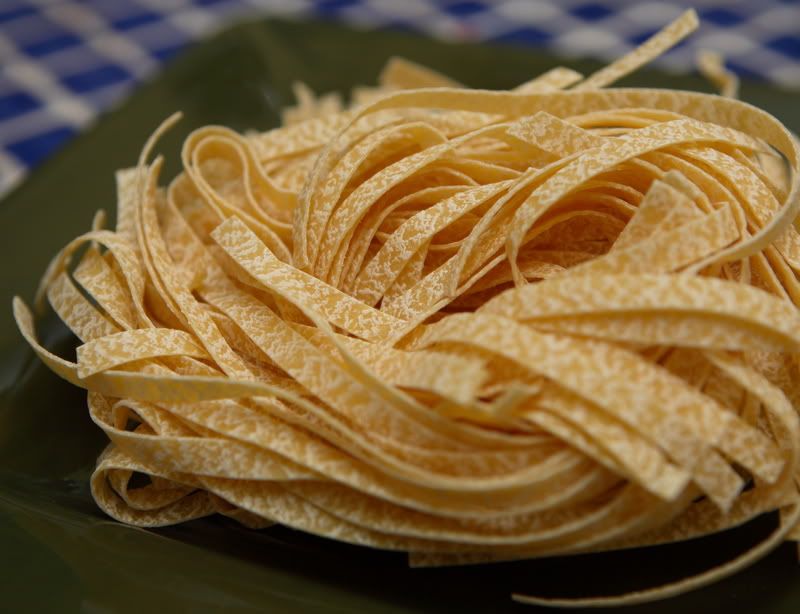
12 ounces fettuccine
2 boneless, skinless chicken breast halves, or an equivalent amount of turkey breast
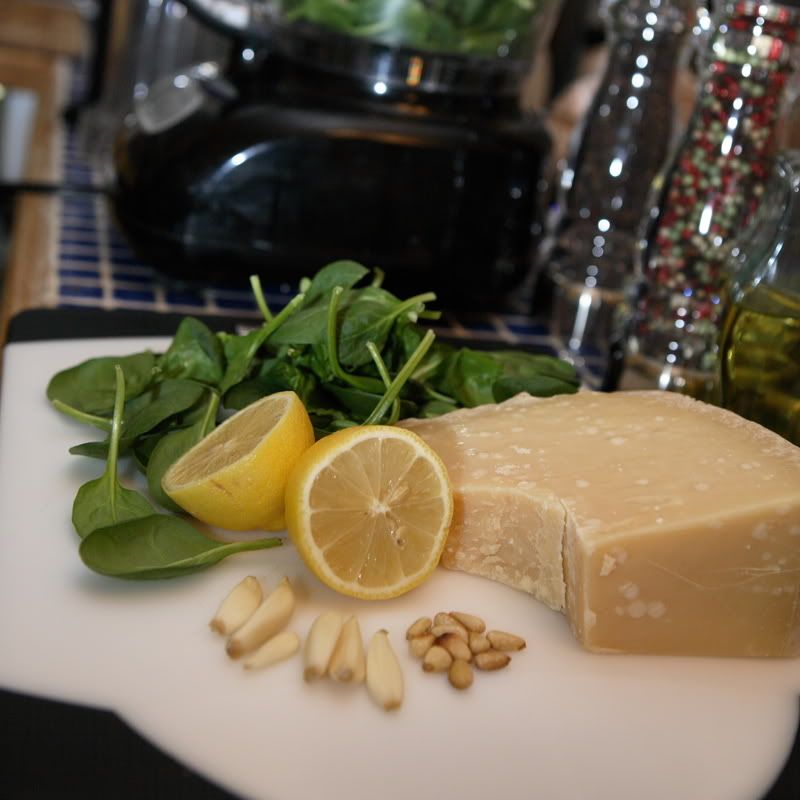
¼ cup pine nuts
10 ounces fresh baby spinach
3 ounces Parmigiano-Reggiano cheese, cut into chunks, plus a small additional amount for garnish
3 cloves garlic
Zest and juice from one lemon

Cook pasta according to package directions.


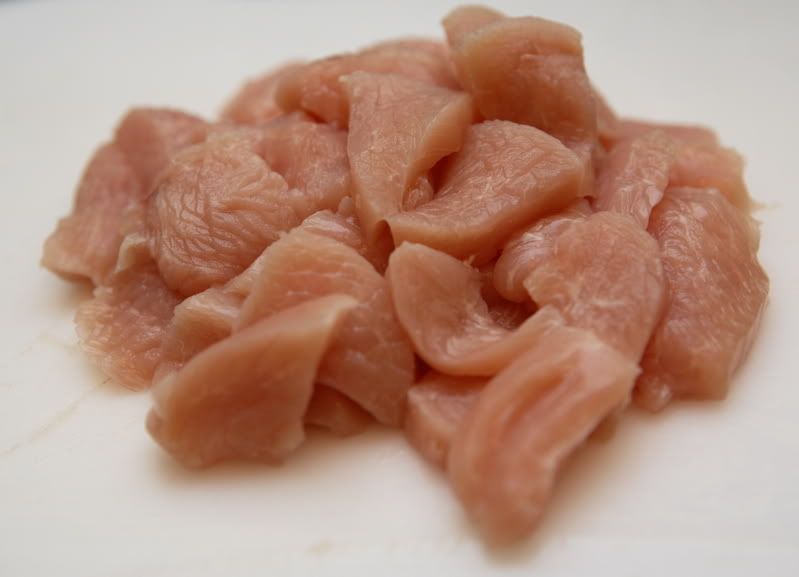
Meanwhile, chop poultry into bite-sized pieces.


Sprinkle poultry with salt and pepper. In a large skillet, cook the meat over medium-high heat until it is barely done


In a small skillet, toast the pine nuts over medium heat, stirring them constantly and watching them carefully to ensure they do not burn. Once they turn golden brown and start to smell toasted, remove them from the pan; set them aside to cool. Reserve 1 tablespoon for garnish.

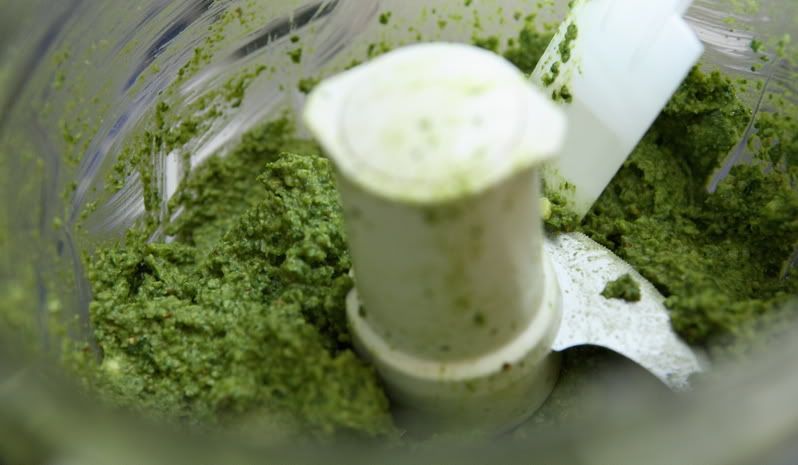
In the bowl of a large food processor, place the spinach, parmesan, 3 tablespoons toasted pine nuts, garlic, lemon zest, olive oil, and lemon juice. Process until everything is finely chopped, scraping the bowl as needed to ensure everything is evenly chopped.


While pasta is draining, place processed spinach mixture in the empty pasta pot over medium heat. Stirring constantly, cook mixture for 1 or 2 minutes, until the sauce is heated through. Add the drained, cooked pasta; stir to coat evenly. Garnish with the remaining tablespoon of pine nuts and parmesan cheese.

I also chopped up some cherry tomatoes and used them alongside a spinach leaf for garnish.