This month’s Daring Bakers challenge introduced me to something I’ve never tried making before. I guess that’s part of why I joined the group!
The June Daring Bakers' challenge was hosted by Jasmine of Confessions of a Cardamom Addict and Annemarie of Ambrosia and Nectar. They chose a Traditional (UK) Bakewell Tart... er... pudding that was inspired by a rich baking history dating back to the 1800's in England.
Apparently there’s a long-standing debate as to whether this type of dessert is classified as a “pudding” or as a “tart.” I am no expert on desserts from the UK, but to me, it appears to be more of a tart… Anyway, whatever it’s called, it turns out it tastes pretty good! It’s definitely a taste and texture I’m not used to, but I could get used to it pretty quickly. It also seems to be more of a breakfast or tea item rather than a dessert to complete a 4-course dinner – at least, that’s how it’d fit into my own menu lineup if I were to make it frequently.
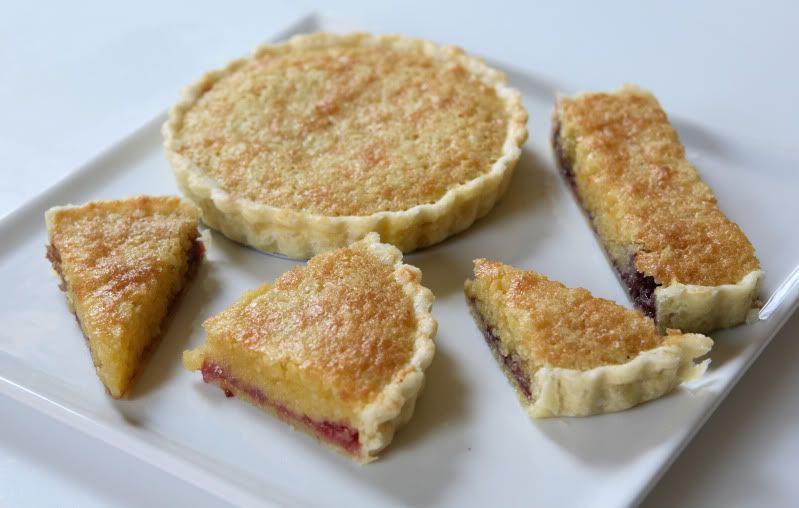
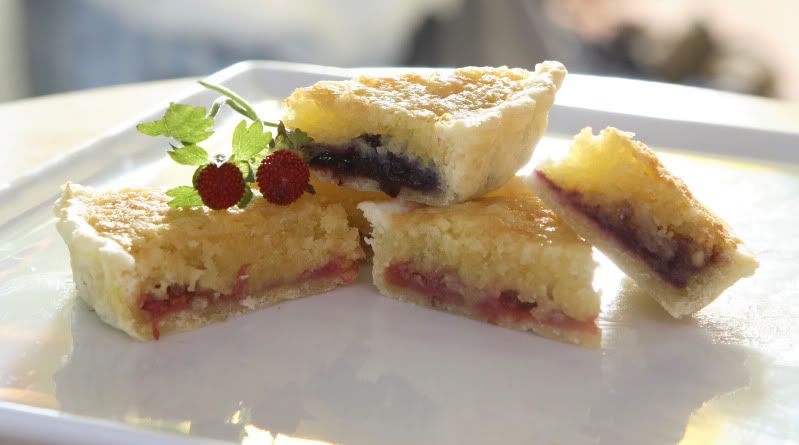
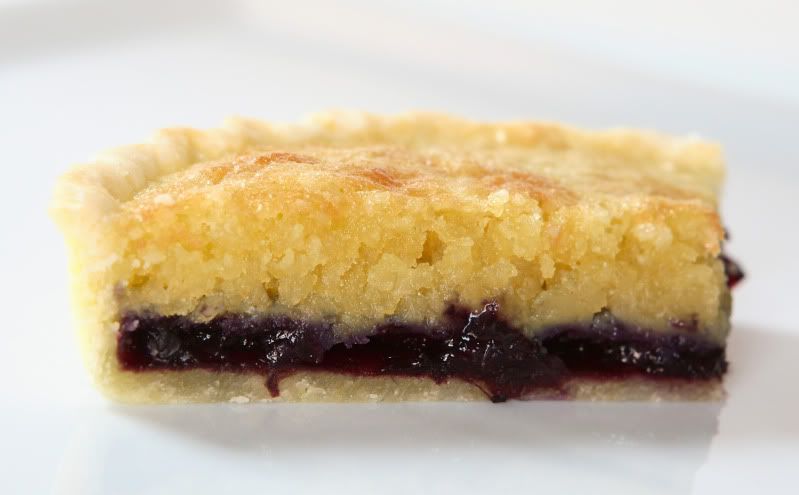
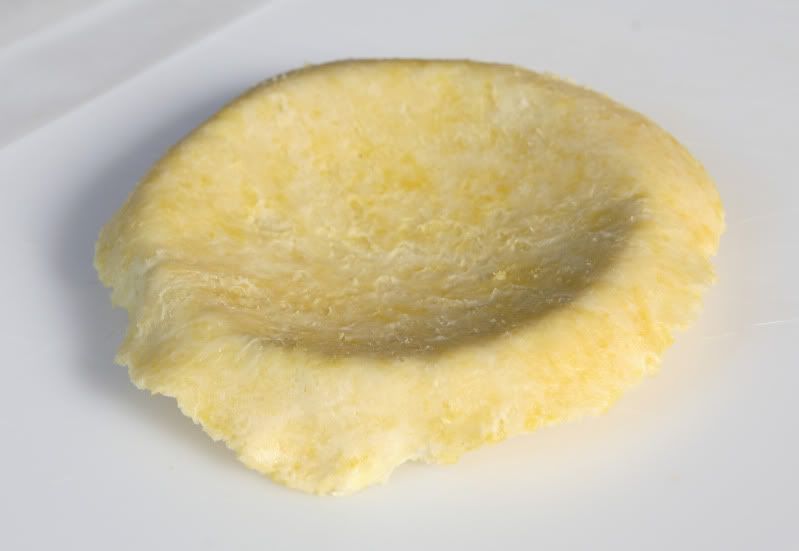
This dessert/tart/pudding consists of a sweetened shortcrust pastry spread with a thin layer of jam, topped with frangipane, an almond-scented, cake-like layer, baked in a tart pan. We were required to make homemade crust and frangipane, and encouraged to make our own jam for the filling. Here's a closeup of the layers, so you have an idea of what it's supposed to look like:
I decided to make smaller-sized tartlets so I could experiment with a variety of jam flavors. The recipes shown here will make enough to fill six 4” tartlet pans.
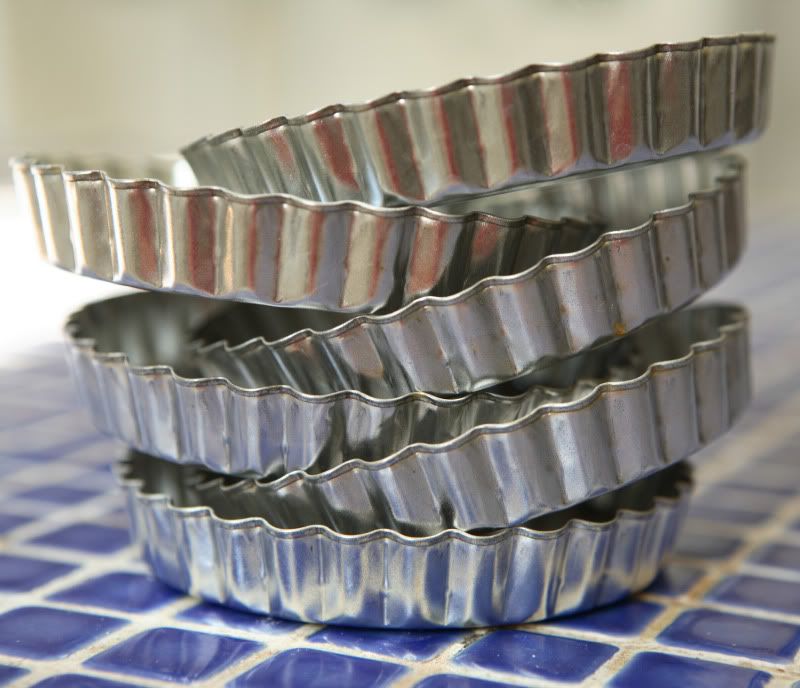
While we’re on the topic of equipment, you’ll need to get out your kitchen scale! (Sorry, the original recipe was provided to the Daring Bakers in weight measurement only.)
I made two pan jams following the guidance of one of our co-hosts, Jasmine. She suggested trying a fruit-to-sugar ratio of 10:1 (for 100 grams of fruit, start with 10 grams of sugar, adjust it later if you want it sweeter). That should work for many varieties of berries, and I can say that it does work for both blueberries and strawberries, because that’s the flavors of jam I made!

Bakewell Tarts
Makes six 4” tartlets
Make the jam first – it needs to cool before it can be used. Note that each of the recipes listed below makes enough jam for HALF of the tartlets. You could also use store-bought jam. I admit: I did try one tartlet with store-bought raspberry jam and another tartlet with store-bought blackberry jam. (I like variety.) But that homemade blueberry jam won them all out - it is amazingly good and very simple! Give it a try!
Blueberry Jam
Makes enough jam for three tartlets – double this if you want them ALL blueberry flavored!
150g blueberries
15g sugar
A squeeze of lemon juice

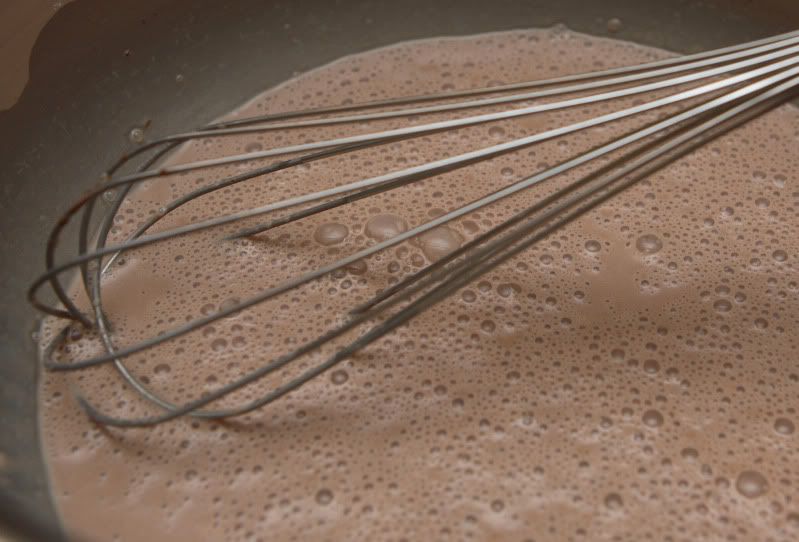
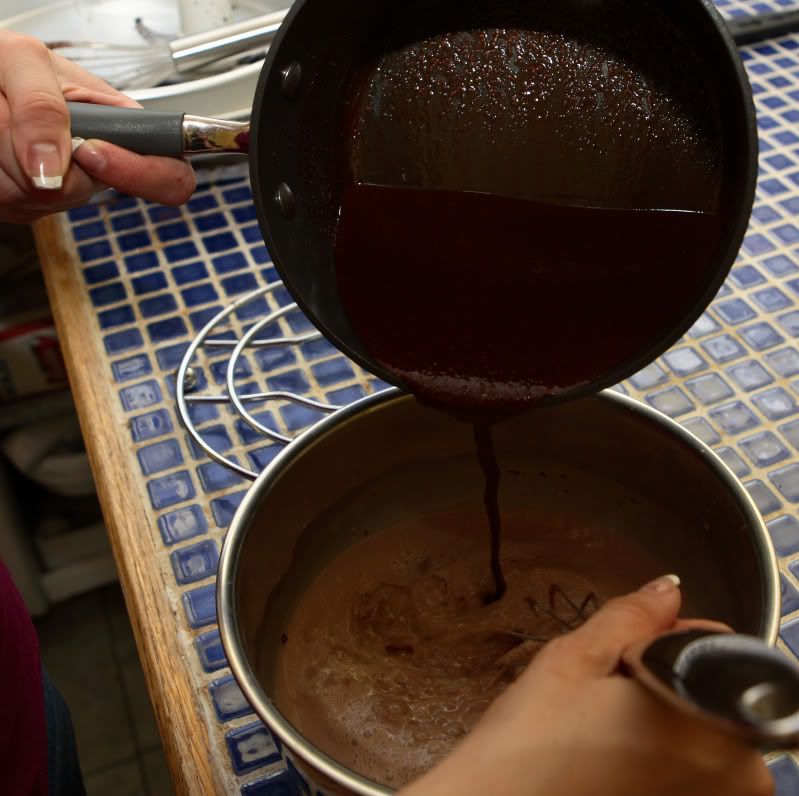
In a medium-sized saucepan (nonstick is best), mix the fruit and the sugar over medium heat. Stir together, mashing the fruit with the back of your spoon. The mixture will become liquidy. Taste it and add more sugar if you want. Cook over medium heat, stirring and mashing frequently, for five minutes. Add the lemon juice – just a quick, small squeeze. Continue to stir and cook for another five or ten minutes depending upon how thick you want the jam. Pour it out into a small bowl and refrigerate it until it’s time to use it.
Strawberry Jam
Makes enough jam for three tartlets – double this if you want them ALL strawberry flavored!
160g strawberries, hulled and sliced into small pieces
16g sugar
A squeeze of lemon juice
In a medium-sized saucepan (nonstick is best), mix the fruit and the sugar over medium heat.
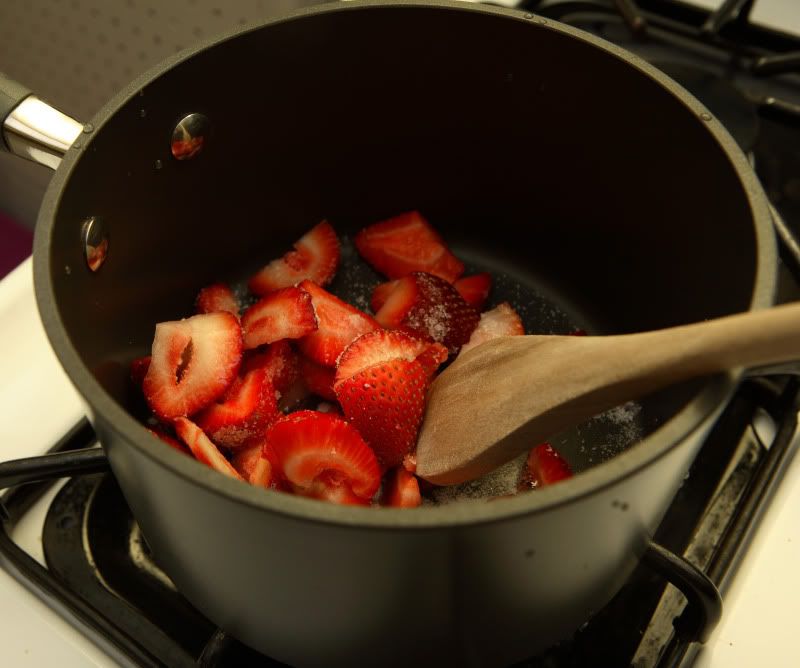
Stir together, mashing the fruit with the back of your spoon. The mixture will become liquidy. Taste it and add more sugar if you want. Cook over medium heat, stirring and mashing frequently, for five minutes. Add the lemon juice – just a quick, small squeeze. Continue to stir and cook for another five or ten minutes depending upon how thick you want the jam. Pour it out into a small bowl and refrigerate it until it’s time to use it.
Next, make the Crust. It also needs to chill.
Sweet Shortcrust Pastry
225g (8oz) all purpose flour
30g (1oz) sugar
2.5ml (1/2 tsp) salt
110g (4oz) unsalted butter, cold (frozen is better)
2 egg yolks
2.5ml (1/2 tsp) almond extract
15 to 30ml (1 to 2 Tbsp) cold water
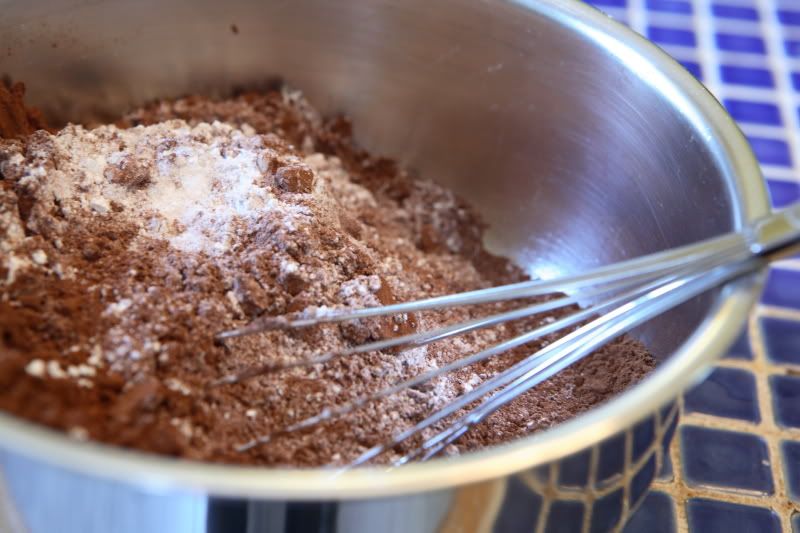
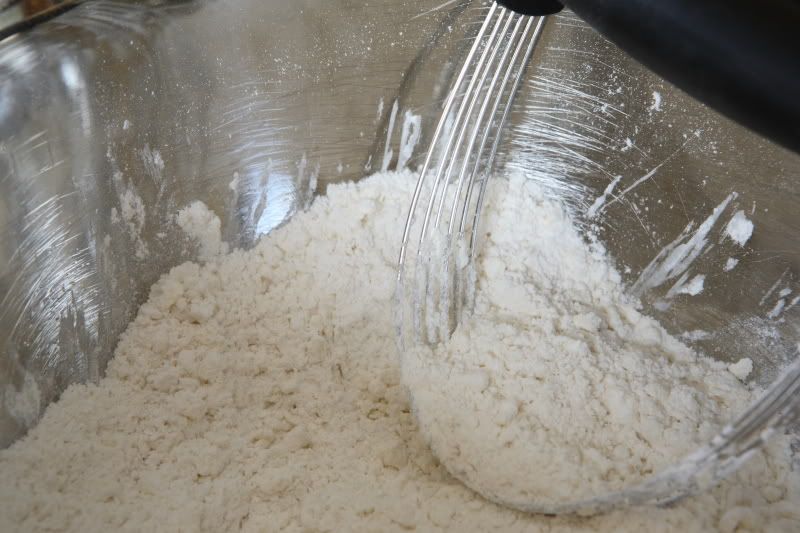
In a large bowl, sift together the flour, sugar and salt. Using the large holes on a box grater, grate the butter into the flour mixture.

Using your finger tips and working very quickly, or using a pastry blender, rub/cut the fat into the flour until the mixture resembles coarse bread crumbs. Set aside.
Lightly beat the egg yolks with the almond extract. Use a fork to quickly mix the egg mixture into the flour mixture. Keep mixing while dribbling in the water, only adding enough to form a cohesive and slightly sticky dough.
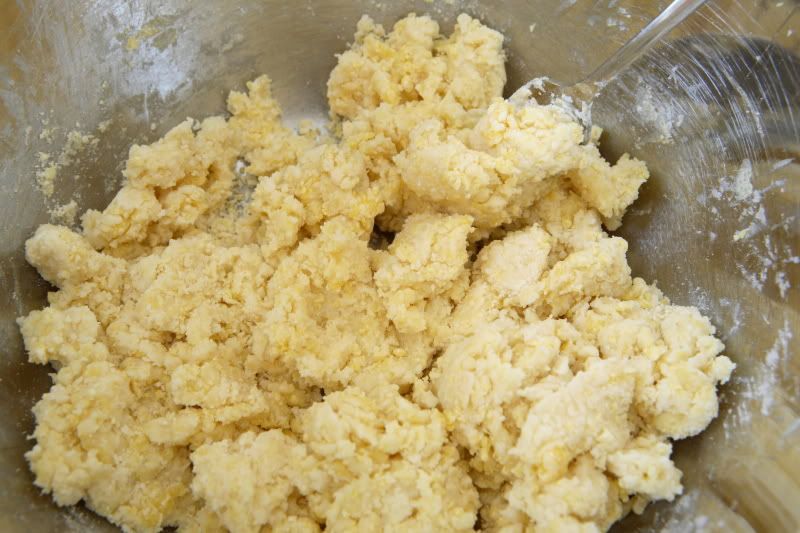
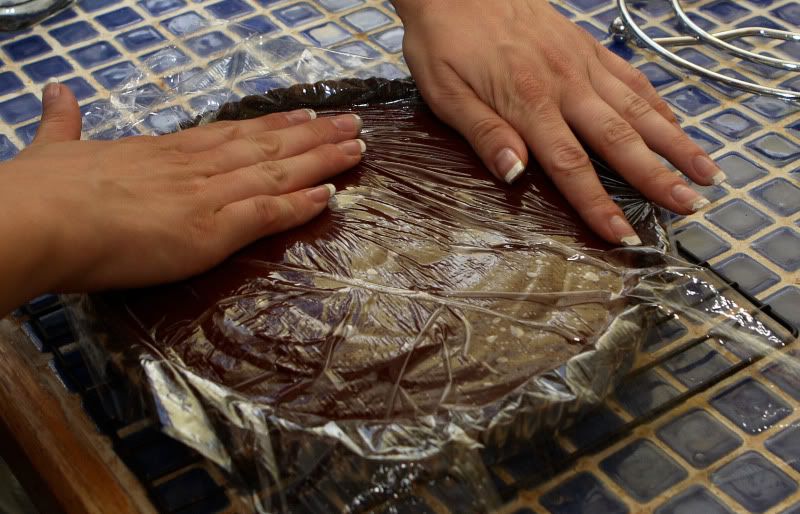
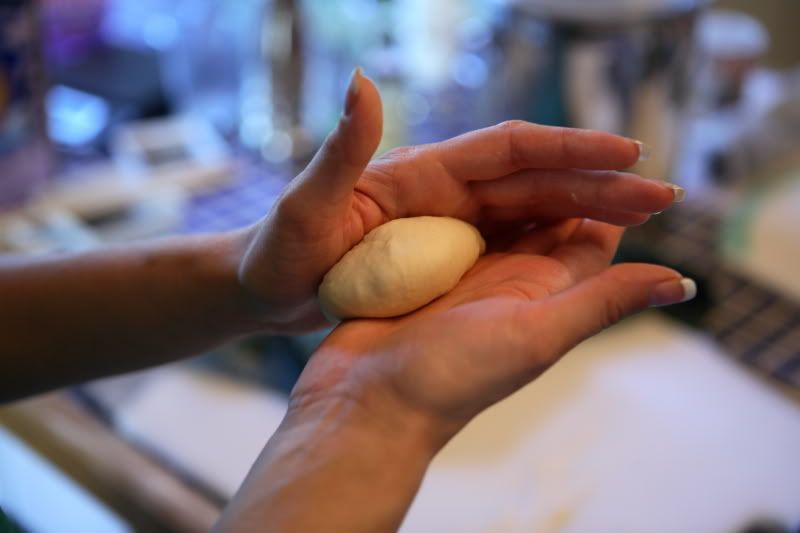
Form the dough into a disc, wrap it in plastic wrap, and refrigerate for at least 30 minutes
Meanwhile, make the frangipane.
Frangipane
125g (4.5oz) unsalted butter, softened
125g (4.5oz) icing sugar
3 eggs
5ml (1 tsp) almond extract
125g (4.5oz) ground almonds
30g (1oz) all purpose flour
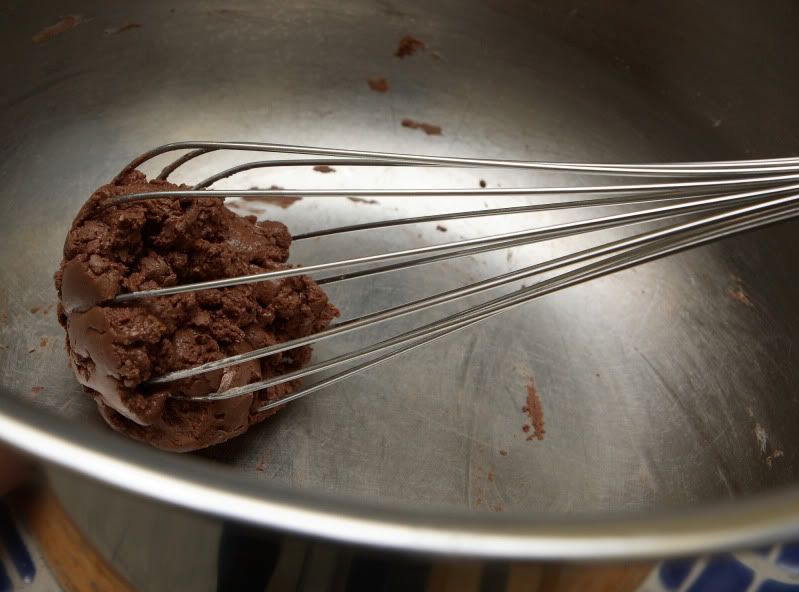
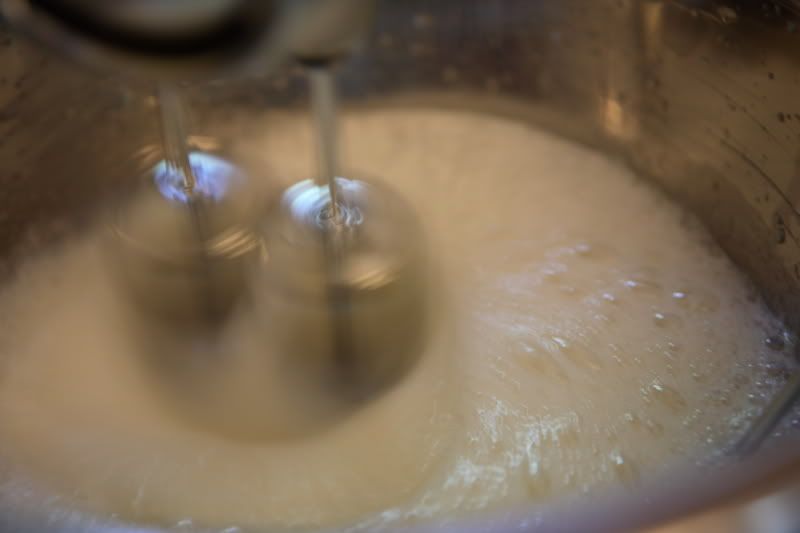
Cream the butter and sugar together until the mixture is light yellow in color and is very fluffy. Scrape down the side of the bowl and add the eggs, one at a time, beating well after each addition. The batter may appear to curdle – that’s fine. After all three eggs are in, pour in the almond extract and mix for about another 30 seconds. Scrape down the sides again. Add the ground nuts and the flour; mix well. The mixture will be soft, keep its slightly curdled look (mostly from the almonds) and retain its pallid yellow color. This can be refrigerated until it’s time to use it.
On to assembly!
Preheat your oven to 400 degrees F.
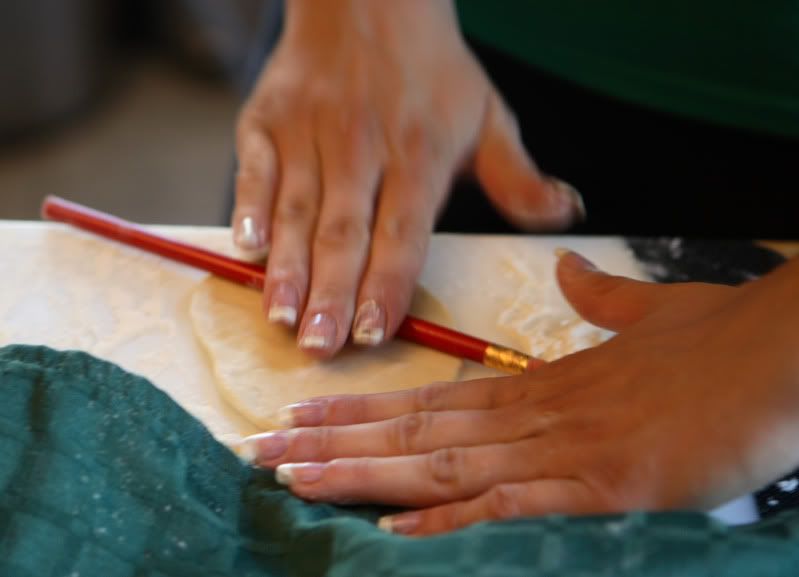
Cut the dough into six equal-sized pieces. Keep the portions you’re not using immediately in the refrigerator. This dough has a lot of fat in it so it is difficult to roll out if it gets too warm - it becomes very sticky. The easiest way to roll it out is to do so with the dough sandwiched in between two sheets of waxed paper. (Parchment will work too, but that’s more expensive!)
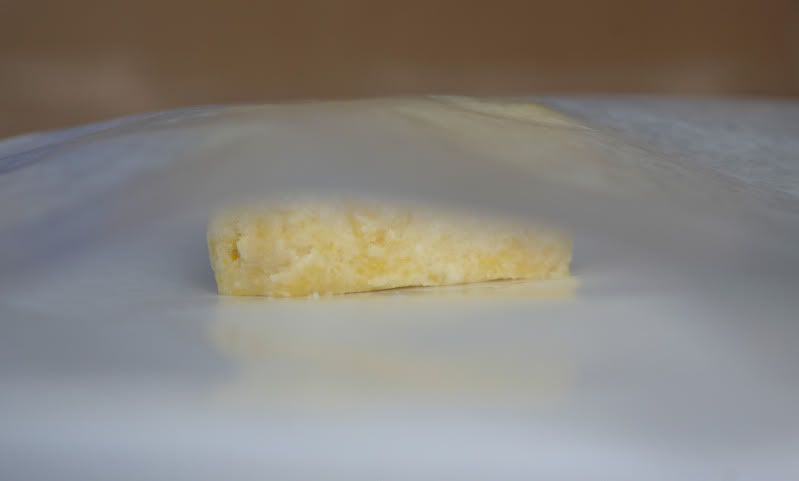
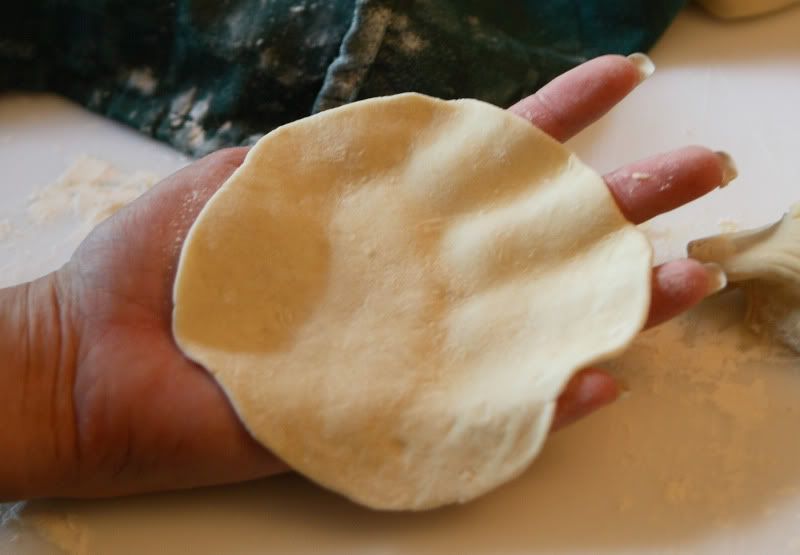
Roll out a small circle about six inches in diameter. Peel off one sheet of waxed paper. Fold the sheet in half, sticky side inside (we’re reusing the waxed paper for a quick moment, and the sticky side will just make a goopy mess if it is facing out). Gently replace the folded piece of waxed paper back on your dough circle.
Flip the whole dough/paper assembly over and peel off the other piece of waxed paper. Fold it in half and save it too – we’ll use it again in a second. Place your tart pan upside down on top of the dough.
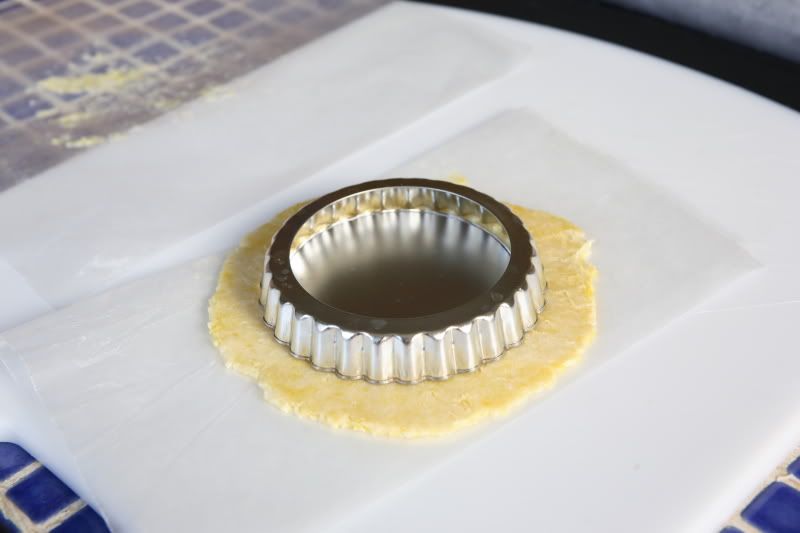
Invert the dough/pan and peel off the folded sheet of waxed paper.
If at any time you’re having lots of difficulty getting the papers to peel off, pop it all in the fridge for a couple of minutes. Do note that it will most likely be sticky, and residual dough will probably be left behind on the paper. If you end up having any holes, you can patch them up in a minute.
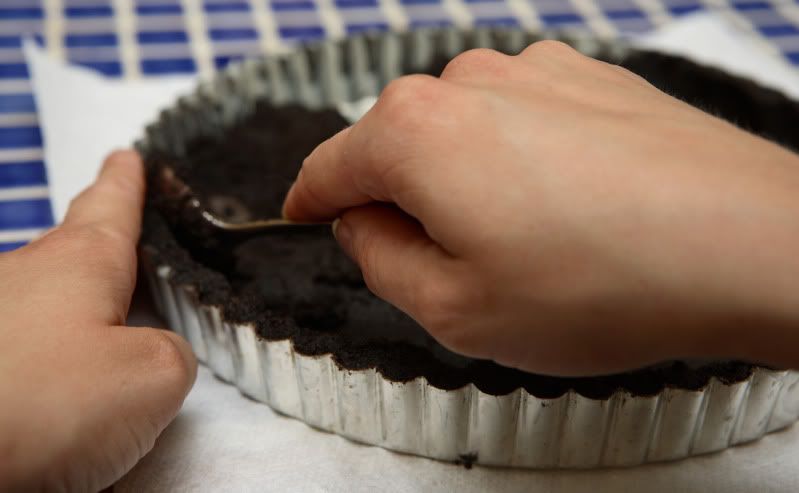
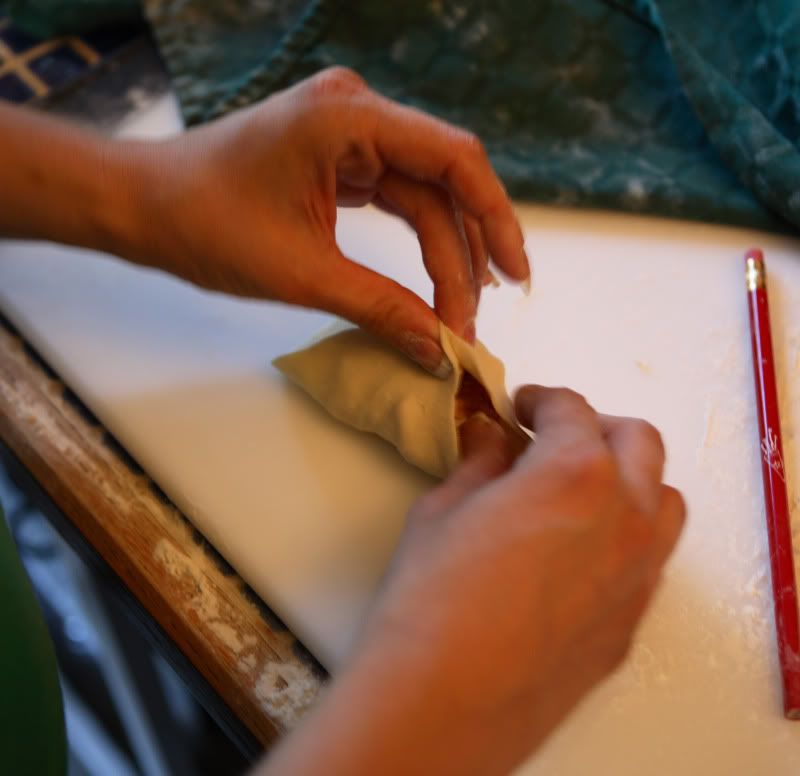
Use your knuckles to ease the dough down into the bottom of the pan.

Allow any excess dough to overhang the edge of the tart pan. Reuse that second sticky-side-in sheet of folded waxed paper from earlier: gently place it on top of the tart pan. Use your rolling pin to press down on top of the waxed paper and pan.
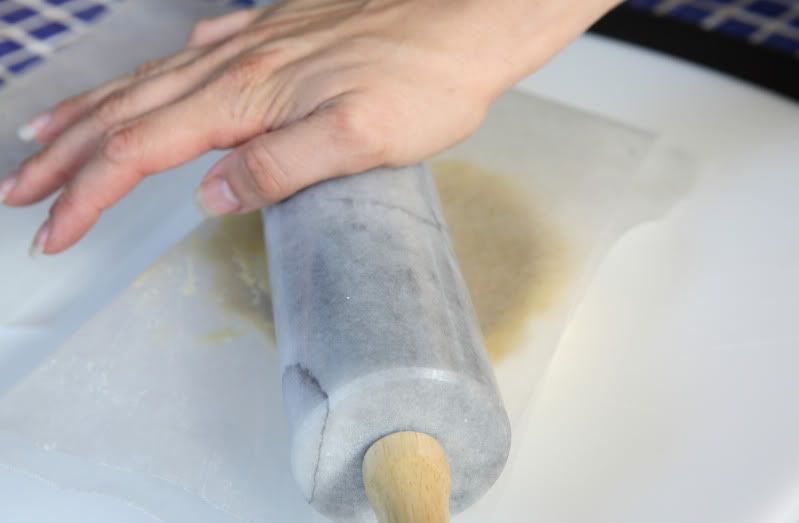
The effect: the pan acts as a “cookie cutter” and trims the dough for you – you’ll be left with perfect pretty edges.
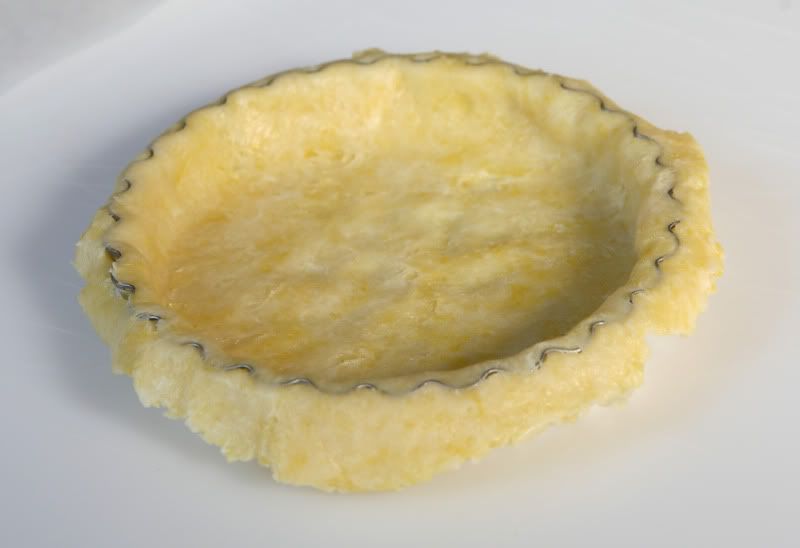
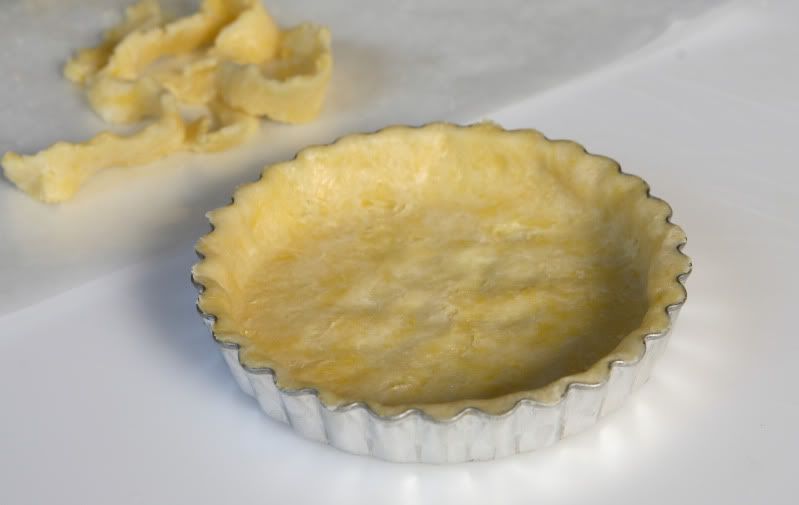
Discard the goopy waxed paper and pick away the excess dough. Patch any holes using these scraps if necessary.
Yes, you do go through a lot of waxed paper - but by folding it in half you’re reusing it (well, for a while at least…that helps some). Yes, you COULD roll it out without the paper on a well-floured surface – but excessive quantities of flour will make your crust tough. The waxed paper method is easier and tastes better. And, trust me, you do NOT want to pick this sticky, buttery dough off of your countertop. (Especially if you have my impractical tiled countertop!)
Repeat the above steps to get the remaining five dough balls into your tart pans. As you finish each pan, pop them into your freezer for a few minutes. If you run out of room in the freezer, rotate them into the fridge.
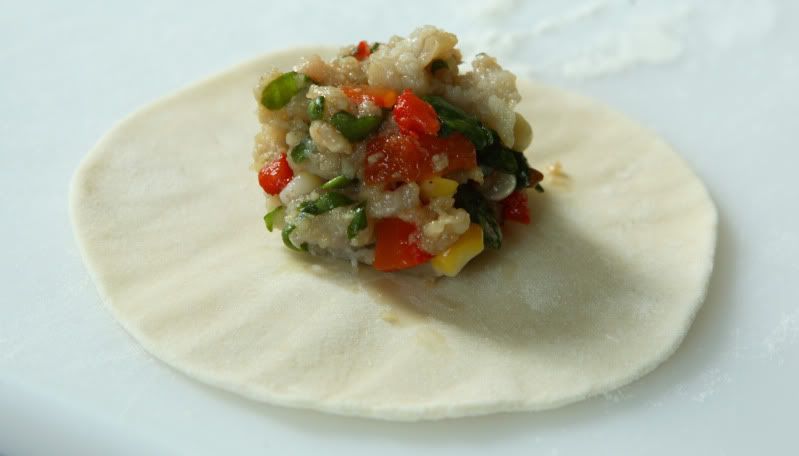
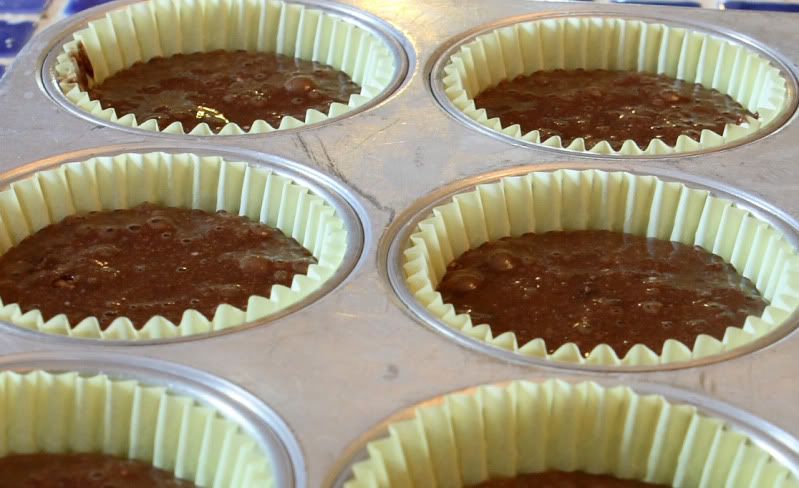
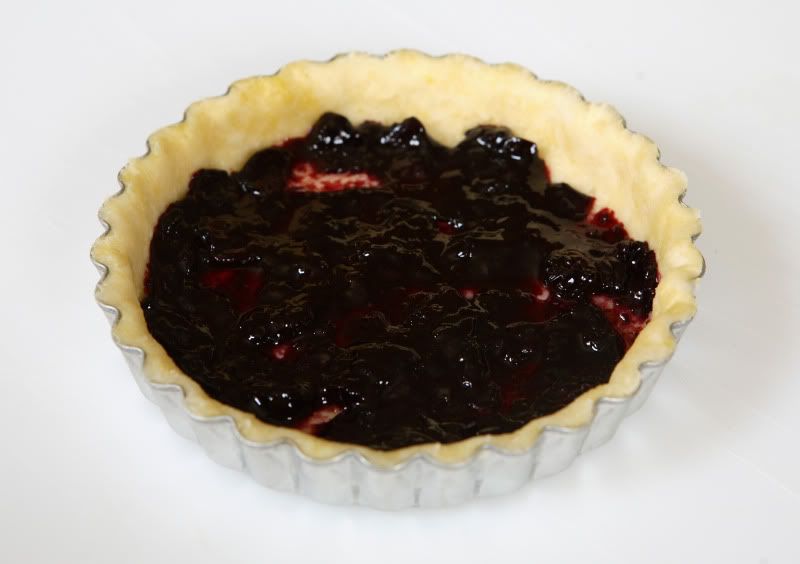
Spread about 1 tablespoon of jam inside each chilled tart shell. Cover the bottom of the crust evenly. The jam layer should be rather thin, just enough to coat the bottom.
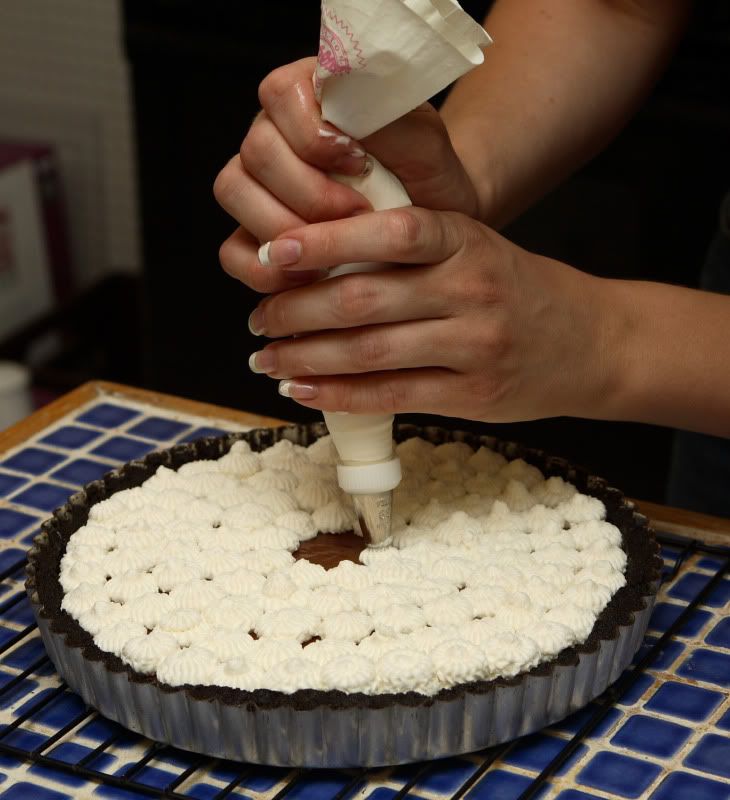
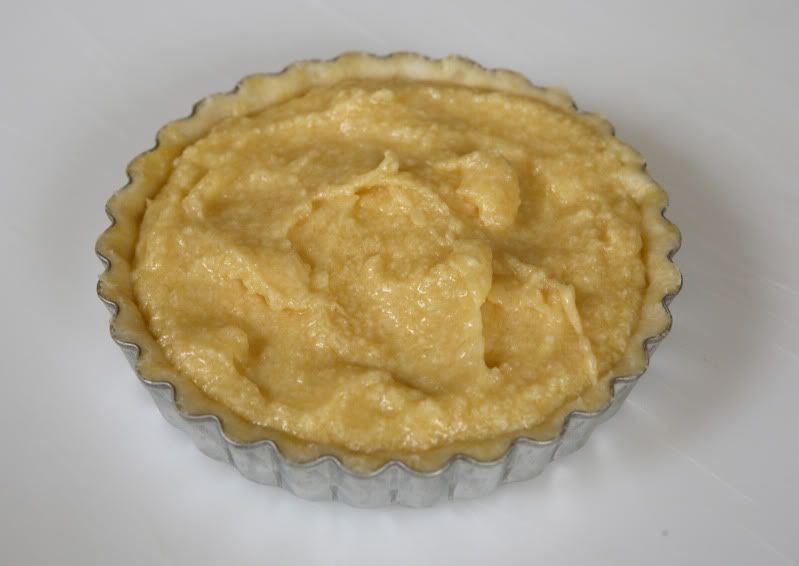
Top each tart with a scoop of frangipane, spreading it to the edges of the crust. The frangipane layer should fill up the remaining volume of the pan, and will be approximately equal in height to the tart crust.
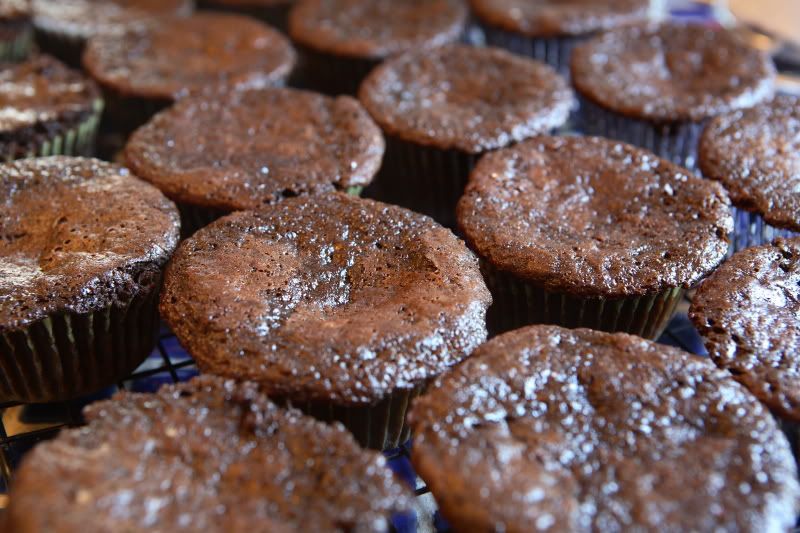
Bake for 15-18 minutes, until the tops are puffy and a tanned golden brown. Do not underbake!
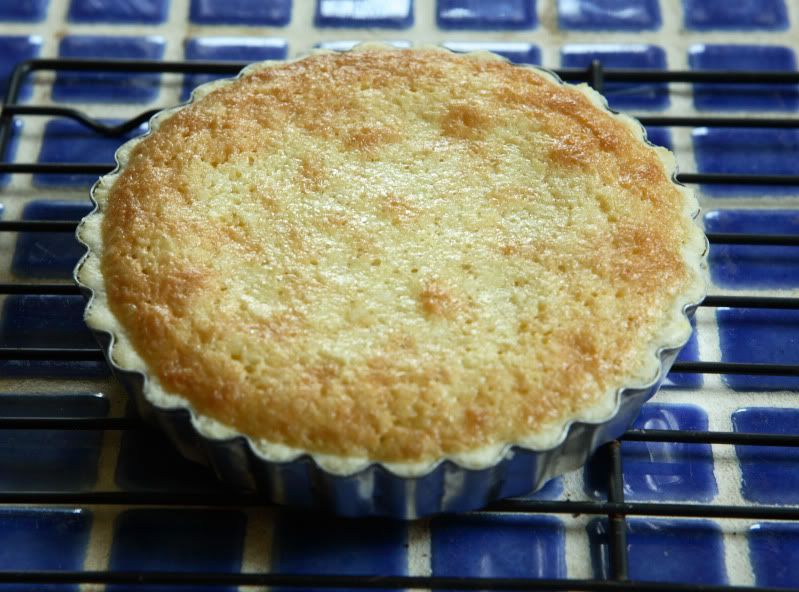
Allow the tarts to cool on the counter slightly – if you cut into them too early, the jam will run out. I waited until the tarts were cool enough that I could handle them without fear of being burnt – they were still slightly warm on the inside but were nicely set. Perfect!